DVD/TV LIVE
SOURCE
TIMER
REC
REC MODE
EDIT
There are two recording methods you can use:
LIVE RECORDING - You start a live recording by simply
pressing the REC button while viewing video from an input
source, such as the TV Tuner or AV Inputs. You control the
length of a live recording by pressing REC multiple times for 30
minute intervals or by pressing STOP to end the recording. A
live recording will end automatically if the disc is full.
TIMER RECORDING - You can also schedule a recording to
automatically begin at a particular Date and Time using the
DVD Recorder's built-in TIMER function. Recordings can be
scheduled to re-occur once a week or daily. The DVD Recorder
must be in STANDBY MODE in order for a scheduled Timer
Recording to begin.
Selecting the Input Source
After a DVD+RW or DVD+R disc is inserted in the DVD
Recorder, you must select the input source that will be recorded.
You may choose from the following input sources:
TV - The DVD Recorder's built-in TV Tuner allows you to
record your favorite TV programs.
VIDEO IN 1 - The Composite Video Input located at the back
of the unit. Used for any video device with Composite Video
Out.
S-VIDEO IN 1 - Located on the back panel, S-VIDEO provides
a better picture than standard Composite Video. Use this input
for camcorders or other video devices when possible.
VIDEO IN 2 - The Composite Video Input on the Front Panel.
S-VIDEO IN 2 - The Front Panel S-Video input.
To select the Input Source for recording, first press the
DVD/TV LIVE button to switch to Recording Input Mode.
1
RECORDING
26
Types of Recordings
Making a Live Recording
Next, bring up the Input Source menu using the
SOURCE button.
2
You can set the recorder to automatically add a CHAPTER
MARKER every 5 minutes during your recordings. During
playback, this will allow you to skip forward or back in 5 minute
intervals by using the NEXT/PREVIOUS keys on the remote.
These chapter markers are compatible with most standard DVD
Players as well.
You can also add chapter markers manually. This procedure is
covered in EDITING YOUR RECORDINGS.
Automatically Adding Chapter Markers
CH-
CH+
ENTER
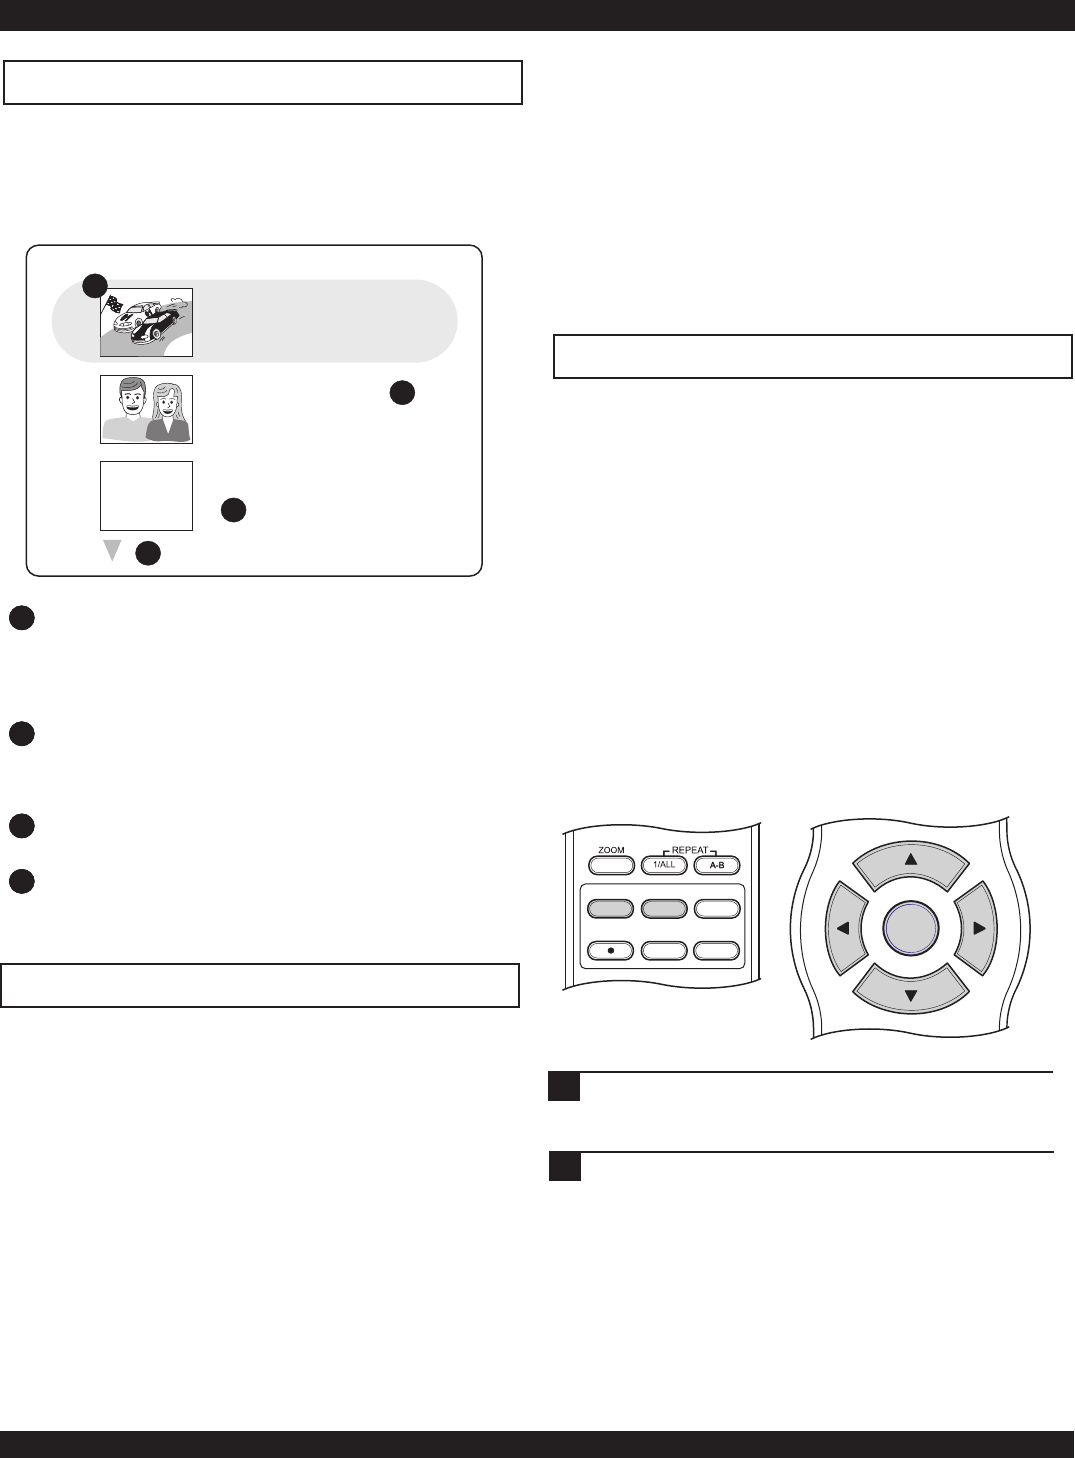
The Title Screen
When you insert a DVD+RW or DVD+R disc, the Title Screen
will appear. The Title Screen displays thumbnail images and
information for each title (recording) on the disc, as well as the
amount of free space available for recordings.
9
9
9
9
9
9
9
9
CH 44
8:00:00 PM, Jan 2, 2003
Length: 0:30:00 Quality: HQ
5% free
1
2
3
1
THUMBNAIL IMAGE - An image taken from the first
frame of the recording, the thumbnail image provides a visual
cue to help you identify the titles on the disc. You can replace
this image with any frame from the recording - See EDITING
YOUR RECORDINGS.
TITLE INFORMATION - Displays information about the
recording, including the Date and Time that the recording was
made, the Input Source used, the total length of the recording
and the Record Speed.
FREE SPACE - This is the percentage of the total disc space
that is available for recordings.
NEXT/PREVIOUS INDICATOR - The ARROW
SYMBOL appears above or below the 3 titles, indicating that a
previous or next page of titles exists.
1
12
13
CH 36
6:00:00 PM, Jan 3 2003
Length: 0:30:00 Quality: HQ
4
14


