


Page 27
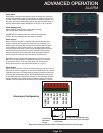
Network Setup for Remote Access
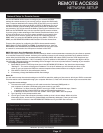
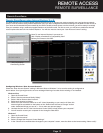
Use the NETWORK SETUP menu to configure your network and DNS
settings for remote access. If you are only going to access the DVR locally
from a computer attached to the same router as the DVR, you only need to
configure settings using either the DHCP or STATIC IP. Because you are on
the same network, port forwarding and knowing the public IP address are
not necessary. You will just access the DVR by entering the IP address of the
DVR from the NETWORK setup into the Internet Explorer browser window.
If you are going to take advantage of the Remote Surveillance feature, such
as for a smart phone or to view your system outside of your network over
the internet you will need to review and set up Port Forwarding and the
DDNS. After you setup the NETWORK settings using DHCP , STATIC IP or
DDNS, see the REMOTE SURVEILLANCE section for further instructions.
There are five options for configuring the DVR to be accessed remotely:
DHCP, Static IP, UPnP, PPPOE, and DDNS. To access this menu, from the
MAIN MENU click ADVANCED then NETWORK SETUP. Be sure your router
or network is connected to the LAN port on the back of the DVR.
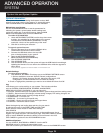
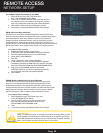
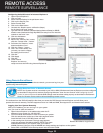
DHCP (Dynamic Host Configuration Protocol)
DHCP is a protocol used by networked devices (clients) to obtain various parameters necessary for the clients to operate
in an Internet Protocol (IP) network. It allows you to quickly connect to your network and obtain an IP address from the
router. After the initial setup, we recommend that you disable DHCP, then select STATIC from the TYPE drop down box
and set the IP address between 1~100. For example, if your IP address is 192.168.0.107, change the last digits to 90 (i.e.
192.163.0.90). This ensures that port forwarding will not change in the event of power failure or resetting of your network.
To configure DHCP settings:
1. Select DHCP from the TYPE drop down box in the NETWORK SETUP Menu. You should see the message
“Getting IP...” The router will assign an IP address. This is the IP address you will forward port 80 to on the
router so you can access the DVR from remote computers See comment above to configure a static IP.
2. Click APPLY. Click OK in the confirmation window.
3. If necessary, change the Media and Web Port settings
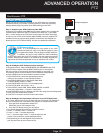
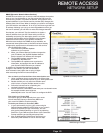
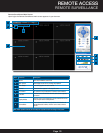
Static IP
You will need to setup the network settings on the DVR to match the settings of the router to which your DVR is connected.
This information can be obtained through your computer. Windows 7, Vista or XP all have similar ways to access this data.
To get the router settings:
1. To access the router’s settings you will need to enter the Command (CMD) panel on
your computer. It must be connected to the same router as your DVR.
• In Windows 7 or Vista, from the “START” menu type “CMD” in the field that says, “Search
programs and files” and hit ENTER or click on the magnifying glass icon.
• In Windows XP select “Run” from the “START” menu. Type “CMD” after the prompt
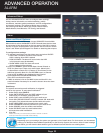
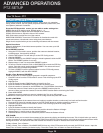
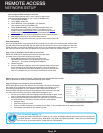
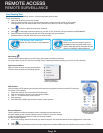
2. Type “ipconfig” at the prompt and hit enter
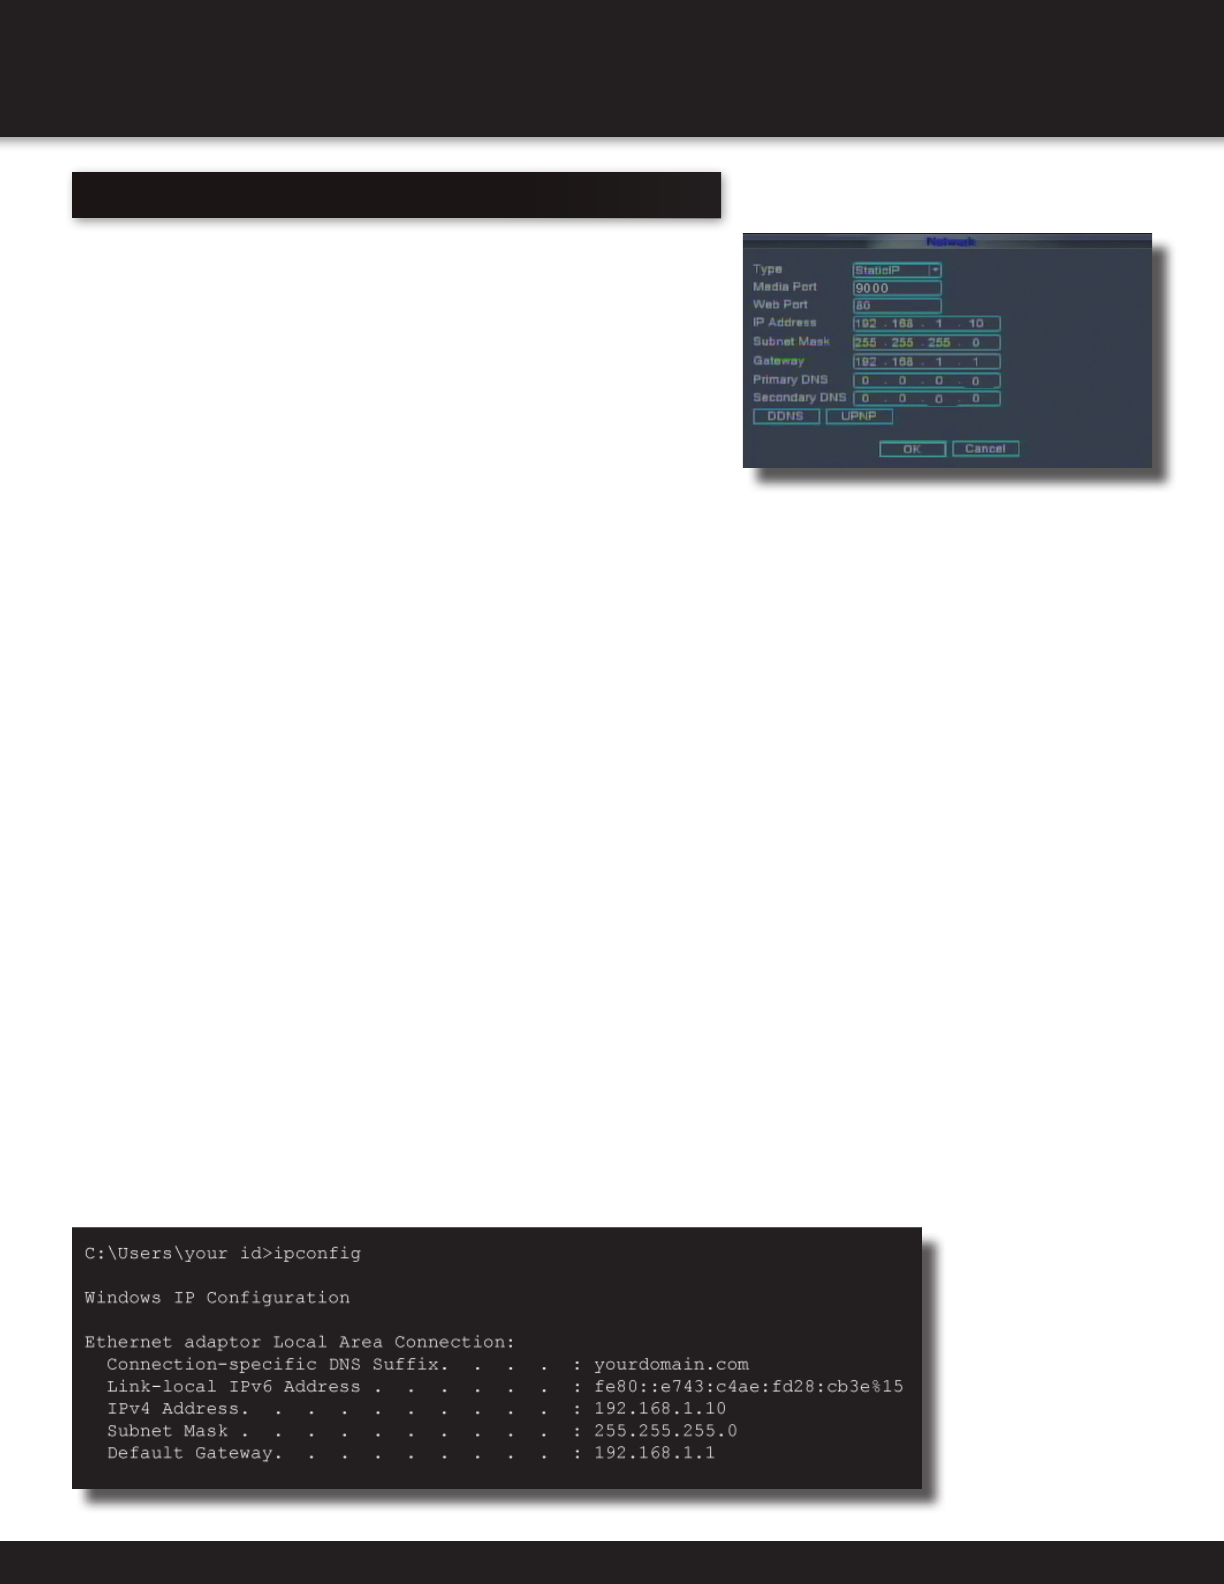
3. You will get a screen that contains information similar to what is shown below. Within all of the
information shown, locate the IPv4, Subnet Mask and Gateway addresses. These you will enter
into the STATIC IP screen in the NETWORK SETTINGS menu in your DVR. See next step.
REMOTE ACCESS
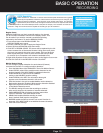
NETWORK SETUP
Network Setup
Windows “ipconfig” Info Example