


Page 30
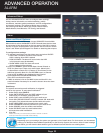
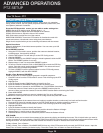
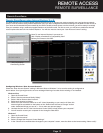
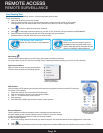
Next configure DDNS settings in the DVR
From the Network Setup menu, enter Primary or Secondary
DNS from the WAN settings of your router in the DNS field
1. Click DDNS SETTINGS.
2. Under DDNS, select ON.
3. Under SERVICE, select DYNDNS if you obtained
your domain name from DynDNS.com.
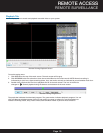
4. Under DOMAIN NAME, enter your DDNS domain name you
received from the confirmation email. For example, if your
domain name is adam@dyndns.com, you need to enter adam@
dyndns.com, in the text field using the Virtual Keyboard.
5. Enter your DDNS user name and password in the respective fields.
6. Click APPLY. Click OK in the confirmation window.
7. Click EXIT. The system will prompt you that it must restart. Click OK.
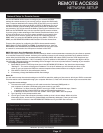
Port Forwarding
Port Forwarding allows computers and devices outside of your network to communicate with the DVR.
You will need to forward ports 80, 100 and 9000 from the attached router to the IP address of the DVR.
Gather the make, model and IP address of the router. If you changed the default router login, then you
will need to know the user name and password for that router. There are 3 Steps to follow:
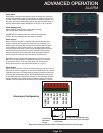
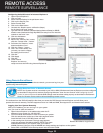
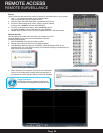
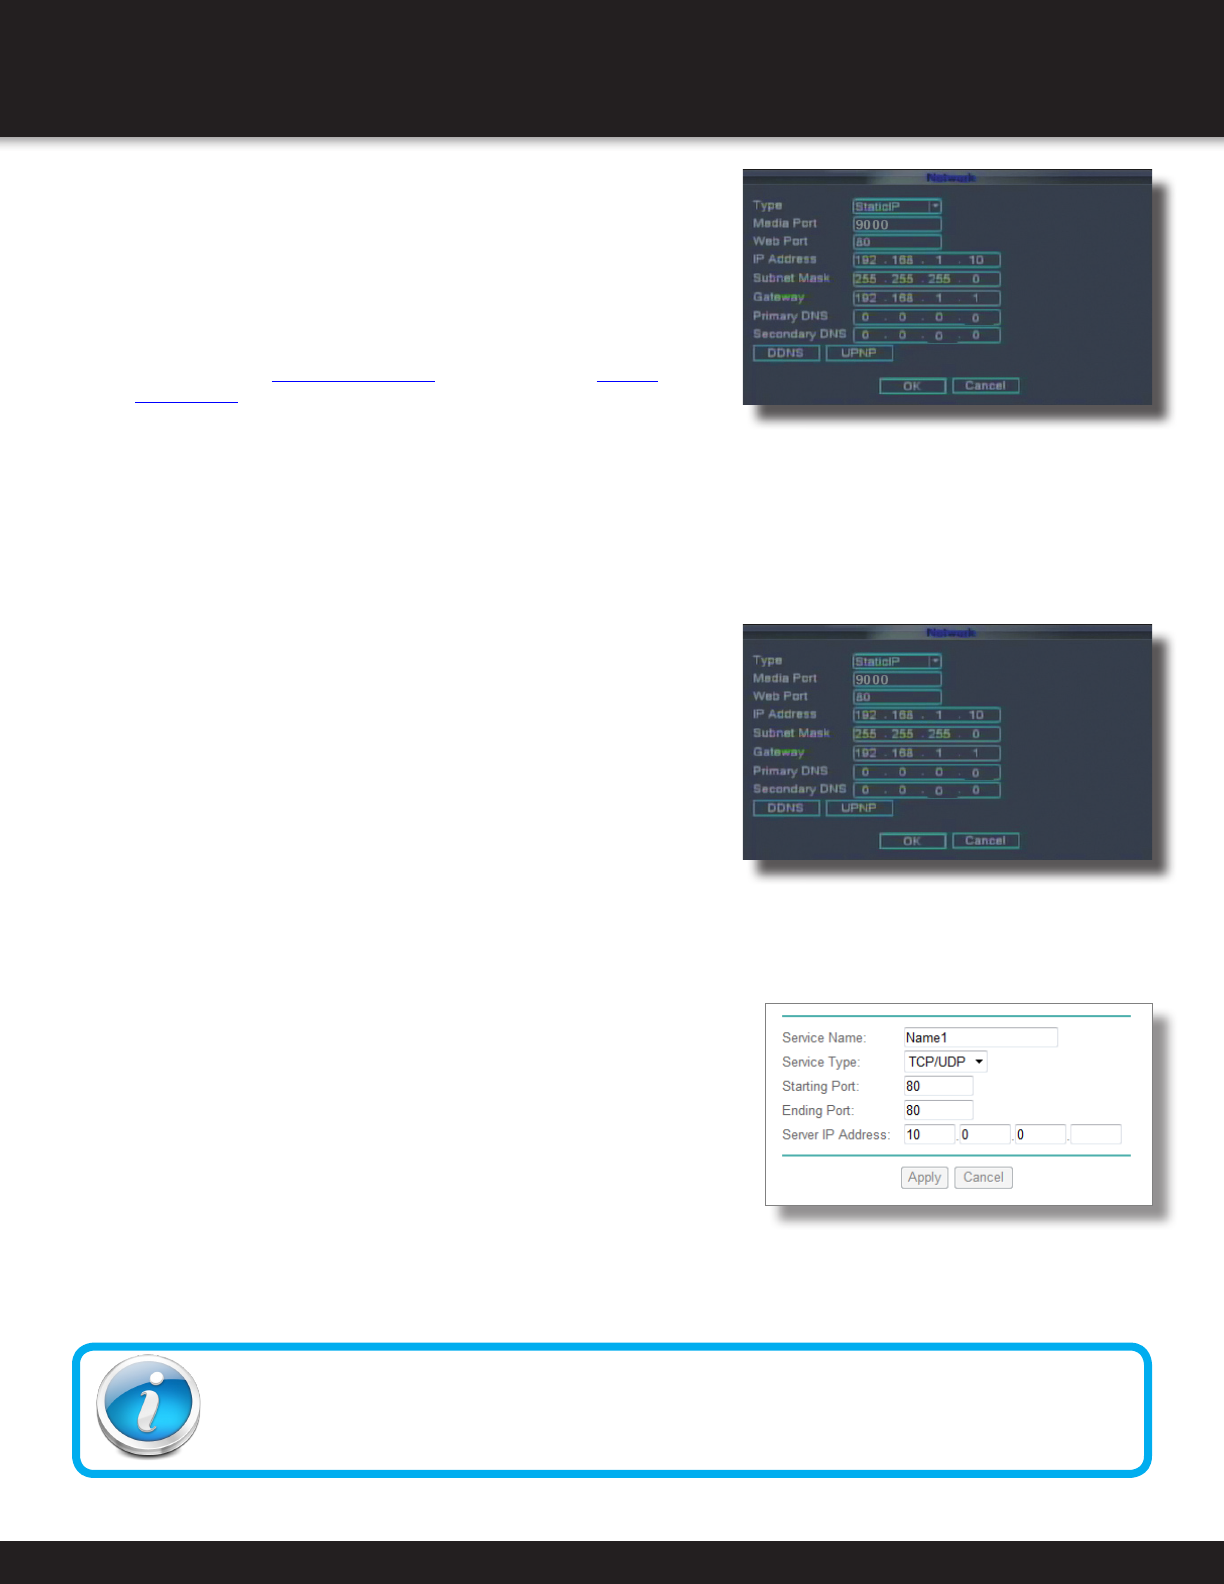
Step 1: How to Determine the IP Address of the DVR
NOTE! The DVR and PC must be connected to the same router
and both must be powered up before proceeding.
1. Select DHCP from the TYPE drop down box in the
NETWORK SETUP Menu. You should see the message
“Getting IP...” The router will assign an IP address.
2. Restart the DVR.
3. Once the DVR has restarted, reopen the Network Setup window and
the IP address of the DVR will now be listed. This is the address to
which you will forward ports 80 and 9000. If you plan to access your
DVR via a smartphone, you will need to forward port 100 as well.
Please refer to your router manual or consult with your Internet Service Provider
(ISP) for direction on how to port forward through your router.
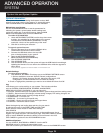
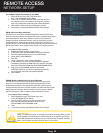
Step 2: Configure your Router for Port Forwarding
NOTE: Although all routers are different, the following is the basic information
that needs to be configured. Consult your Router Manual for details on Port
Forwarding configuration for your specific router. Some Internet Service
Providers (ISP) may block access to these settings in the router they provide.
You may need to contact your ISP to make these changes for you.
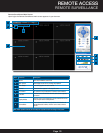
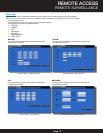
1. Access your routers’s Port Forwarding screen (See image at right). Your’s
may be slightly different but the information required is the same.
2. Enter your port forwarding information for each port you want to forward.
As noted above you will need to forward ports 80, 100 and 9000.
• Assign a name
• Start Port: 80; End Port: 80
• Enter your DVR IP address you obtained from “Step 1: How to Determine the IP Address of the DVR”
• Click Apply and repeat for the remaining ports.
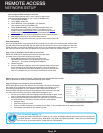
REMOTE ACCESS
NETWORK SETUP
DDNS Setup
Network Setup-Getting IP Address
Port Forwarding Screen from Router
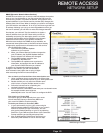
Port Forwarding Naming Tip
For clarity and easier identification of ports in your router we suggest naming the ports as follows: Port 80 is for
your Web Browser - name this port “DVR-Web”. Port 9000 is for streaming media - name this port “DVR-Media”.
Port 100 is for your mobile phone - name this port “DVR-Mobile”.