54
■ Adjusting the picture quality settings
– To create your own setting (1)
1 Use the cursor button (3) to select [Start] then press
ENTER.
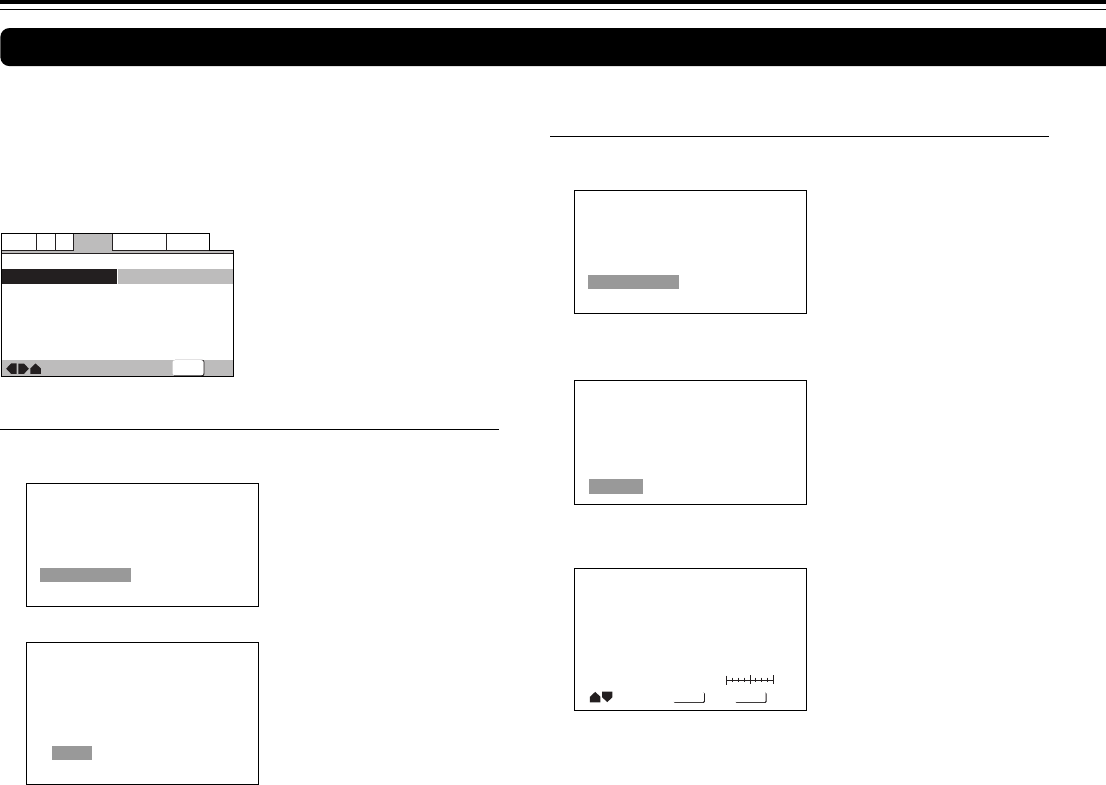
Video Memory Select
Video Setup
2 Use the cursor button (∞) to select [Video Setup] then
press ENTER.
3 Use the cursor buttons (2/3) to select the setting to [On] or
[Off].
DNR
Move
Select
Check
DISPLAY
ENTER
off max
Video Memory Select
Video Setup
4 Use the cursor buttons (5/∞) to select the setting to adjust.
You can adjust any or all of the following picture quality
factors:
• Prog. Motion – When using progressive scan, this adjusts
the motion and still picture quality.
• PureCinema – When watching DVD movies, PureCinema
optimizes the picture quality. The default setting is [Auto1],
but if the picture appears unnatural, then set to [Auto2],
[On] or [Off] as desired and adjust the Prog. Motion setting.
• YNR – Adjusts the amount of noise reduction (NR) applied
to the Y (brightness) component.
• CNR – Adjusts the amount of noise reduction (NR) applied
to the C (color) component.
• MNR (Mosquito Noise Reduction) – Adjusts the amount of
noise reduction applied to the mosquito noise (video
artifacts on the edge of the image resulting from MPEG
compression).
• BNR (Block Noise Reduction) – Adjusts the amount of
noise reduction applied to the block noise.
• Sharpness High – Adjusts the sharpness of the high-
frequency (finely detailed) elements in the picture.
• Sharpness Mid – Adjusts the sharpness of the mid-
frequency (less detailed) elements in the picture.
• Detail – Adjusts how sharp edges appear in the picture.
• White Level – Adjusts the intensity of white in the picture.
• Black Level – Adjusts the intensity of black in the picture.
• Black Setup – For correction of floating black color.
• Gamma – Adjusts the brightness of the darker images in
the picture.
• Hue – Adjusts the overall color balance between red and
green.
You can either select a preprogrammed setting designed to
match certain program types or make adjustments to match
your own preferences and save them in the player’s memory.
Make changes to the [Video Adjust] setting in the Setup
screen Video 2 menu.
■ Selecting a preprogrammed setting
1 Use the cursor button (3) to select [Start] then press
ENTER.
—
—
—
—
—
Video2
A2
Language
General
Audio1
V1
Exit
Move
Background
Video Adjust
Still Picture
On Screen Display
Angle Indicator
Black
Start
Auto
On
On
SETUP
Memory 1
Memory 2
Memory 3
PDP
ProfessionalTV(CRT)
Video Memory Select
Video Setup
2 Press ENTER.
TV (CRT) (Factory Setting)
Optimized setting for a standard television set.
PDP
Optimized for a plasma display.
Professional
Optimized for a professional monitor.
Memory 1, Memory 2, and Memory 3
These are user programmable settings. See “Adjusting the
picture quality settings” on pages 54 and 55 for more information.
3 Use the cursor buttons (2/3/5/∞) to select one of the
preprogrammed picture quality settings.
If there is a DVD or Video CD playing, the effects of each setting
can be viewed while it is highlighted on the screen. This may be
useful in selecting an appropriate setting.
4 Press ENTER.
The new selection is set.
Notes
• You may also press the Picture button on the remote control to
display the preprogrammed settings menu.
• Each picture quality setting is defined by a number of individual
settings, described in “Adjusting the picture quality settings” on
this page and page 55.
• Depending on the disc and the TV/monitor, you may not see the
effect clearly.
• If [Letter Box (4:3)] or [Pan & Scan] is selected, there may be
cases when the screen automatically changes to wide (16:9) after
entering the [TV Screen] setting. This is not a malfunction. Close
the [TV Screen] setting and the screen returns to its set size.
Adjusting the Video Quality
Adjusting Audio and Video Settings


