


Filename [XVS20EK_06Index.fm]
Masterpage:Left0
16
Page 16 March 28, 2003 6:55 pm
INITIAL SETTINGS
Auto Set Up
Auto Channel Set/Auto Clock Set/
Auto Guide Program Number Set
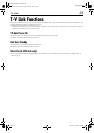
A
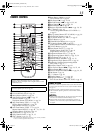
Turn on the unit.
Press
1
on the unit or remote control.
B
Perform Auto Set Up.
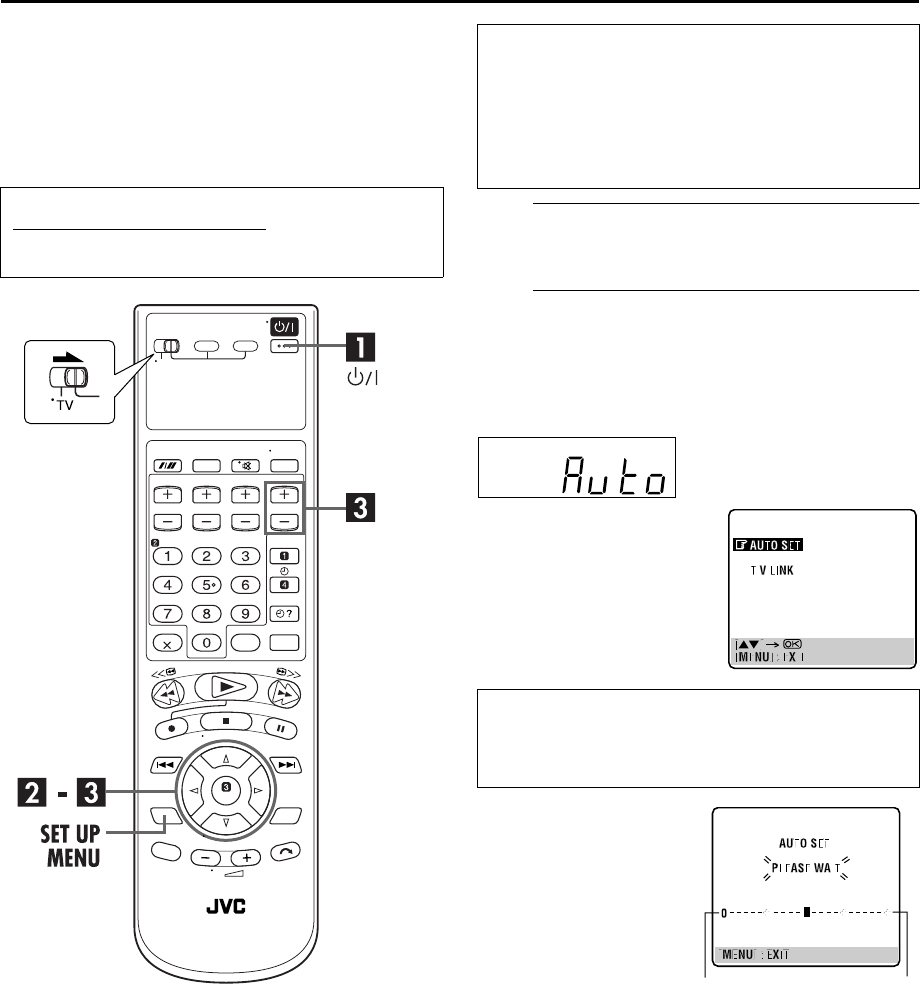
The AUTO SET/T-V LINK display appears on the front
display panel and/or on the TV screen.
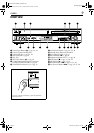
On the front display panel
Press
rt
to select “Auto” and press
OK
or
e
.
●
When you have connected the unit to a TV offering T-V Link
via a fully-wired 21-pin SCART cable (
੬
pg. 15) and the TV is
turned on, the unit automatically performs the Preset
Download (
੬
pg. 18) even if you select “Auto” or “AUTO
SET” for Auto Set Up function.
After the
1
button on the unit or remote control is pressed
for the first time to power on the unit
, the Auto Set Up
function sets the tuner channels, clock and Guide Program
numbers automatically.
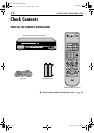
Before starting, make sure of the following:
●
The TV aerial cable should be connected to the unit.
●
The unit’s mains power cord should be connected to a
mains outlet.
●
The TV should be set to its AV mode (with AV connection
੬
pg. 15) or UHF channel 36 (with RF connection
੬
pg. 15).
●
Slide the
TV/S-VHS/DVD
switch to the right.
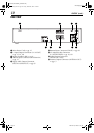
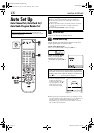
On the on-screen display
Press
rt
to move the
highlight bar (pointer) to
“AUTO SET” and press
OK
or
e
.
“Auto” blinks on the front display panel; do NOT press
any button on the unit or remote control until the front
display panel shows either the display as illustrated in
step
C
or “– –:– –” as illustrated on page 19.
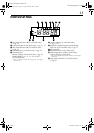
●
If you are using the on-screen
display, the AUTO SET
screen will appear. As Auto
Set Up progresses, the “
q
”
mark on the TV screen
moves from left to right.
Beginning End
XVS20EK_01.book Page 16 Friday, March 28, 2003 7:00 PM