


54
6.2.2 COMMAND Types
6.2.2.0 Command (Main Category=0x02)
6.2.2.1 Handshake (Second Category=0x01)
PC Request: <0x41>, <0x01>, <0x20>, <0x02>, <0x01>, <0x00>, <0x4f>
DVR Response: <0x41>, <0x20>, <0x01>, <0x02>, <0x08>, <0x00>, <0x4f>
6.2.2.2 Request Time (Second Category=0x02)
PC Request: <0x41>, <0x01>, <0x20>, <0x02>, <0x02>, <0x00>, <0x4f>
DVR Response: <0x41>, <0x20>, <0x01>, <0x02>, <0x02>, <0x07>, <7 Time Value >, <0x4f>
The following case is an illustration of < 7 Time Value>
2001/06/20 17:05:00 = <0xD1>, <0x07>, <0x06>, <0x14>, <0x11>, <0x05>, <0x00>
6.2.2.3 Set Time (Second Category=0x02)
PC Request: <0x41>, <0x01>, <0x20>, <0x02>, <0x02>, <0x07>, < 7 Time Value >, <0x4f>
ʳʳThe following case is an illustration of < 7 Time Value>
2001/06/20 17:05:00 = <0xD1>, <0x07>, <0x06>, <0x14>, <0x11>, <0x05>, <0x00>
DVR Act: Changing the time and date.
6.2.2.4 Request State (Second Category=0x06)
PC Request: <0x41>, <0x01>, <0x20>, <0x02>, <0x06>, <0x00>, <0x4f>
DVR Response: <0x41>, <0x20>, <0x01>, <0x02>, <0x06>, <0x01>,
<System State = 0..>, <0x4f>
Description of <System State>:
DEC HEX
STATE_STOP 0 00
STATE_REC 1 01
STATE_PLAY 3 03
STATE_SETUP 6 06
STATE_SEARCH 7 07
STATE_BACKUP 15 0F
STATE_NET_PLAY 23 17
6.2.2.5 Time Search (Second Category=0x0b)
PC Request: <0x41>, <0x01>, <0x20>, <0x02>, <0x0b>, <0x06>, <6 Time Value >, <0x4f>
where < 6 Time Value > = year ( 2 bytes, = LowByte + HighByte*256 ), month ( 1 byte),
day (1 byte), hour(1 byte),min(1 byte)
Example: to search 06/12/2002 17:00 the Time Value =
<0xd2>,<0x07><0x06>,<0x0b>,<0x11>,<0x00> where 2003= 210(=0xd3) + 7(=0x07) *256
NOTE: The DVR accepts RS-232 time search commands only under the live or playback
Mode.
55
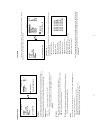
7. Mobile Rack Installation
Usually, the unit comes with one hard-disk drive installed in compartment HD 1, which is
default-configured as a master. The jumper settings configuration of the installed hard-disk drives for
the unit and compatible drives which can be used with this unit are listed in the table below. To install
a hard-disk drive in compartment HD 2, please take the following steps.
The jumper settings of hard-disk drives for the system
Location Jumper
IDE 1 Compartment HD 1 Master
IDE 2 Compartment HD 2 Master
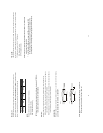
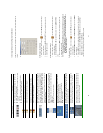
1. Make sure that the key unlocked.
2. Pull the active-handle outward to remove the carrier body away from
the mobile rack
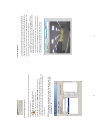
3. Slide the top cover backward and remove.
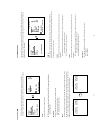
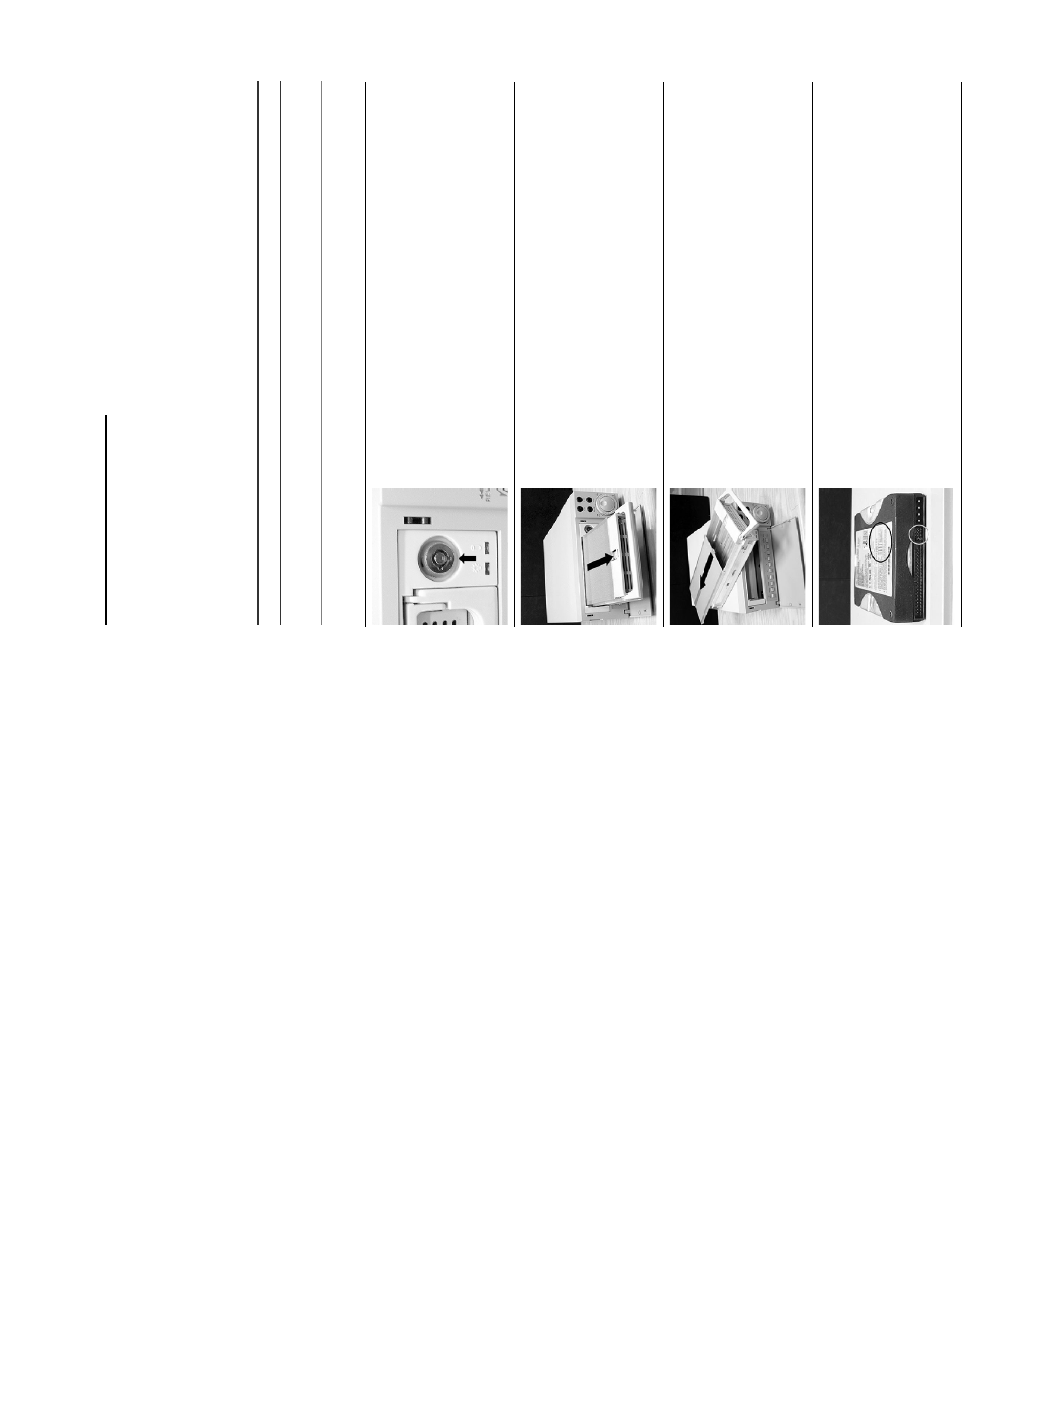
4. Setting the jumper of your hard-disk drive. The way to set the jumper
of the drive varies between manufacturers; please refer to the
instructions on the drive to set the jumpers in the master position.