


66
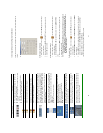
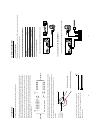
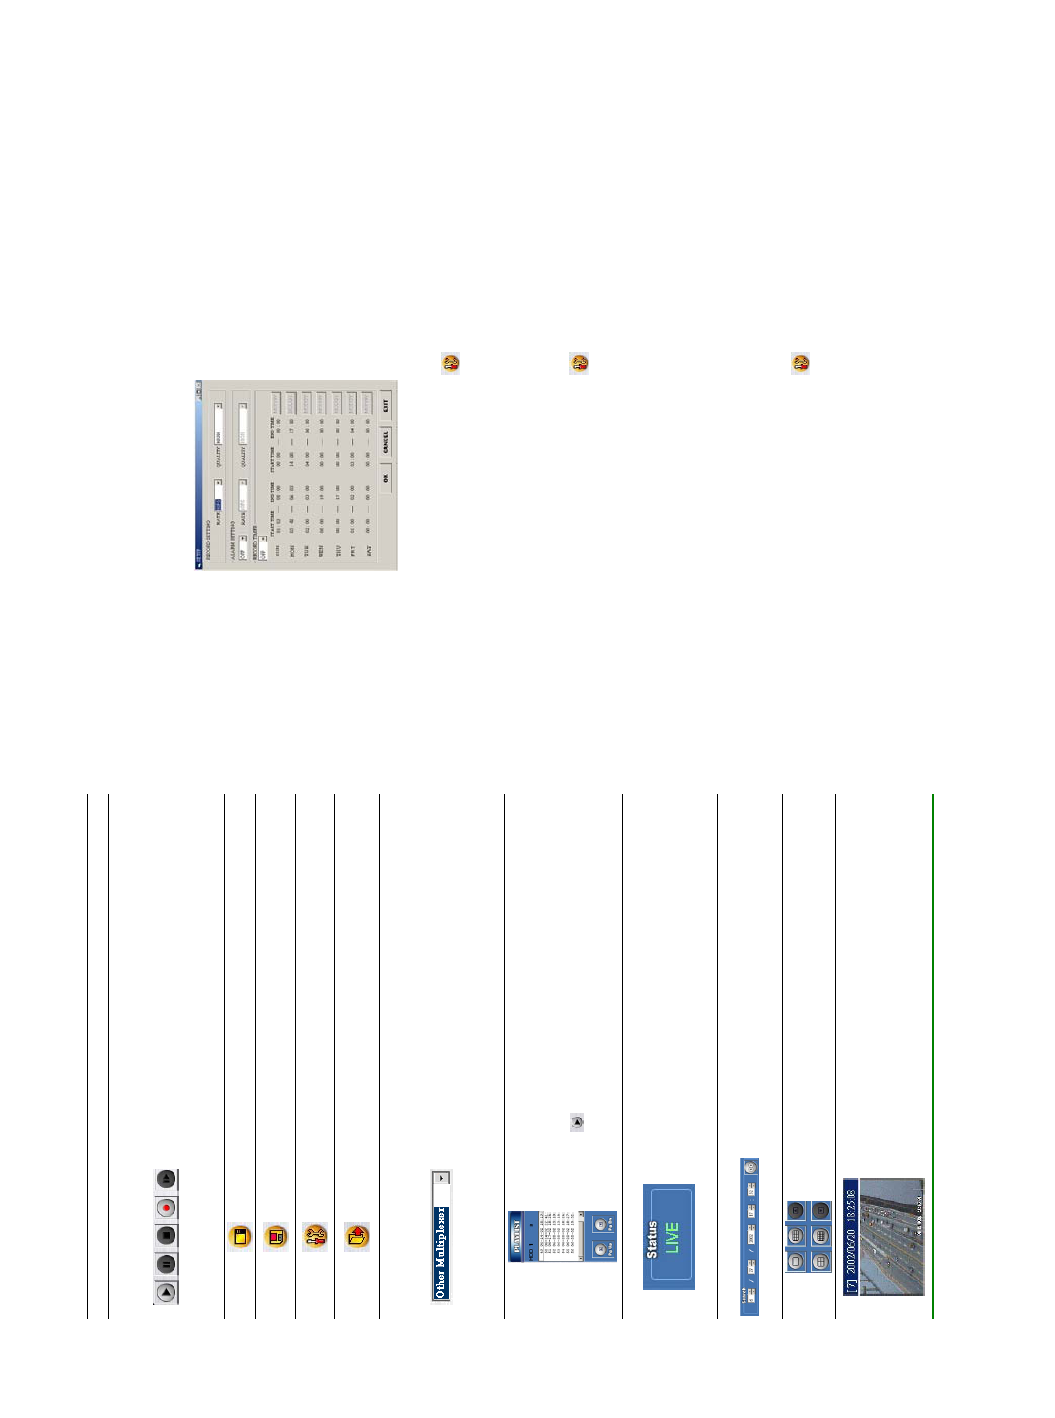
Function Buttons
Description
Playback function bar.
z Play- Click to play back a recorded video from the PLAY LIST.
z Pause- Click to freeze the image.
z Stop- Click to stop playing back the recorded video or cease
recording.
z REC- Click to activate the recording function of the device.
z Step- Click to view images picture-by-picture.
Click to return to the Multi-Device mode.
Click to save a viewing image in the local computer.
Click to enter the SETUP page, which allows you to program the
recording rate, recording quality, and schedule recording.
Click to exit the Network Viewer program.
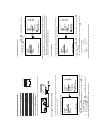
Multiplexer format list box.
Select a MUX from the drop-down list which is connected with the
DVR, so the Network Viewer will be able to display cameras in
corresponding to the camera input of the Multiplexer. If your MUX
isn’t available, please select the Other Multiplexer option for use.
The Viewer will display cameras in the thumbnail format.
(Sequentially displaying images will appear one after another in the
adjacent display window)
Recorded video list box. This box allows you to access all recorded
video, which are stored in the HDD of the connected devices. To
review a recorded video, just click an entry from the list and click
the
button.
PgUp/PgDn: To scroll up and down the list.
VR-601 Status Box. This box indicates the selected device status.
PLAY: The device is in the playback mode.
LIVE: The device is in the live display mode.
WAIT: The device is processing the command.
PAUSE: Pauses the image.
This allows you to search a recorded video kept in the HDD of the
device. Enter the MONTH/DAY/YEAR HOUR: MINUTE you wish to
search and click GO to proceed.
Split-Screen display function bar. This allows you to display the
selected device in multi-format screens of 1, 2x2, 3x3, and 4x4.
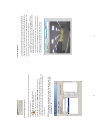
Image display area. Displays the images of each camera and the
title and time/date information on the top blue bar. Double click the
image to view a full screen of the camera.
67
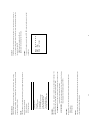
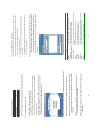
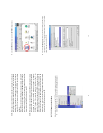
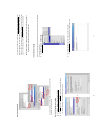
10.1.4 Change the Record & Timer Properties Via the Network
Follow the instructions below to reconfigure the record and schedule recording settings via the
network.
A.
Set the regular record settings
1. When in the single –device mode, click to enter the SETUP page. (See the sample
screen as in A above)
2. Select a desired recording RATE and QUALITY from the corresponding drop-down list
3. Click the OK tag to proceed.
Set the Alarm record settings
1. When in the single –device mode, click to enter the SETUP page. (See the sample
screen as in A above)
2. Set the ALARM SETTING to ON to enable the drop-down list in the ALARM SETTING
area.
3. Select a desired recording RATE and QUALITY from the corresponding drop-down list.
4. Click the OK tag to proceed.
NOTE: When the setting of VR-601U(NTSC) is performed from Network Viewer, please set
ALARM OPERATION option to OFF in advance. Otherwise, the refresh rate for
VR-601E(PAL) is displayed. In that case, please set ALARM OPERATION option to
OFF and restart Network Viewer.
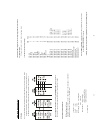
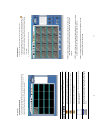
Set the record timer
1. When in the single –device mode, click to enter the SETUP page. (See the sample
screen as in A above)
2. Set the RECORD TIMER to ON to enable the RECORD TIMER setting area. The MODIFY
button will appear.
3. Click the MODIFY button to set the schedule for recording for each day. (See the sample
screen below) Go to both the START TIME & END TIME boxes, enter a specific Hour:
Minute and click OK to return to the SETUP page.
4.When all required settings are completed, click OK to proceed.