15
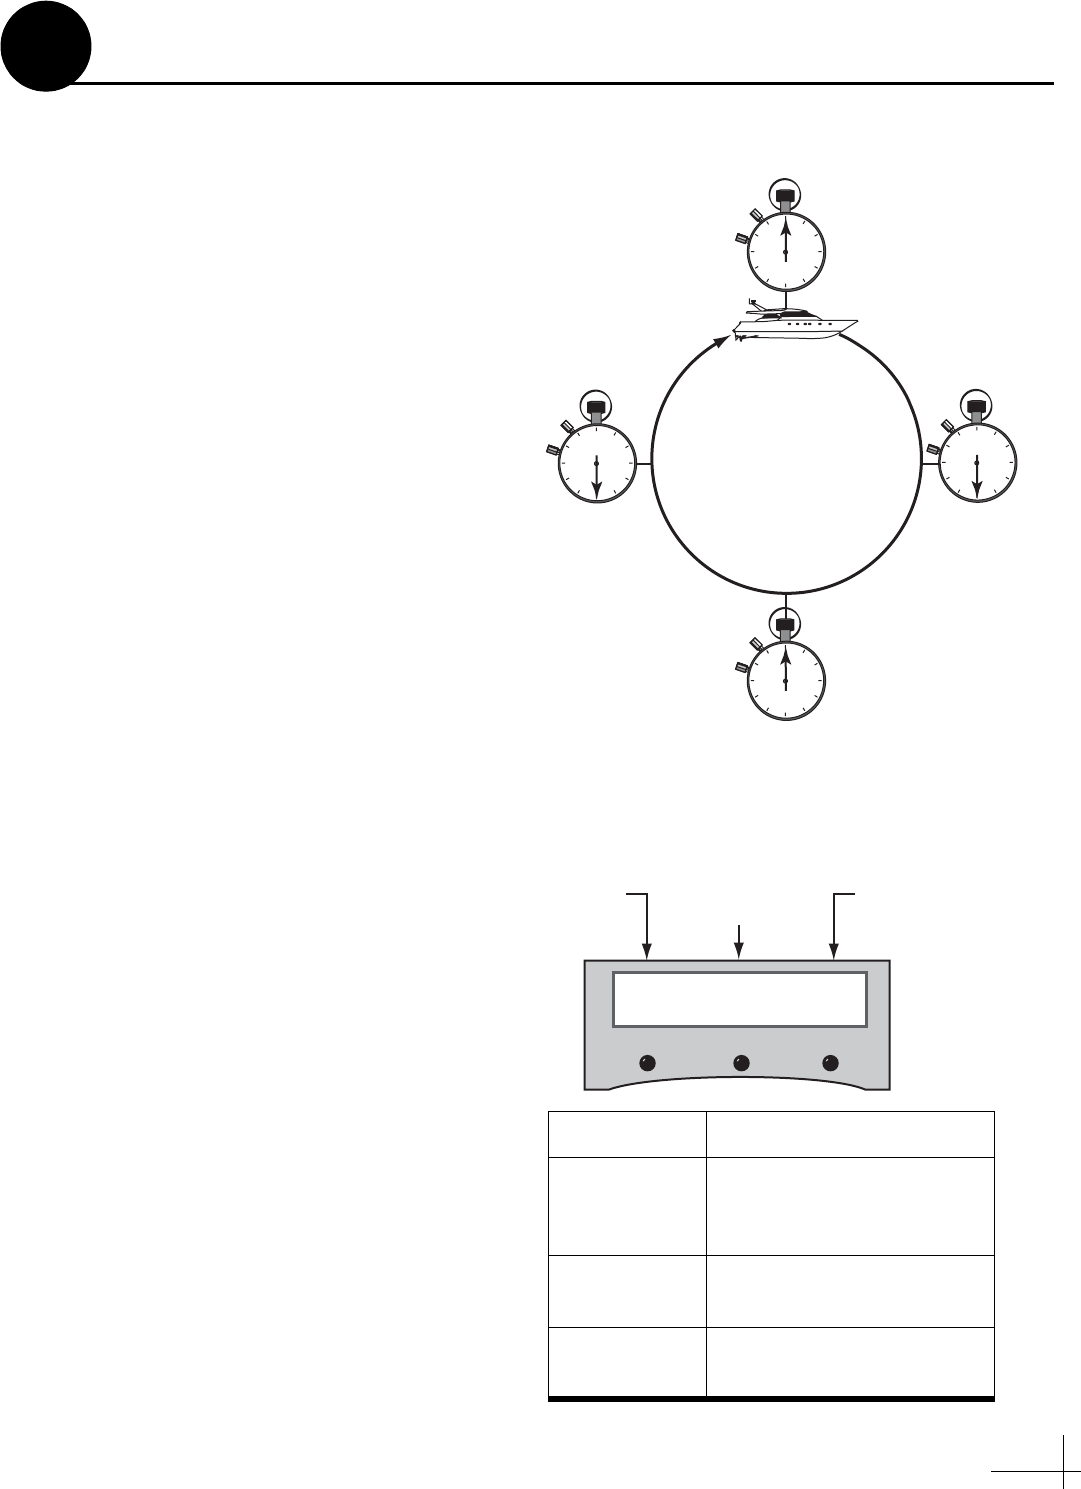
d. Steer the vessel at a slow, steady speed
through a complete circle that takes at least
two minutes to complete (see Figure 28). Use
the heading you noted in Step c to confirm
when you have completed a full circle.
Check the Calibration Score
Once you have completed the circle, follow these
steps to check the calibration “score.”
a. Press the center MENU button on the MCU
to access the onscreen menu.
b. At “Install Satellite?”, press NEXT until the
display shows “Operations Mode?” Then
press YES.
c. At “Get Antenna Status?”, press NEXT until
the display shows “Control Compass?” Then
press YES.
d. At “Set Autocal on/off?”, press NEXT until
the display shows “Get Cal Score?” Then
press YES.
e. The display shows the score for the
calibration you performed (see Figure 29).
f. If Accuracy = “BAD CAL”:
Recalibrate the sensor by navigating through
an additional circle. Repeat until you achieve
a suitable accuracy rating.
g. If Mag. Environment = “POOR” or “BAD”:
Check the area around the antenna for
materials that might cause magnetic
interference. Relocate the materials, if
possible, or relocate the antenna to a more
favorable magnetic environment (see Step 2
on page 4 for details). Then clear the
calibration score (see Appendix E on page 30)
and recalibrate the sensor.
h. Press any button. The display returns to the
“Get Cal score?” screen.
i. Press RETURN until you exit the menu.
NOTE: The Autocalibration function turns off
automatically once the system achieves a good
calibration score.
30 Seconds
1 Minute
1 Minute,
30 Seconds
2 Minutes
Figure 28: Running Autocalibration
ACC MagEnv Cal#
CAL<1° GOOD 1
Accuracy
Rating
Calibration
Number
Magnetic
Environment
Figure 29: Calibration Score Example
Data Field Description
Accuracy
Rating
Degree of accuracy the
sensor will provide
(CAL<1º = within 1º)
Magnetic
Environment
Quality of the antenna’s
installation site
Calibration
Number
Number of times the
sensor was calibrated
Continued...
12
