


102
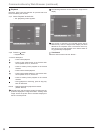
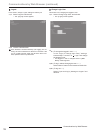
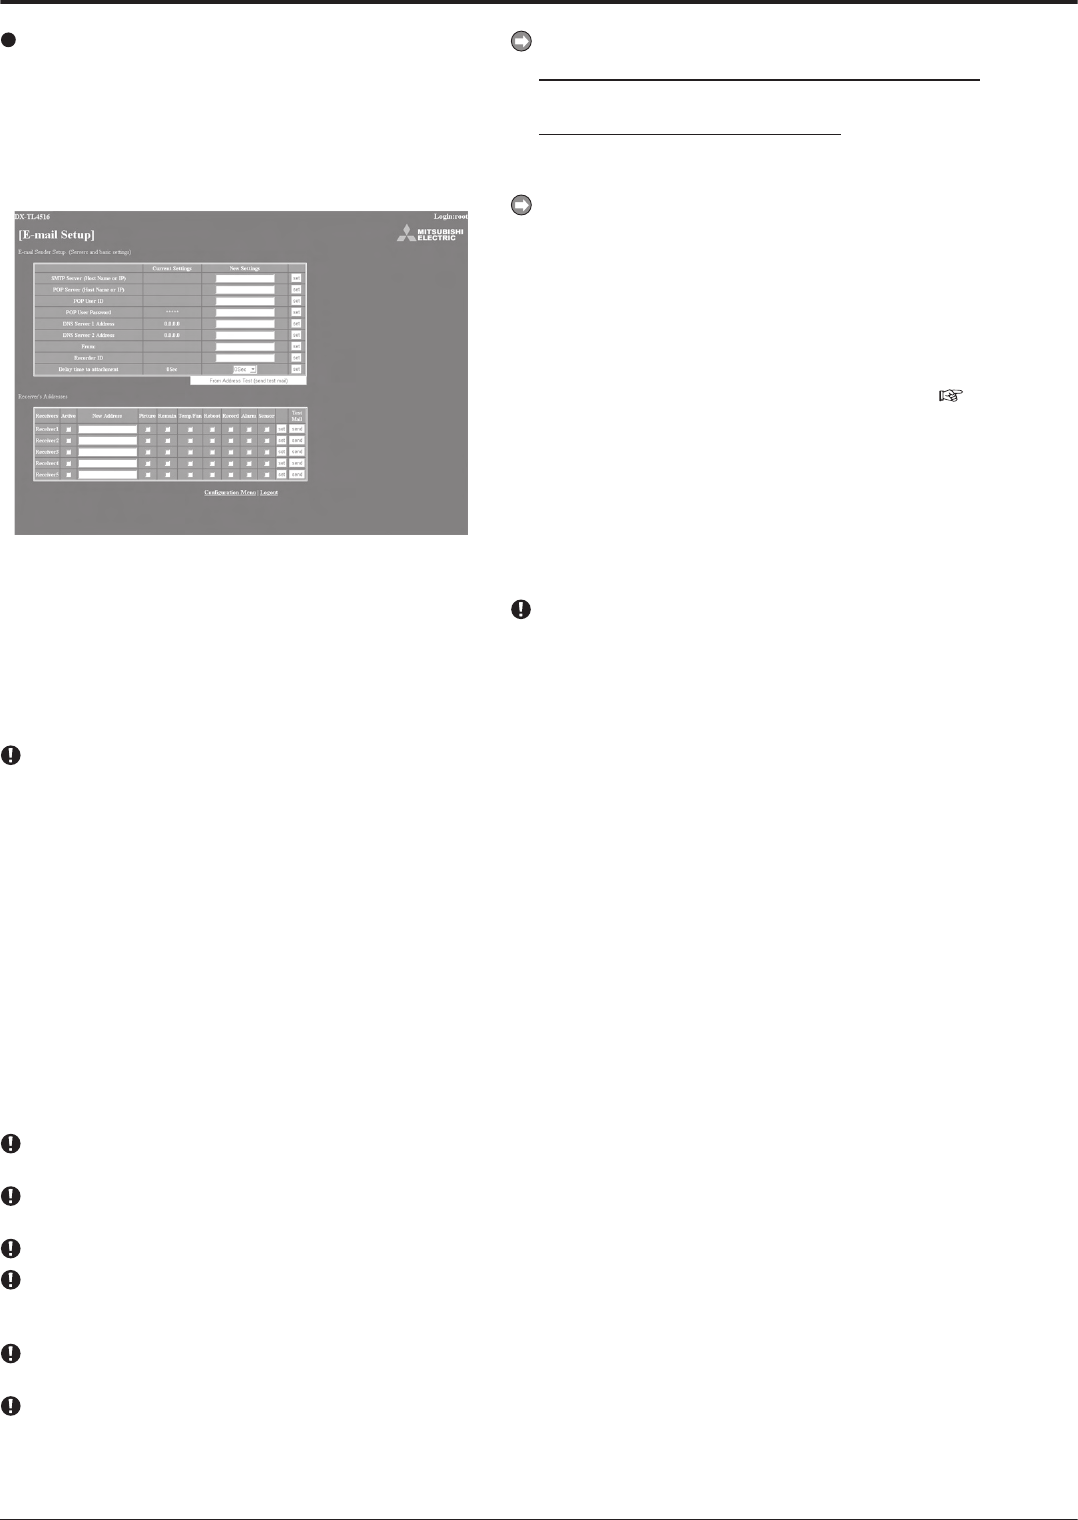
E-mail Setup
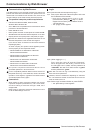
This is the screen for setting the information related to the
e-mail server or sender, and for setting the e-mail address of
the receiver.
step
1. Select “E-mail Setup” and left-click.
• The “[E-mail Setup]” screen appears.
step
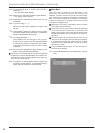
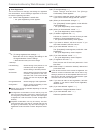
2. (When making the settings to send the e-mail • • •)
Input the desired settings for “SMTP Server (Host
Name or IP),” “POP Server (Host Name or IP),”
“POP User ID,” “POP User Password,” “DNS Server
1 Address,” “DNS Server 2 Address,” “From:,” and
“Recorder ID.”
• The settings currently set are shown in the
“Current Settings.”
The maximum number of characters that can be used to
set the e-mail address is 49.
step
3. To send the test e-mail, select “From Address Test
(send test mail)” and left-click.
step
4. (When attaching alarm recording picture to e-mail •
• •)
Put a check mark on “Picture” checkbox.
• E-mail with the picture which is captured during
alarm recording is sent to the marked user. The
file extension of the picture data file which is
attached to e-mail is “.aap”.
•
“Delay time to attachment” is used to determine
the timing of capturing the picture to be
attached. The time period between occurrence
of alarm and capture of the picture can be set
up to 10 seconds.
You cannot send the picture when the alarm recording is
not performed.
The picture to be attached is captured during alarm
recording of which trigger is input of the rear terminal.
To perform this function, put a check mark on “Sensor.”
When the multiple notifications are occurred at the same
time, notification may be delayed or not all the items may
be notified.
When the alarm recording time is shorter than the
specified delay time, the picture cannot be attached.
When the multiple alarm signals are input at the same
time, only the picture from the camera corresponding to
the lowest sensor number is attached.
To view the attached picture:
In the PC with DX-PC55U (version 2.1 or later) installed,
click or double click the file.
In the PC without DX-PC55U installed,
drag the file and drop it into the “MPicViewer.exe” which
is stored in the supplied CD.
The displayed picture can be printed or can be saved in
general image formats.
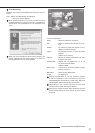
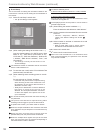
step
5
-1
. (When setting the receiver’s address • • •)
Enter the desired e-mail address to “New Address.”
step
5
-2
. Set the contents to be transmitted from the recorder
to the PC.
• “Remain,” “Temp/Fan,” “Reboot,” “Record,”
“Alarm,” and “Sensor” settings can be set.
page 71.
step
5
-3
. Select whether to activate or inactivate the e-mail
address you have set.
• When a check mark is put to “Active” column,
the selected e-mail address becomes active.
step
5
-4
. Select “set” and left-click.
step
5
-5
. Select “send” to send the test e-mail.
When the e-mail notifications or IP notifications have
been occurred frequently, the operation of the recorder
may become unstable.
Communications by Web Browser (continued)