


60
4) Unlock the PASSWORD LOCK of level 2.
• The PASSWORD LOCK of level 3 turns on.
When the PASSWORD LOCK of level 3 turns on, the fol-
lowing operations are locked.
•
Menu operations of <Setup Menu> and <System
Menu>
5)
Unlock the PASSWORD LOCK of level 3.
• The PASSWORD LOCK of all the levels are
released.
You can operate all the functions.
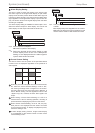
Registering the PASSWORD
Register a 4-digit number for PASSWORD. When setting the
number of each digit, choose the number from 0 to 9.
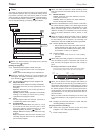
1
2
3
4
4
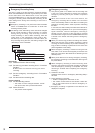
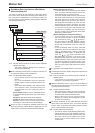
System
4
steps
1-1 to 1-3
steps
2-1 to 2-2
Level 1
Disk Management Password
Level 2
Level 3
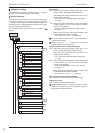
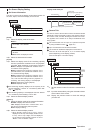
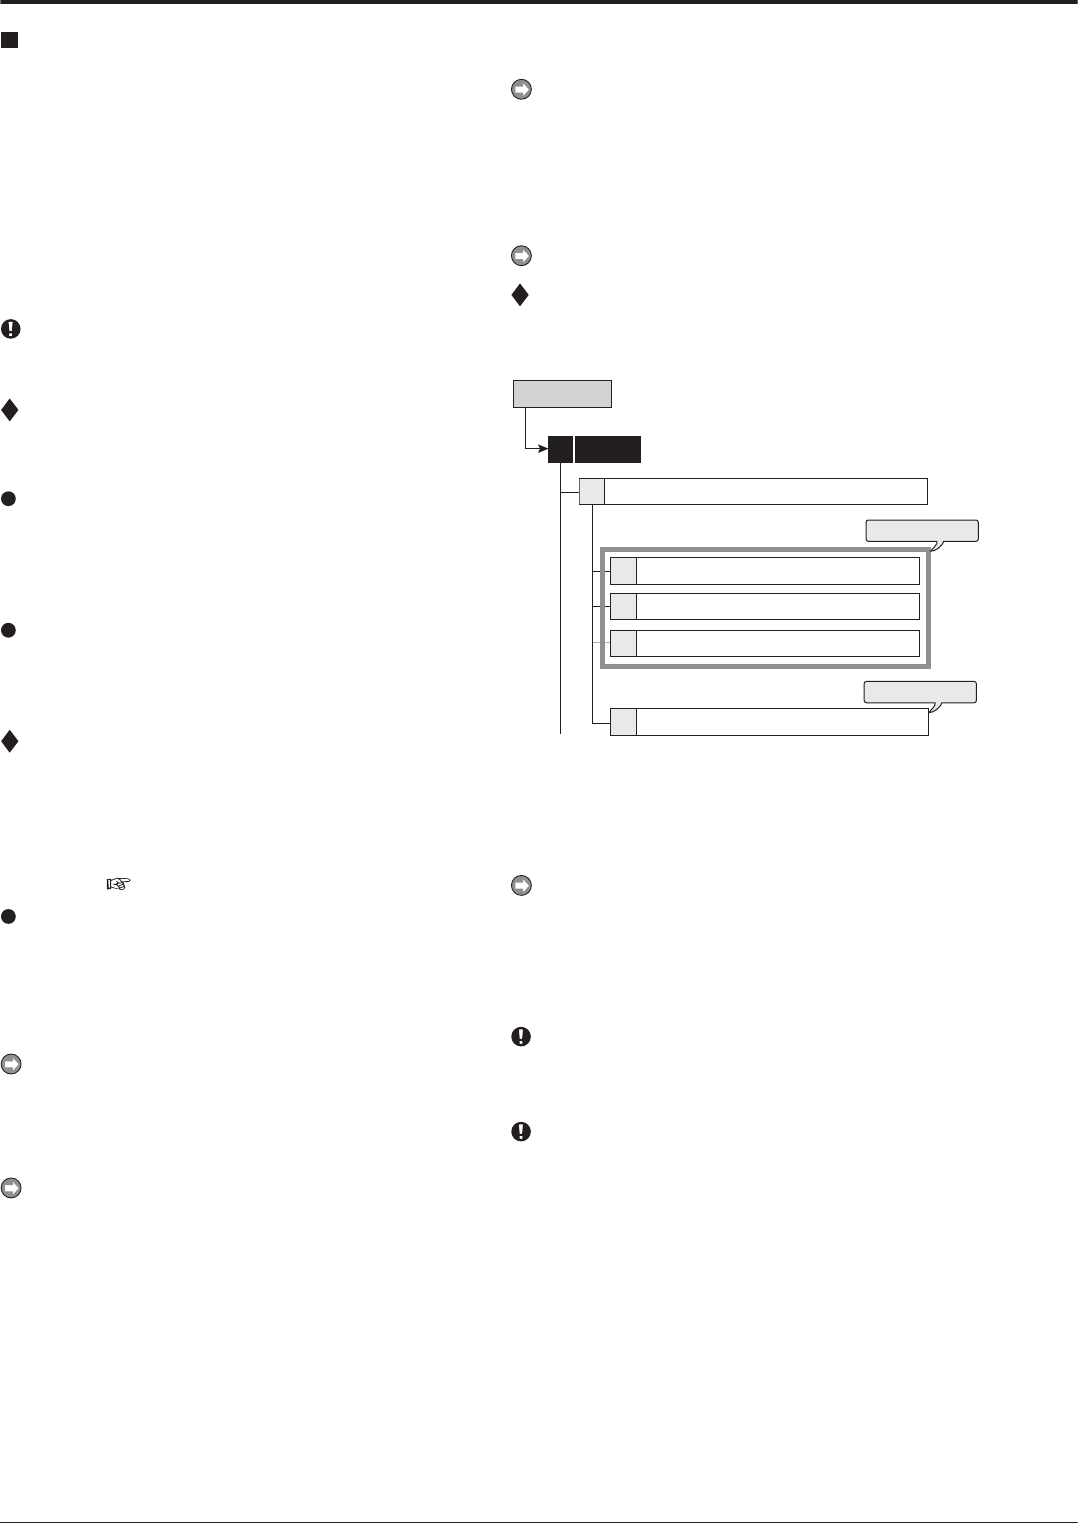
Setup Menu
Password Setting
[for the levels 1 to 3]
step
1
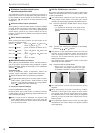
-1
. Display the password setting screen of the desired
level.
step
1
-2
. Input 4 digits of the password by pressing the
numbers on the screen.
To input the password using the buttons on the front pan-
el, use the camera number buttons. 1 to 9 are assigned
to the camera number button 1 to 9, 0 is assigned to the
button 10.
step
1
-3
. Input the same password to “Confirm Password” as
entered in “Password.”
Input the same number in “Password” and “Confirm Pass-
word.” When the different password number is input, the
password already input is cancelled and the setting re-
turns to step 1-1.
It is not necessary to input the password for all the levels,
1 to 3. Input the password for the desired level only.
[for the disk management password]
step
2
-1
. Input 4 digits of the password by pressing the
numbers in the <Disk Management Password>.
step
2
-2
. Input the same password to “Confirm Password” as
entered in “Password.”
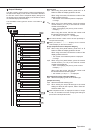
Password Setting
This menu is used to set the password for the lock function.
This unit is equipped with 2 lock functions:
SIMPLE
LOCK: Does not require to enter a password when
unlocking.
P
ASSWORD LOCK: Requires to enter a password when un-
locking.
•
When the password for unlocking is not set, lock function
executes in SIMPLE LOCK.
•
When the password for unlocking is set, lock function ex-
ecutes in P
ASSWORD LOCK.
When the MAIN switch on the rear panel is set to OFF
or when a menu is displayed, SIMPLE LOCK and PASS-
WORD LOCK cannot be turned on/of
f.
SIMPLE LOCK
When SIMPLE LOCK is turned on, all the operations become
inoperable and the unit is locked in the current mode.
Activating the simple lock
step
1. Press the LOCK button while the MAIN switch is set
to ON.
• The lock turns on and the LOCK indicator lights
up.
Releasing the simple lock
step
1. Press the LOCK button for more than 2 seconds.
• The lock is released and the LOCK indicator
turns off.
PASSWORD LOCK
There are 2 types of PASSWORD LOCK, “Operation control”
and “Disk management.”
“Operation control” has 3 levels of lock (levels 1 to 3).
“
Disk management” locks the settings of <Data Clear> for
main device (
page 79).
Using “Operation control” of PASSWORD LOCK
(level 1 to 3)
1) Input the PASSWORD of levels 1 to 3.
2) Press the LOCK button to activate the PASSWORD
LOCK.
•
The PASSWORD LOCK of level 1 turns on.
When the PASSWORD LOCK of level 1 turns on, all the
operations except password lock release and help are
locked.
3)
Unlock the PASSWORD LOCK of level 1.
• The PASSWORD LOCK of level 2 turns on.
When the PASSWORD LOCK of level 2 turns on, the fol-
lowing operations are locked. Buttons and menu other
than mentioned below can be operated.
• On the front of the unit: POWER, REC/STOP, and
TIMER buttons
• On the remote controller: REC/STOP and TIMER ON/
OFF buttons
• Menu operations of <Setup Menu> and <System
Menu>
System (continued)
Setup Menu