


Chapter 6. Additional Features 85
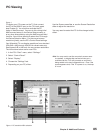
PC Viewing
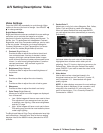
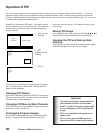
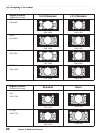
Figure 1
To display your PC screen on the TV, first connect
the PC to the HDMI 2 input on the TV’s back panel
(see Chapter 2). You must then activate the PC
option in NetCommand. You can do this during initial
NetCommand setup (in the Device Setup screen), or
at any time afterwards by using the NetCommand Add
function. You will then be able to select the PC through
the Device Selection Menu. For the correct screen
resolution (pixels), use the PC’s Control Panel settings.
Your Mitsubishi TV can display resolutions from standard
VGA (640 x 480) through XGA 60-Hz refresh rates only.
See Appendix B in this book for more screen resolutions.
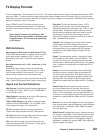
The instructions below are for most PCs.
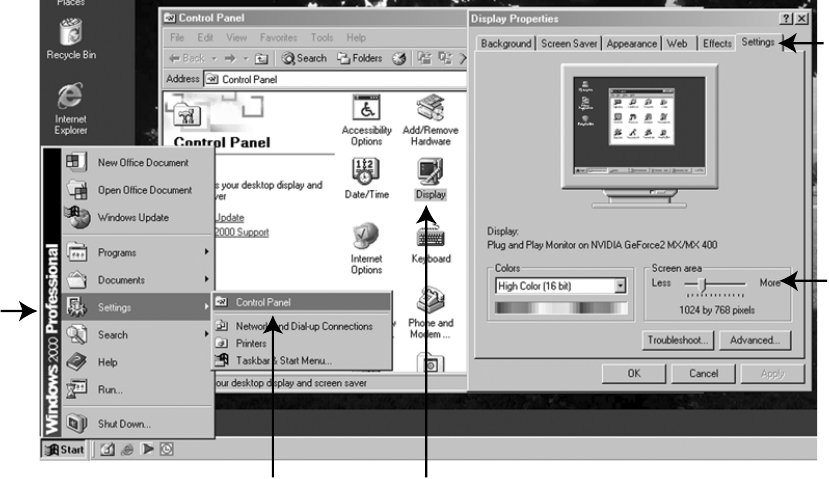
1. In the PC’s “Start” menu, select “Settings.”
2. Select “Control Panel.”
3. Select “Display.”
4. Choose the “Settings” tab.
5. Depending on your PC, either:
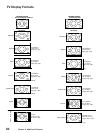
Figure 1. PC resolution XGA selection
1.
2.
3.
4.
5.
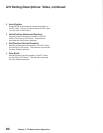
Hint: You may want to set the computer’s screen saver
to a pattern, to display after several minutes, as a
reminder that the TV is still powered on and time is
being added to the lamp’s elapsed hours. Even if the
screen appears dark, if the TV’s power is on, the lamp
is in use.
Use the Screen area slider or use the Screen Resolution
slider to adjust the resolution.
You may need to restart the PC for this change to take
effect.