34
6. Troubleshooting
6. Troubleshooting
If a problem persists even after applying the suggested remedies, contact an EIZO dealer.
• No picture problems See No.1 ~ No.2
• Imaging problems
See No.3 ~ No.14
• Other problems
See No.15~ No.18
• USB problems
See No.19
Problems Points to check with possible solutions
1. No picture
Indicator status: Off
•
Check that the power cord is connected correctly.
If the problem persists, turn off the monitor power
for a few minutes, then turn it back on and try
again.
•
T
ry pressing the Power Button.
Indicator status: Or
ange
•
Switch the signal input by pressing the Input
Signal Selection Button on the front control panel.
•
Try pressing a key on the keyboard or clic
king the
mouse (p. 26).
•
Try turning the PC on.
Indicator status: Blue
•
Set
eac
h RGB adjusting value in <Gain> to higher
level. (p. 25).
Indicator status: Flashing orange
•
Try pressing the Power Button.
2.
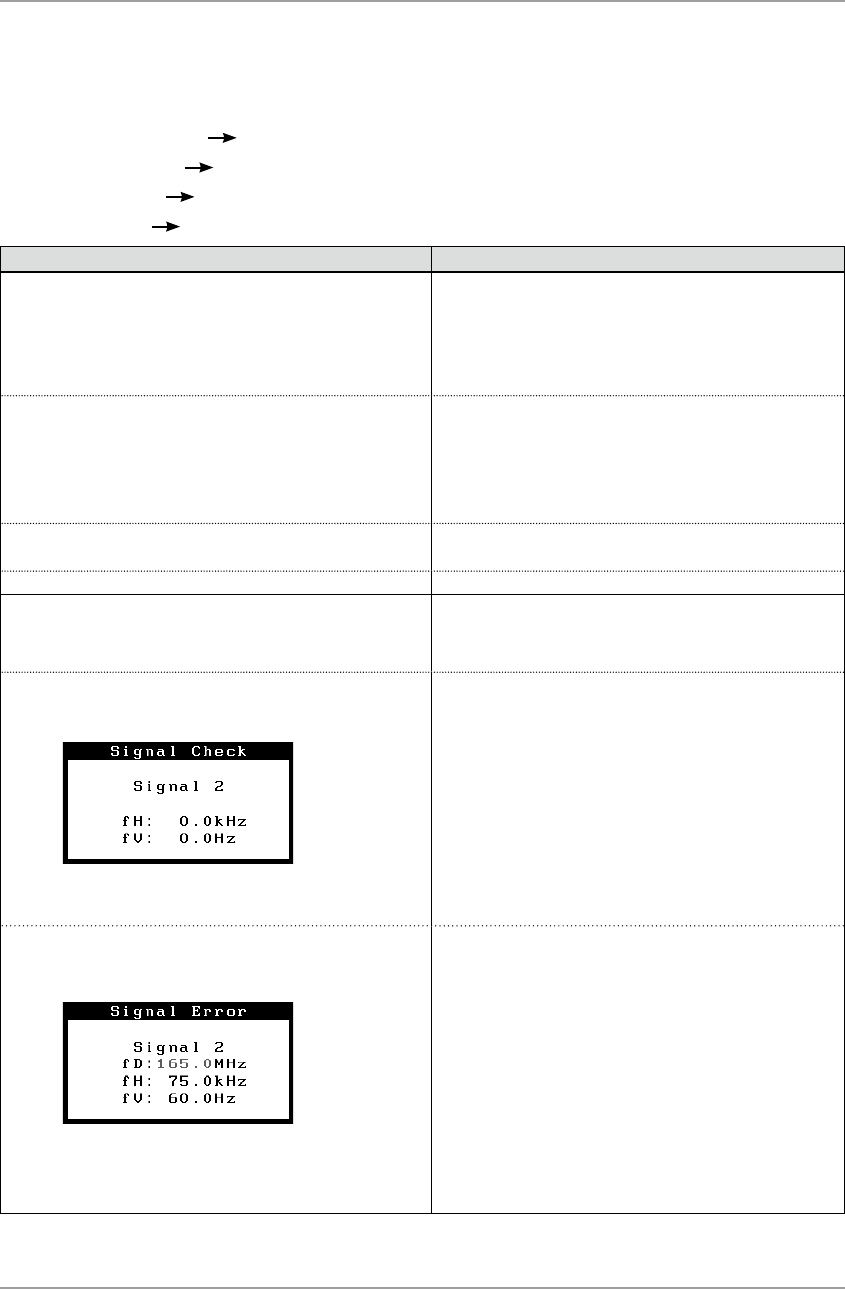
The message below appears. These messages appear when the signal is not
inputted correctly, even if the monitor functions
properly.
•
The message appears when the signal is not
input. (This is displayed for about 40 seconds)
•
The message might appear because some PCs
do not output the video signal immediately after
powering on. If the image is displayed correctly
after a short time, there is no problem with the
monitor.
•
Chec
k that the PC is turned on.
•
Check whether the signal cable is connected
proper
ly.
•
Switch the signal input by pressing the Input
Signal Selection Button on the front control panel.
•
The message appears when the signal is out of
input r
ange.
(Example)
•
Check whether the signal setting of your PC
matches the resolution and the vertical frequency
settings for the monitor.
•
Reboot the PC.
•
Use the graphics board’s utility software to
change the frequency setting. (Refer to the
man
ual of the graphics board.)
fD : Dot Clock
(Displayed only when the digital signal inputs)
fH : Horizontal Frequency
fV : Vertical Frequency


