34 Pelco Manual C671M (1/01)
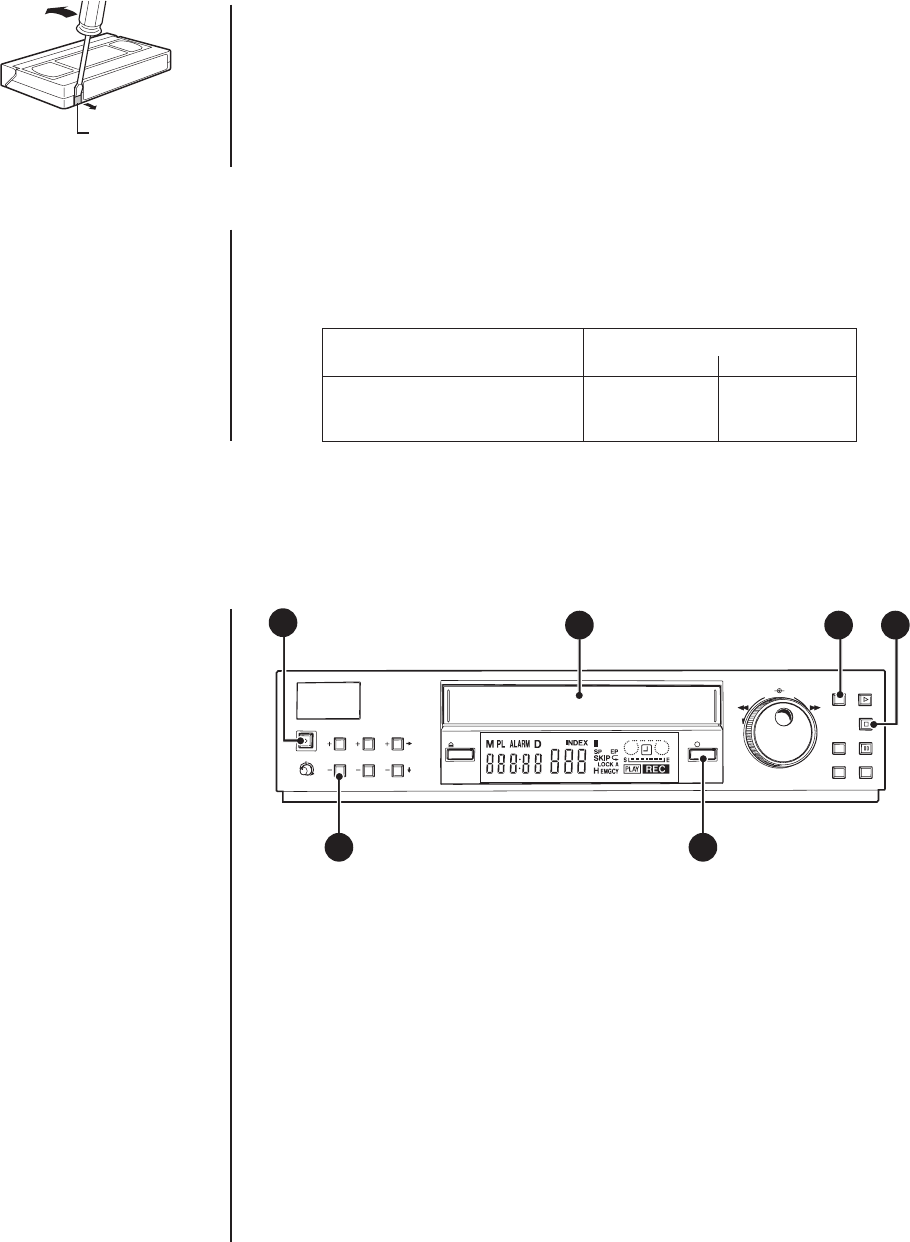
PREVENTING ACCIDENTAL ERASURE
Video cassettes come with an erasure prevention tab. Removing it stops the tape’s
contents from being erased or recorded over. The VCR automatically ejects a cassette if
you try to record over it with the erasure prevention tab removed.
DAMAGED CASSETTE TAPE
We recommend taking any torn or broken cassette tape requiring repair only to profession-
als who specialize in such procedures. The adhesives on many common types of tape
could damage the heads on the VCR.
WHEN TO REPLACE A TAPE
We recommend you replace the tape cassette with a new one according to the mode in
which it is used. Refer to Table B.
Table B. Tape Replacement By Use
Number of Tape Uses
Recording Time Mode T-120 T-160
8H 100 50
L24H 60 30
L40H 30 10
RECORDING
MANUAL RECORDING
00271
ERASURE
PREVENTION
TAB
00272
REMOTE
PICTURE
SOFT SHARP
REC/PLAY
MODE
TRACKING
JOG/ADJUST
EJECT REC
SHUTTLE
CLEAR/
REW
ENTER/
FW
MENU
/
TIME DATE ADJUST
PLAY/
REC CHECK
COUNTER
RESET
PAUSE/
SUTTLE HOLD
STOP
SEARCH TIMER REC
POSITON/
VERTICAL
ADJUST
3
6
5
4
1
2
1. Turn on the VCR and peripheral devices.
2. Load a cassette with the erasure prevention tab intact.
3. To record the day and time, display them on the monitor.
(If you are not using a multiplexer and the date and time do not appear on the monitor
and you want them recorded on tape, you must turn them on using the VCR’s menu
system. If you already have them supplied by a multiplexer, you probably will not want
them turned on via the VCR’s menu.)
4. Press the REC/PLAY MODE button to select the desired recording mode.
• The recording mode shown on the fluorescent display assumes the use of T-160
tape.
• Refer to the
Recording Mode
section for the actual recording/playback time when
T-120 or T-160 tape is used.
