29
English
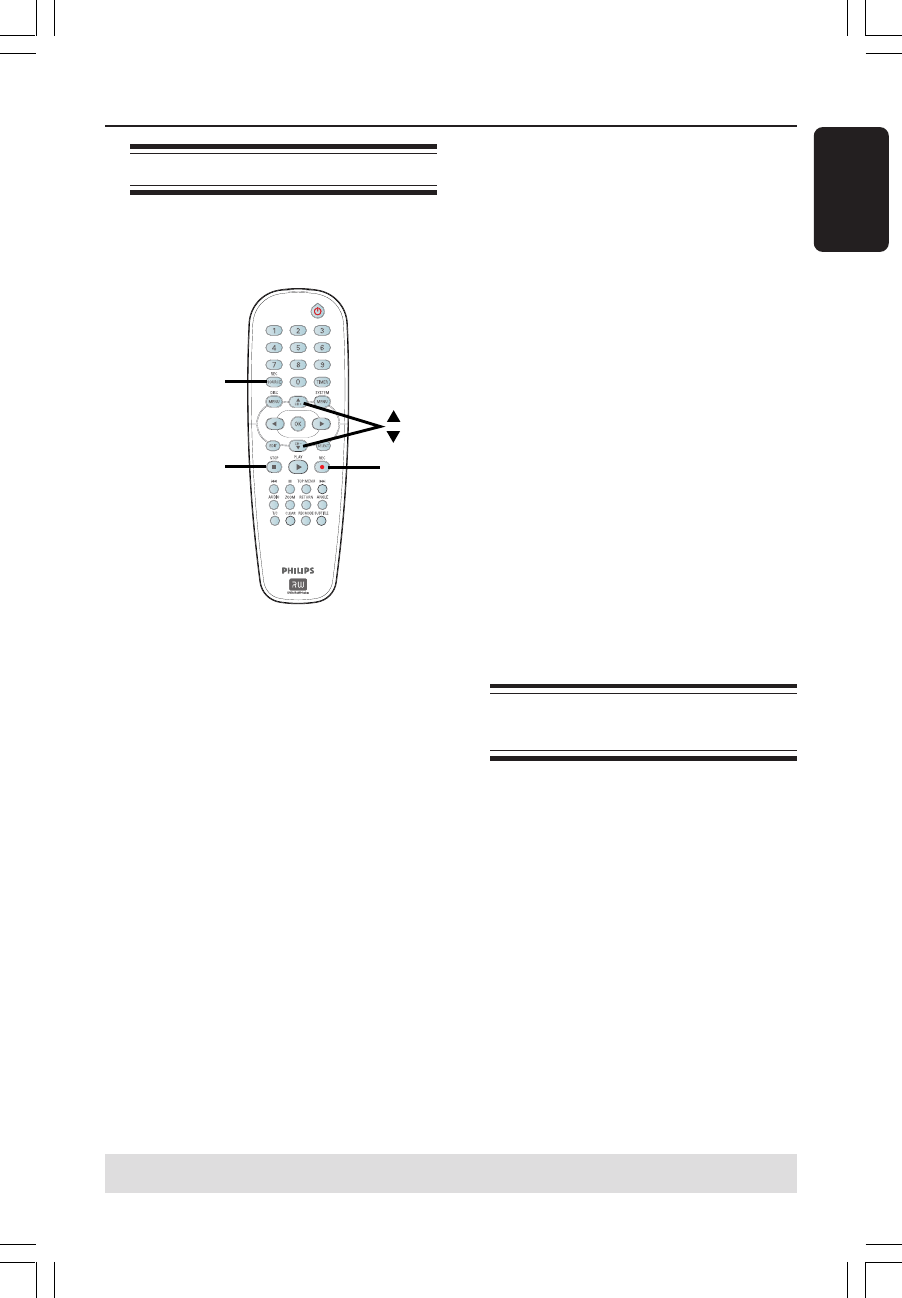
Manual recording
Use this feature to start recording
immediately (e.g., to record a TV show
already in progress.)
REC
SOURCE
STOP
REC
1 Turn on the TV power. Select the correct
Video In channel at the TV.
2 Insert a DVD+R/+RW disc into the DVD
recorder.
3 Press REC SOURCE on the remote
control to select { Tuner }, then use 3 4
keys to select the TV channel you wish to
record.
● To record from an external device, press
REC SOURCE repeatedly to select the
correct input channel that matches the
jack which is connected to the DVD
recorder.
{ Front CVBS }
Input source from the device connected to the
VIDEO and AUDIO L/R jacks on the front
panel.
{ Front S-Video }
Input source from the device connected to the
S-VIDEO and AUDIO L/R jacks on the front
panel.
{ Rear CVBS }
Input source from the device connected to the
VIDEO (CVBS)-IN-EXT and AUDIO L/R jacks
on the back panel.
{ Rear S-Video } :
Input source from the device connected to the
S-VIDEO (Y/C)-IN-EXT and AUDIO L/R jacks
on the back panel.
{ DV }
Input source from the device connected to DV
IN jack at the front panel.
4 Press REC 0 to start recording.
➜ The recording will automatically start
after the last recording on the
DVD+R/+RW.
5 To stop the recording, press STOP 9.
Pausing a recording
1 During a recording, press PAUSE ;.
➜ You can use this function to avoid
recording commercials.
2 To resume recording, press REC 0.
One Touch Recording -
automatic turn-off
1
Follow the steps 1~3 of “Manual
Recording” on pages 29.
2 Press REC 0 twice to start a 30 minutes
recording. Each time you press REC 0
after that, you will add 30 minutes to the
recording time.
➜ The recorder will stop recording at
the designated end time and turn off
automatically.
● Press STOP 9 if you wish to stop the
recording.
Recording (continued)
TIPS: Ensure that there is sufficient space available on the DVD+R/+RW before recording.
You have to finalize the DVD+R, before it can be played on other players, see page 36.
001_033_dvdr3355_37A_eng5 21/3/05, 3:18 PM29
