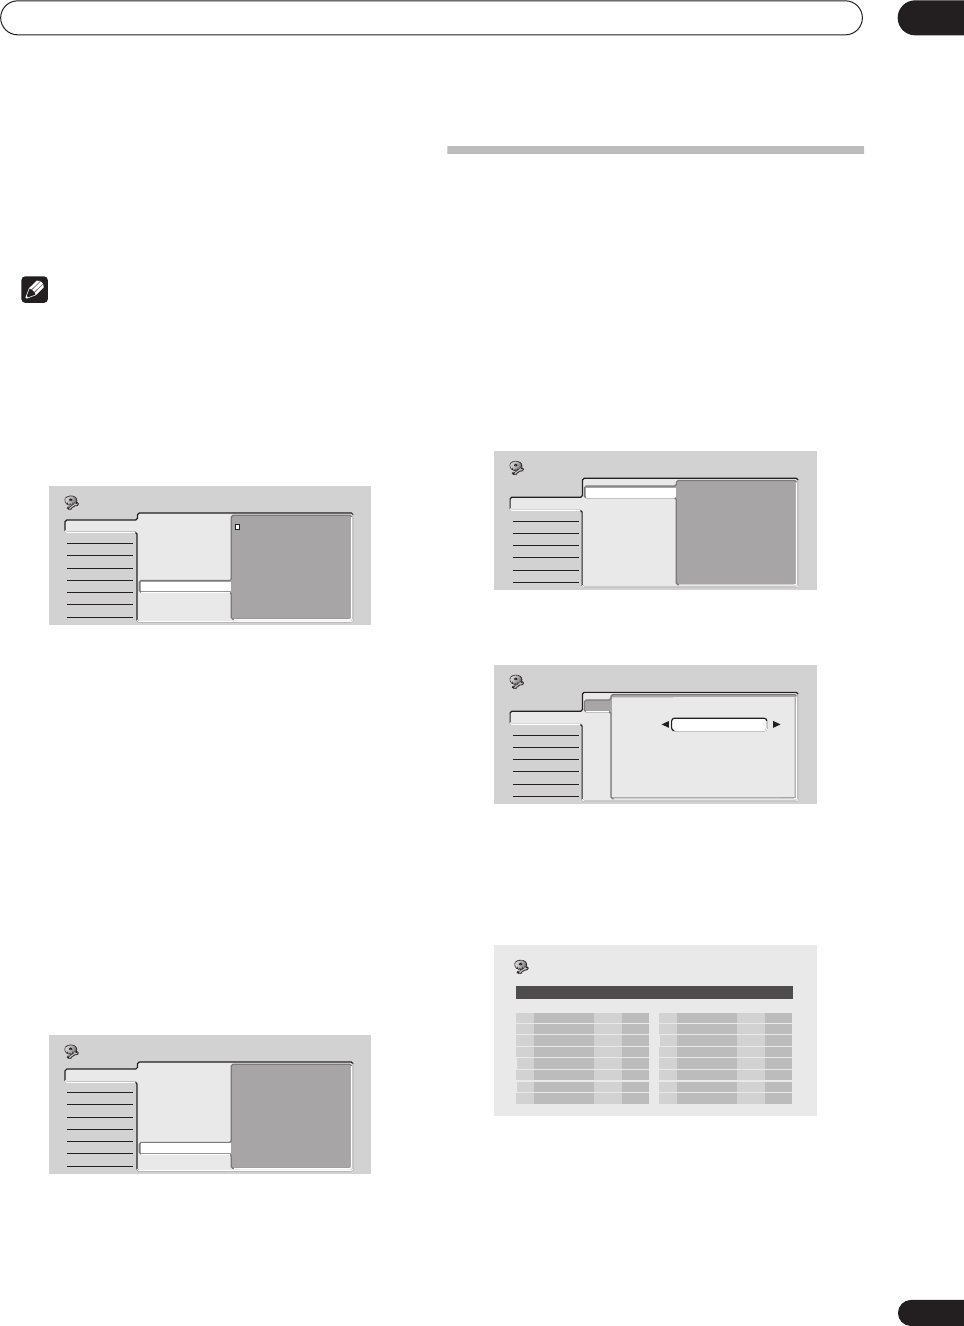
The Initial Setup menu
12
79
En
•
Mode1
– Through function only for the antenna
terminal
•
Mode2
– No through function
•
Off
– Through function for both antenna terminal
and AV connector
Note
• When a timer recording is set with VPS/PDC on,
SCART through is always active.
Remote Control Set
• Default setting:
Recorder1
You only need to set this if you are using more than one
Pioneer DVD recorder in the same room.
So that each remote control operates only its own
recorder, make this setting different for each recorder
and remote in the room.
There are three different recorder IDs. When set to
Recorder2
or
Recorder3
, the remote control mode is
shown in the front panel display.
After selecting a new recorder ID, you have to confirm the
change by selecting
Yes
or
No
(use the
/
(cursor
left/right) buttons), then pressing
ENTER
.
Note that as soon as you change the recorder ID, the
remote becomes inoperative until you change the remote
to the same ID.
To set the remote, press and hold
RETURN
and a number
button (
1
,
2
or
3
) until the indicator on the remote lights.
Setup Navigator
• Default setting:
n/a
The Setup Navigator appears automatically when you
switch on the recorder for the first time (or after resetting
the recorder). It is also available from the Initial Settings
menu should you need it at any other time.
See also
Switching on and setting up
on page 25.
Tuner settings
Auto Channel Setting : Auto Scan
This recorder has a built-in TV tuner for recording PAL B/
G, PAL I, SECAM L and SECAM D/K TV programs off the
air or from analog cable TV. We recommend that you first
use the Auto Channel Setting described here to tune into
the channels in your area, then if there are any unwanted
channels, you can disable them using Channel Skip
(described below).
1 Choose ‘Tuner’ from the Initial Setup menu, then
‘Auto Channel Setting’, then ‘Auto Scan’.
2 Select your country then press ENTER to start
tuning.
• You can cancel before auto tuning has finished by
pressing
ENTER
again.
After auto scanning has finished, the channel mapping
screen appears showing which channels have been
assigned to which program numbers.
Use the
PREV/NEXT
buttons to display the previous/next
page.
3 Press HOME MENU to exit this screen.
Basic
Tuner
Video In/Out
Audio In
Audio Out
Language
Recording
Playback
Clock Setting
Input Line System
On Screen Display
Front Panel Display
Power Save
Remote Control Set
Setup Navigator
Recorder1
Recorder2
Recorder3
Initial Setup
Basic
Tuner
Video In/Out
Audio In
Audio Out
Language
Recording
Playback
Clock Setting
Input Line System
On Screen Display
Front Panel Display
Power Save
Remote Control Set
Setup Navigator
Start
Initial Setup
Basic
Tuner
Video In/Out
Audio In
Audio Out
Language
Recording
Playback
Auto Channel Setting
Manual CH Setting
Channel Swapping
Set VIDEO Plus+ CH
Auto Scan
Download from TV
Initial Setup
Basic
Tuner
Video In/Out
Audio In
Audio Out
Language
Recording
Playback
Auto Channel Setting
Manual CH Setting
Channel Swapping
Set VIDEO Plus+ CH
Auto Channel Setting
Auto Channel Setting
Country
UK
Initial Setup
Pr System CH
Name
1 I 26
2 I 33
3 I 23
4 I 30
5 I 37
6 I 35
7 I 39
8 I 26
Pr System CH
Name
9 I 9
10 I 25
11 I 11
12 I 12
13 I 13
14 I 14
15 I 15
16 I 16
Initial Setup
1/7
Channel Mapping
DVR-04_UK.book 79 ページ 2004年4月11日 日曜日 午後5時20分


