Recording
05
38
En
Easy Timer Recording
As the name suggests, Easy Timer
Recording makes setting up a timer
recording as simple as possible.
1 Select ‘Timer Recording’ then
‘Easy Timer’ from the Home Menu.
2 Set the TV channel to
record.
3 Set the recording quality.
•
DVD recording:
The
AUTO
option
automatically sets the best recording
quality for the space available on the
disc loaded at the time of recording.
•
HDD recording:
The
AUTO
option
automatically sets the best recording
quality that would fit on to a blank DVD
disc.
4 Select the HDD or
DVD for recording.
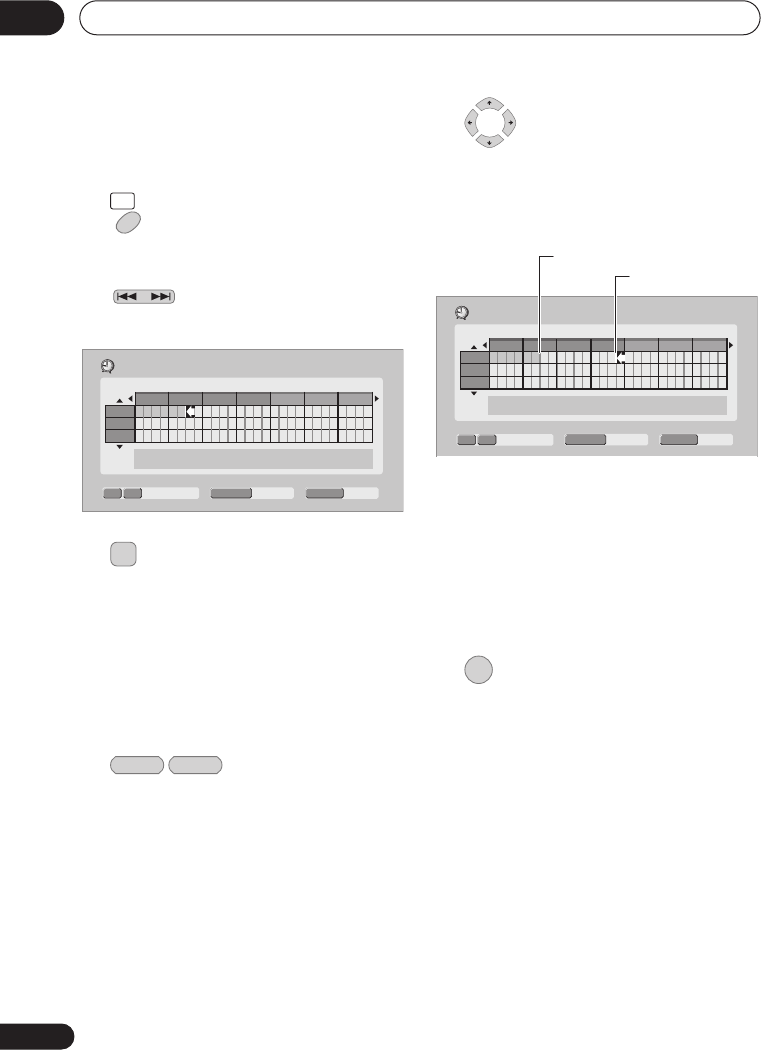
5 Move the cursor to the
recording start date and time on the grid.
• You can move the cursor forward or back
an hour at a time using the
REV
SCAN
and
FWD SCAN
buttons.
Each row of the grid is one day (you can set
the timer recording for up to a month in
advance). Each column is a 15 minute
interval.
The darker area represents time that has
already passed and can’t therefore be
selected. The lighter area is time that’s
available.
6 Set the start time.
The start date and time is displayed in the
middle of the screen.
• You can go back and reset the start time
if you need to by pressing
RETURN
.
HOME
MENU
PREV NEXT
Easy Timer Recording
Pr 7
SAT 1/01
9:30
HDD
HDD/DVD
SP
REC MODE
8:00
9:00 10:00 11:00 12:00 13:00 14:00
– ––:––
1/01
2/01
3/01
REC MODE
HDD DVD
Easy Timer Recording
Pr 7
SAT 1/01
11:45
HDD
HDD/DVD
SP
REC MODE
8:00
9:00 10:00 11:00 12:00 13:00 14:00
– ––:––
1/01
2/01
3/01
Current time
Recording start time
ENTER
DVR640H_RLT_EN.book 38 ページ 2006年4月11日 火曜日 午後12時26分


