


22
3. Installation Procedures
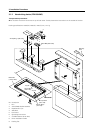
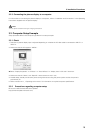
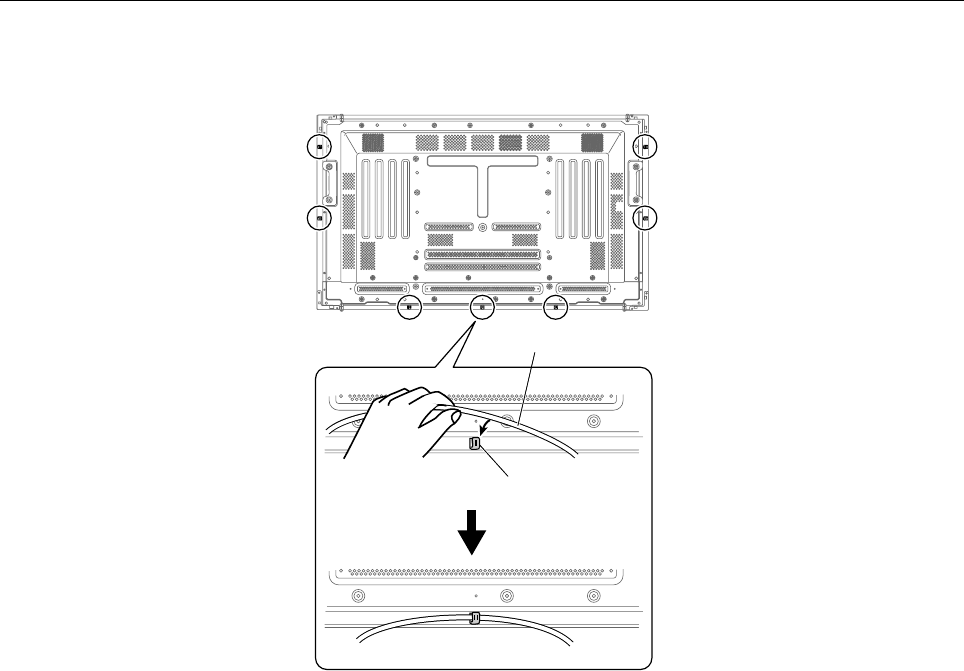
3.7 How to Use Cable Clip
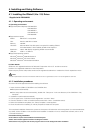
Use the cable clip to hold the unit's USB cable.
USB cable
Cable clip
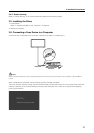
3.8 Sensor Operation Check
a) Check in Service Mode
1. Select the Service Mode and run SelfTest to check for abnormal operation.
Set the internal DIP switches as described on page 42. For information on the Service Mode, refer to “Using Driver
and Service Mode” on page 38 in this manual.
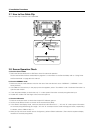
b) Check in NORMAL mode
1. Make sure that the mode selector switch on the rear of the scan device is set to “NORMAL”. (“NORMAL” is the
factory default.)
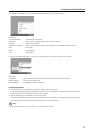
2. Click CBdrvU in the task tray. In the pop-up menu that appears, select “Test Mode” under “Hardware Information” to
open the test window.
3. Touch the plasma display to check that only “L” under system information correctly recognizes the input.
4. Double click a folder with the finger to check that this opens it.
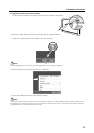
c) Check in PEN mode
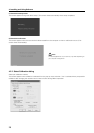
1. Press the small pen button to check that the pen LED indicator goes on.
2. Set the mode selector switch on the rear of the scan device to [PEN].
3. In the CBdrvU test display mode, make sure that driver information and “L”, “M” and “R” under system information
are correctly recognized during pen usage. (“M” and “R” correspond to the small and large pen button, respectively.)
For details, refer to CBdrvU Help. *1
4. When pen tip and cursor location are out of alignment, perform CBdrvU calibration. (Then check that plasma display
locations are correctly recognized.)