Graphics contained within this publication are for representation only.
57
Chapter 5: Menu System
Recording Options
Destination: choose whether you want the default setting set to record to a disc (DVD) or a
tape (VCR).
Default Rec Quality: the better the quality, the more memory (space) the recording will use
on the DVD+R or DVD+RW disc or tape. The choices for a disc are:
1 Best 1 hour recording time on an empty 4.7 GB disc
2 High 2 hours recording time on an empty 4.7 GB disc
3 Good 3 hours recording time on an empty 4.7 GB disc
4 Normal 4 hours recording time on an empty 4.7 GB disc
5 Basic 6 hours recording time on an empty 4.7 GB disc
6 Low 8 hours recording time on an empty 4.7 GB disc
Tape Speed: choose between SP (Standard Play) or SLP (Super Long Play) setting for
recording on tape.
Chapter Markers: choose when to add automatic chapter markers; choose between off, 5
minutes, or 10 minutes. See page 36 for more information about chapter markers.
SmartRecord: used with Timer Recordings to ensure you have enough space on a DVD+R or
DVD+RW disc to record the program. When SmartRecord is on, the DVD/VCR automatically
detects how much recording time is left on the disc and adjusts the Recording Quality
automatically if necessary. Does not apply for VCR recordings to tape.
Disc Options
AutoPlay: when you select On, a pre-recorded DVD movie disc immediately starts
playing after you insert it into the player (there’s no need to press the PLAY button). With
AutoPlay On, recordable discs (DVD+R or DVD+RW) with content recorded on them will
automatically display contents.
Note: For CDs with mp3 or JPEG fi les on them, instead of playing automatically, the
contents of the CD (the fi les and/or folders) appear automatically.
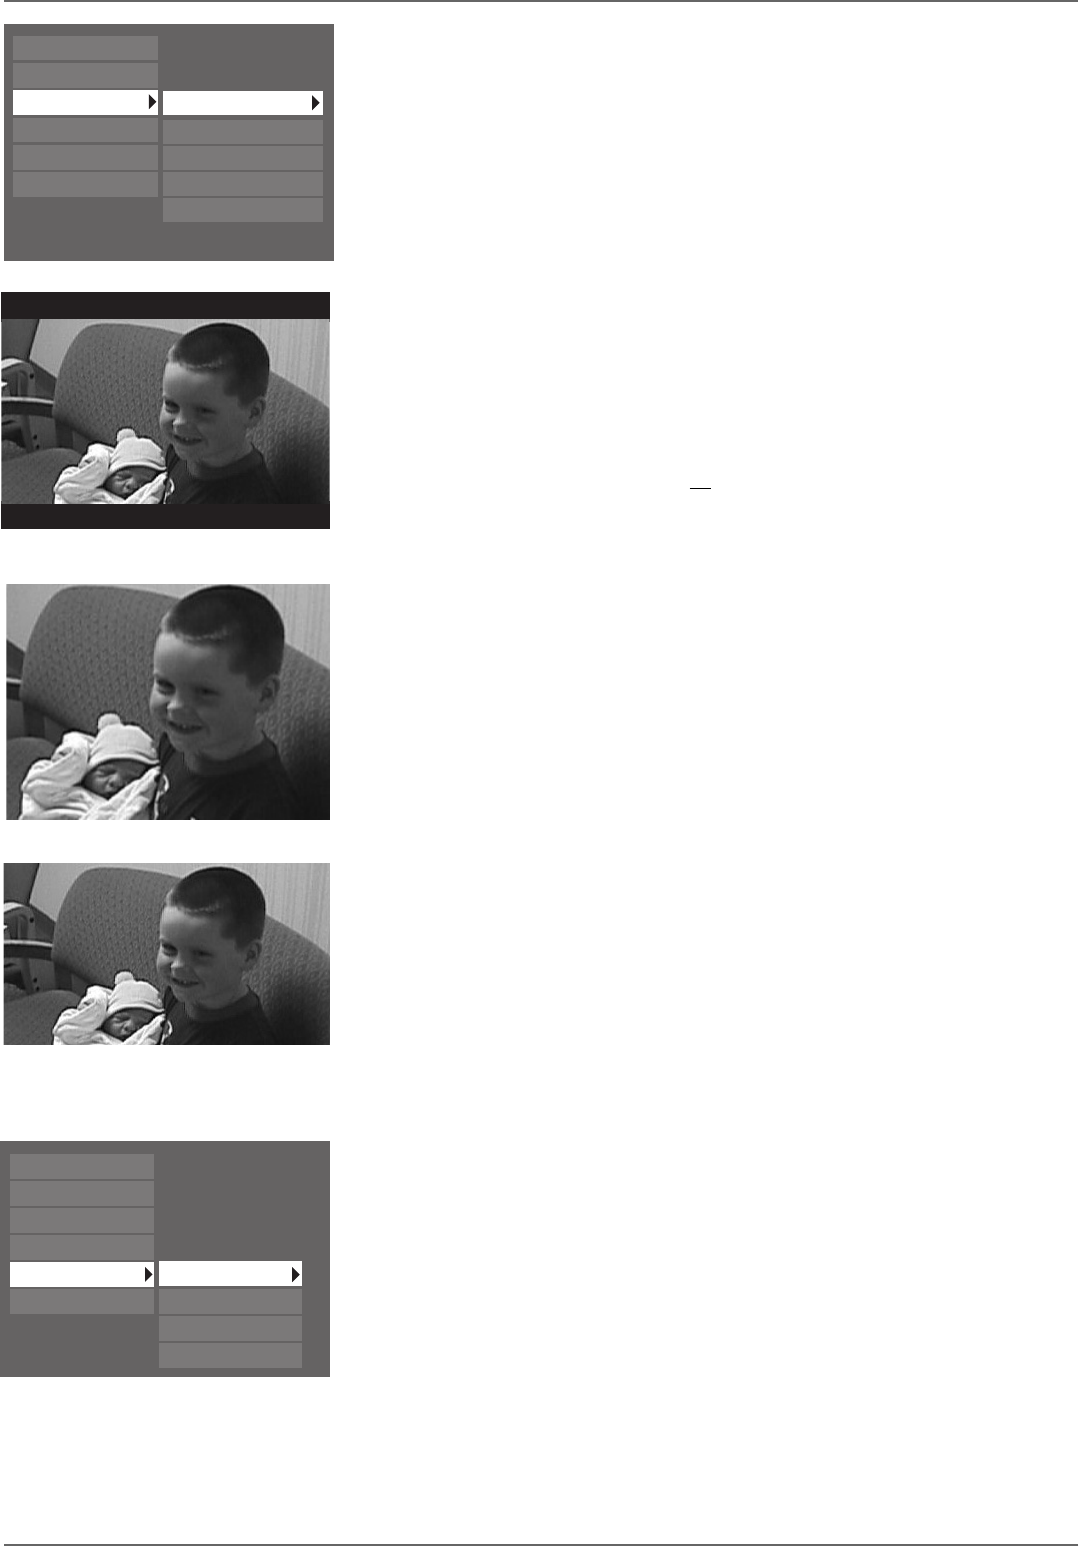
Screen format: the setting you choose adjusts the way a movie appears on your TV (DVD
discs only). Standard TVs are 4 x 3 format. Depending on the type of television you have, you
may want to adjust the screen setting (also called the aspect ratio). The choices follow:
4 x 3 Letterbox – choose this setting if you want to see movies in their original aspect
ratio (height-to-width ratio). You’ll see the entire frame of the movie, but it will take up a
smaller portion of the screen vertically. The movie might appear with black bars at the top
and bottom of the screen.
4 x 3 Standard – choose this setting if you want the movie to fi ll the entire screen of
your TV. This might mean that parts of the picture (the left and right edges) won’t be seen.
Most discs that are produced in a widescreen only format can’t be cropped in this fashion.
16 x 9 – choose this setting if your DVD/VCR is connected to a widescreen TV. If you
choose this setting and you don’t have a widescreen TV, the images on the screen might
appear distorted due to vertical compression. If you play a disc recorded in 4 x 3 format
on a widescreen TV, the left and right sides of the screen will appear black.
Tape Options
Tape AutoPlay: when you select On, the tape starts playing automatically after you insert it
into VCR (there’s no need to press the PLAY button).
Languages
Display: the language that appears when you access this menu the fi rst time refl ects the
option you chose during the interactive setup. To change the language of the on-screen displays
(menus), use the arrow buttons to highlight a language and press OK to select it.
Audio: the language that appears when you access this menu the fi rst time refl ects the option
you chose during the interactive setup. You can change the audio language by highlighting an
option and pressing the OK button. The language selected will only apply when it is available
on the disc.
Subtitles: some movies on DVD discs have subtitles. Set up your default settings in this menu.
You can quickly override these settings while playing a disc by using the Info Display (go to
page 46 for information).
Automatic: if the language you selected in the interactive setup isn’t available for the title
you’re playing, but subtitles are available in that language—the subtitles for that language
will appear automatically during playback.
Off: subtitles won’t appear on the screen.
On: if the title (movie) has subtitles available, they will appear automatically.
Original: subtitle language will match the original audio (dialogue) language of the title
(movie).
Parental Control
System Options
Recording Options
Disc Options
Languages
Installation
Parental Control
System Options
Recording Options
Disc Options
Languages
Installation
Destination
Default Rec Quality
Tape Speed
SmartRecord
Chapter Markers
Display
Audio
Subtitles
Disc Menu
4 x 3 Letterbox
4 x 3 Standard
16 x 9
