50 Chapter 4
Using the TV’s Menu System
Picture Menu
The Picture Menu contains menus to confi gure video settings: Picture Preset Mode,
Picture Settings, Screen Format, Advanced Picture, and Screen Adjust menu. Each one is
described below.
Note: When changing an item in the Picture Menu, the graphics become transparent
so you can see how your adjustments affect the picture.
To access the Picture Menu:
1. Press MENU on the remote control (the Main Menu appears).
2. Highlight Picture and press OK (the Picture options appear).
Note: When making Picture changes, inputs are all adjusted independent of each
other. Digital cable and antenna channels are adjusted independent of analog cable
and antenna channels.
Picture Preset Mode
Picture Presets displays a choice list that lets you select one of these preset picture settings:
Vibrant (Day), Natural, Cinematic (Night), Sports, and Personal.
Choose your setting based on the degree of lighting in your room. After you select a preset,
the settings listed to the right are adjusted automatically.
If you choose Personal, you can customize each picture quality setting to your desired level,
and a message appears asking if you want to save those settings. After you’ve saved your
personal settings, you can go back into the menu and select a different picture preset. For
example, if you normally use Personal but want to watch a show in Vibrant (Day) lighting,
choose Vibrant (Day), watch the show, and then afterwards return to your customized
settings by choosing Personal. The PRESETS button (on Remote R602A1 Only) works
with Picture Presets. Go to the Remote chapter for more information.
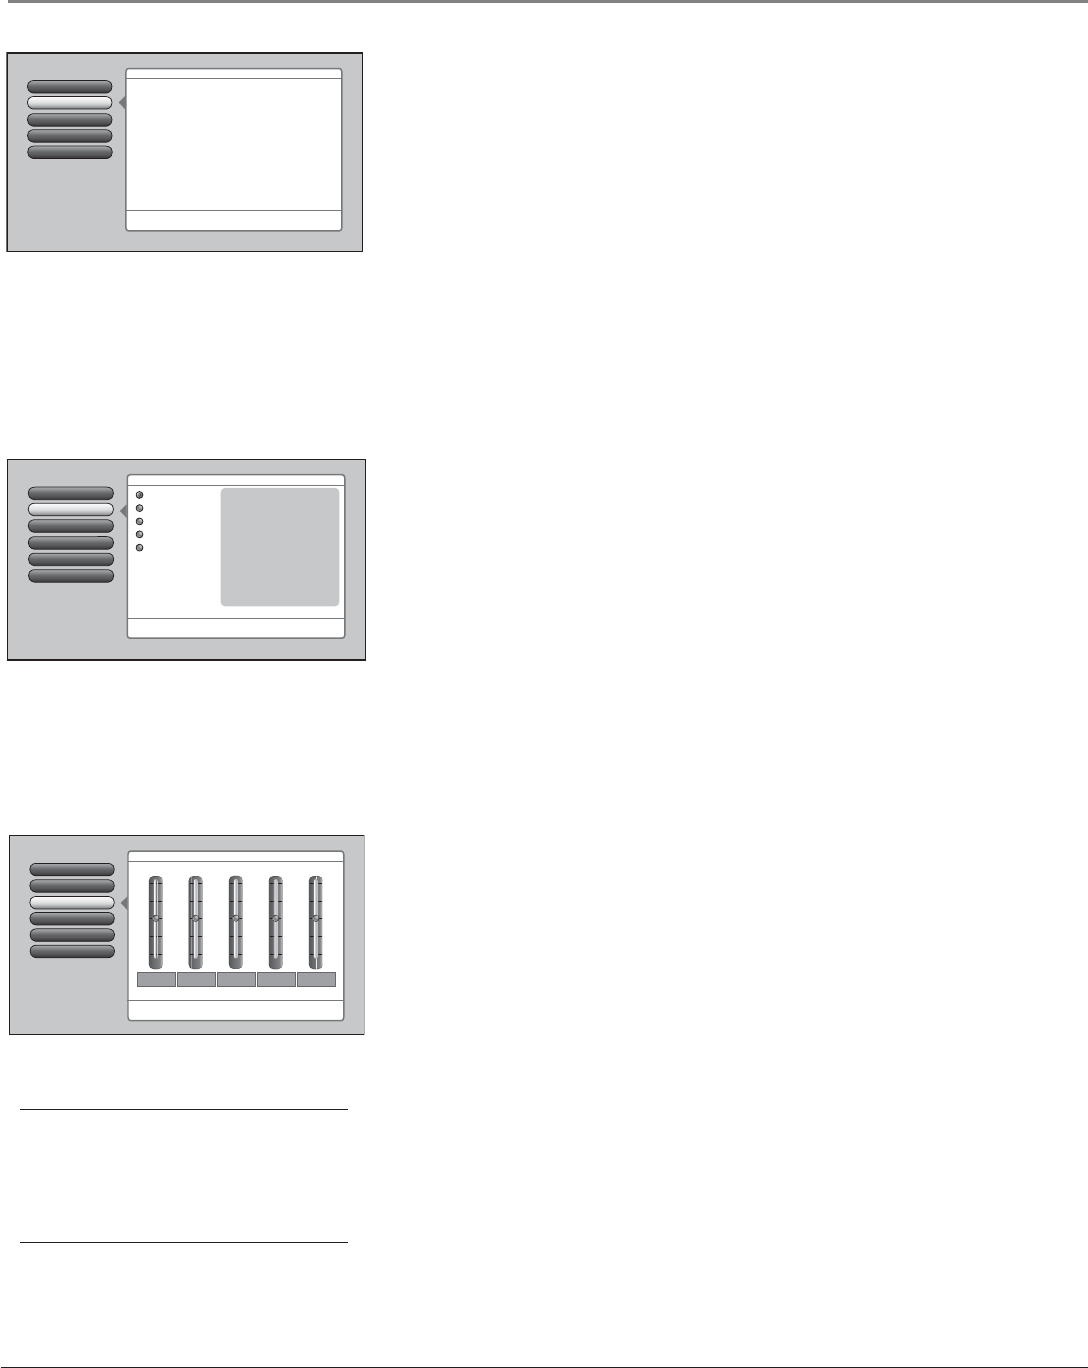
Picture Settings
The Picture Settings menu displays slider controls for adjusting the way the picture looks.
Your options under the Picture Settings menu are:
Contrast Difference between the light and dark areas of the picture.
Color The richness of the color.
Tint The balance between the red and green levels.
Brightness The brightness of the picture.
Sharpness The crispness of the edges in the picture.
To create picture settings for the video inputs:
1. Press the INPUT button while in the Picture Settings menu until the correct Video
Input Channel appears in the upper right corner.
2. Press the right and left arrow buttons on the remote control to select the slider.
3. Press the up and down arrow buttons to operate the slider.
Picture Settings
Picture Preset Mode
Go Back
1
2
0
Screen Adjust
Advanced Picture
Screen Format
5
4
3
Press 5 or 6 to point to an option, then press OK to select it.
Press 3 to return to the menu.
A change in this screen is applied to Input 3.
Vibrant (Day)
Natural
Cinematic (Night)
Sports
Personal
Contrast 65%
Color 70%
Tint 55%
Brightness 60%
Sharpness 55%
Auto Flesh Tone On
Color Temperature Cool
Video Noise Filter Frame Comb
Green Enhance On
Detail Enhance On
Contrast Enhance On
Main Menu
4
Picture Menu
Sharpness Brightness Tint Color Contrast
50%
50%
50%
50%
50%
50%
50%
50%
50%
50%
Picture Settings
Picture Preset Mode
Go Back
1
2
0
Screen Adjust
Advanced Picture
Screen Format
5
4
3
Picture Settings lets you adjust aspects of the picture you
are viewing. Press OK or
4
to adjust the picture settings.
The Personal picture presets settings are:
Main Menu
4
Picture Menu
Tip
To create a temporary personal setting, make your
changes and when the message appears asking if
you want to save the setting, select No. The preset is
saved until you change the channel or input.
Setup Options
4
3
Channel Setup
Audio Menu
1
Picture Menu
2
Go Back
0
Main Menu
Press OK or4to access the Picture menu.
•Picture Preset Mode
•Picture Settings
•Screen Format
•Advanced Picture
•Screen Adjust
The Picture menu has screens for optimizing the picture for
each of the TV’s input:


