30 Chapter 5
Using the DVD Menu
Graphics contained within this publication are for representation only.
1. From the Lock menu, highlight Ratings Limits and press OK (the Ratings Limits menu is displayed).
2. Highlight Rated Titles and press OK (the 8-level rating limits list appears).
3. To change the rating limit, press the up or down arrow button.
• The ratings that don’t require a password (free access) appear under the bar, in the green part of the
block.
• The ratings that require a password appear above the bar, in the red part of the block.
4. When you have moved the bar to the desired setting, press OK. You are returned to the Rated Titles
screen and the setting appears to the right of the Rated Titles option. For example, if you set 3 as the
highest rating for Free Access (green), then the Rated Titles selection appears as 3 (that’s the DVD’s
number for PG in the 8-level system) for the movie studio’s rating. This means when the DVD is locked, it
will require you to enter the password to play any discs that are rated higher than 3 (i.e., PG-13 or NC-
17).
5. Press the left arrow button to return to the main screen.
Unrated Titles
Some titles (movies) aren’t rated, but may contain material that is unsuitable for children. You decide how
you want the Ratings Limits feature to handle these discs: free access or password required. To set the
Unrated Titles option:
1. From the Lock Menu, highlight Ratings Limits and press OK.
2. Highlight Unrated Titles and press OK. The Unrated Titles options appear.
3. Use the up/down arrow buttons to highlight your choice: Free Access or Password Required. Press OK.
You are returned to the previous screen, and the option you chose is displayed next to the Unrated Titles
option.
4. Press the left arrow key to return to the main menu.
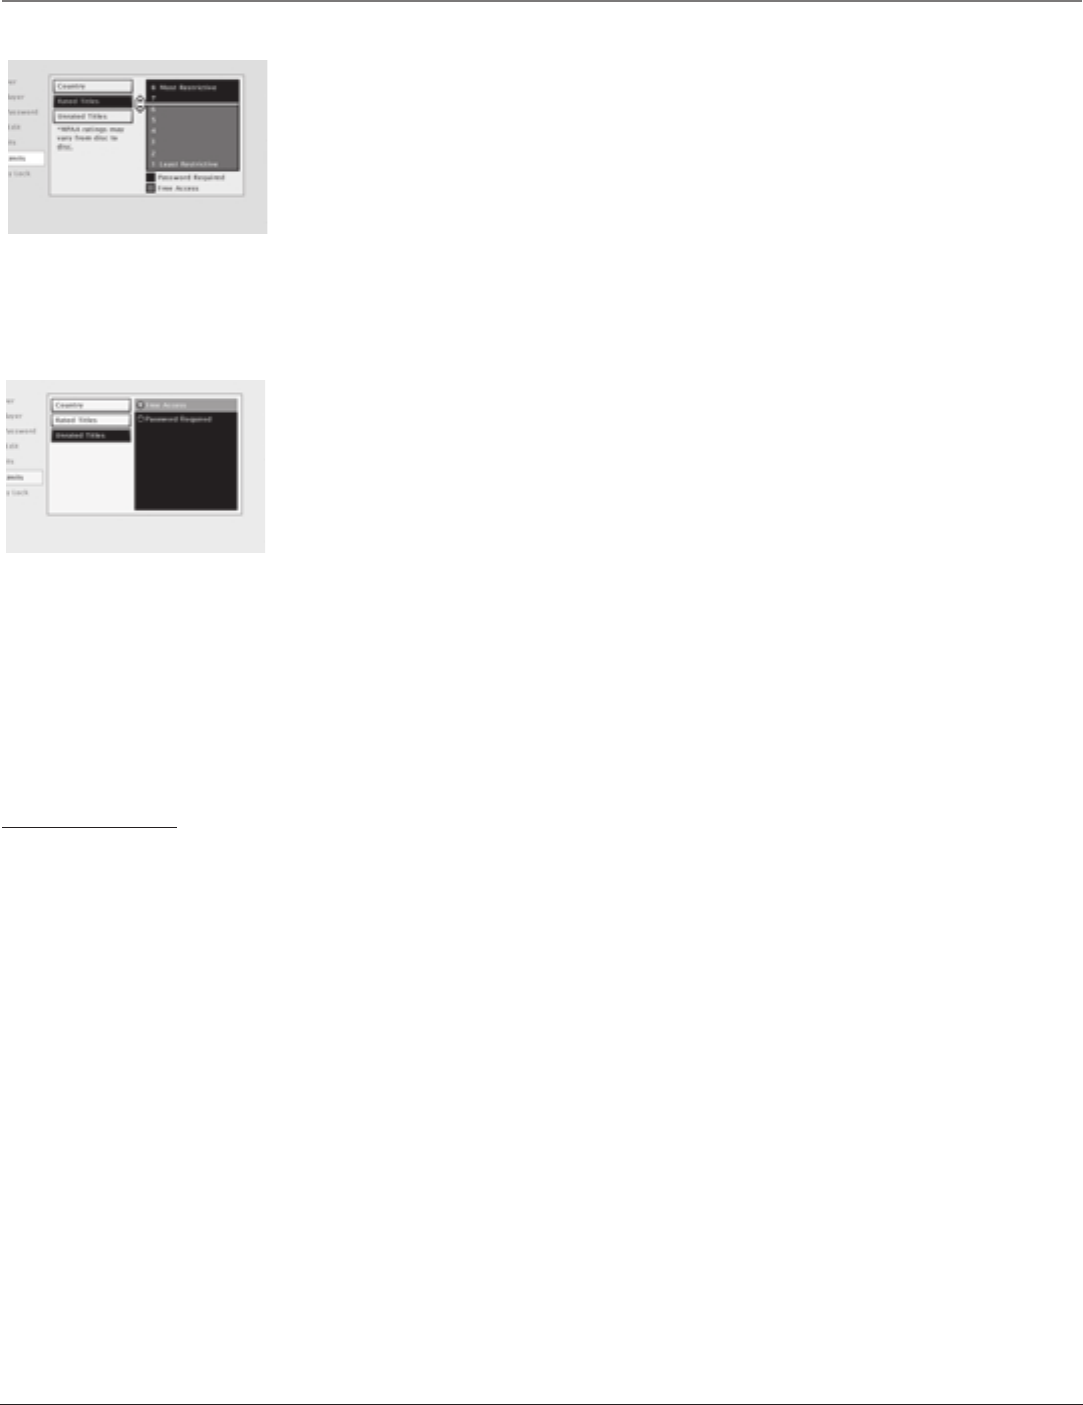
The Rated Titles screen lets you set the
Rating Limit
Choose Unrated Titles to set free
access or require a password for
unrated titles.
System Test
There are several tests you can run from the System Test menu. If a problem is found, the text will appear in light gray.
1. Highlight System Test within the Lock menu.
2. Press OK to display the System Test Results screen.
3. Press the left arrow key to return to the main menu.
The Display Menu
The Display menu contains the settings that affect how disc content looks on your TV/DVD.
TV Image
The TV Image menu adjusts the way a movie appears on your TV/DVD.
1. From the DVD’s main menu (in DVD mode, no disc playing), highlight Display and press OK (the Display options appear).
2. Highlight TV Image. Press OK. The TV Image options appear.
4 x 3 Letterbox – Choose this setting when receiving a 4:3 image with subtitles ON. You’ll see the entire frame of the movie, but it will take up a
smaller portion of the screen vertically to accommodate subtitles. The movie might appear with black bars at the top and bottom of the screen.
4 x 3 Standard – Choose this setting when receiving a 4:3 image and you want the on-screen appearance of the video to be a centered picture
with black side panels (blank area) on the right and left sides. Most discs produced in a widescreen format can’t be cropped in this fashion. This
means the black bars appear at the top and bottom of the screen.
16 x 9 Standard – Choose this setting to view 16:9 formatted DVD’s. Most DVD’s will force the viewing to this mode. Also choose this if you
want a 4:3 image to adjust horizontally to fill the 16:9 screen. Black side panels won’t be added, and the image is vertically unaltered.
On-Screen Displays
This feature lets you select whether you want certain on-screen displays to appear on the screen. It contains three choices with check boxes next to
them:
• Information Display – When turned on, displays time transport information when you are fast forwarding or reversing playback.
• Angle Indicator – When turned on, displays camera angle icon if more than one camera angle is available.
• Scene Again™ Text – When turned on, displays subtitles when you use the Scene Again™ feature.
The default is to show all on-screen displays. To turn one of the options on or off, highlight an option and press OK. This toggles the option on or off.


