


Chapter 6 31
The Menu System
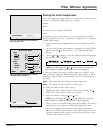
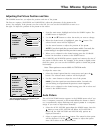
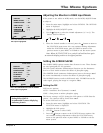
Adjusting the Picture Position and Size
The SCREEN menu lets you adjust the position and size of the picture.
The first two options, V-POSITION and H-POSITION, adjust the placement of the picture on the
screen. For example, if the picture is too far to the left, you can use the H-POSITION to move it to
the right. To adjust the position of the picture on the screen:
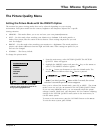
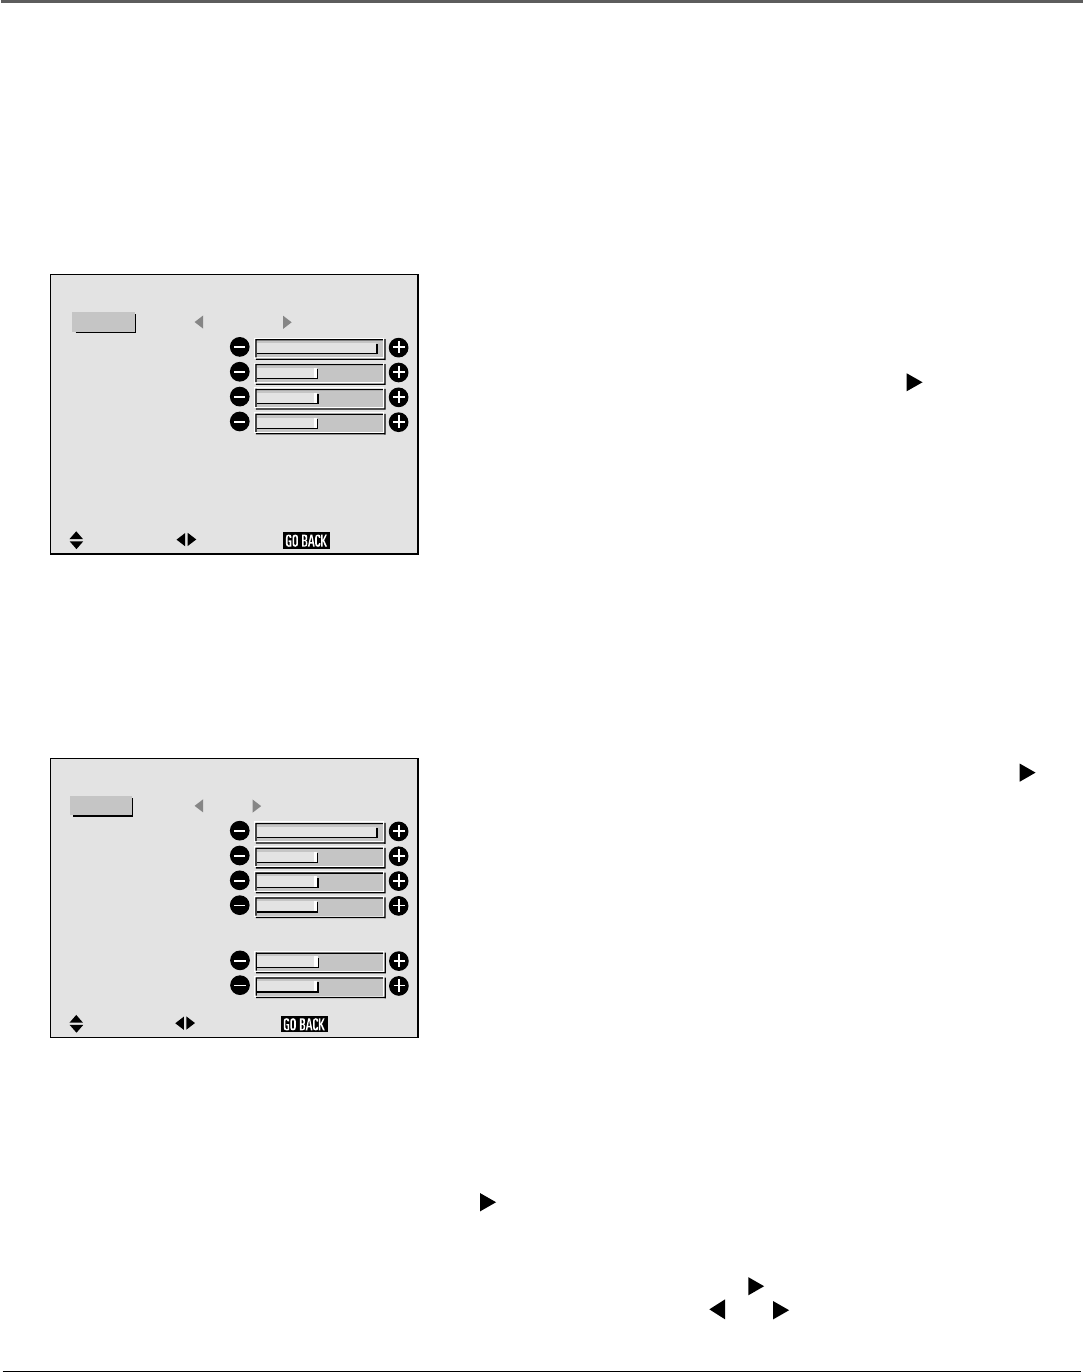
The AUTO PICTURE option only appears if you
have a computer connected.
: OFF
SCREEN
SEL.
ADJ.
MODE
V-POSITION
H-POSITION
V-HEIGHT
H-WIDTH
AUTO PICTURE
FINE PICTURE
PICTURE ADJ.
: FULL
RETURN
SCREEN
SEL.
ADJ.
MODE
V-POSITION
H-POSITION
V-HEIGHT
H-WIDTH
: NORMAL
RETURN
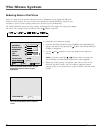
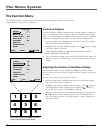
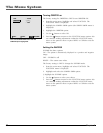
The SCREEN menu with the MODE option
highlighted.
1. From the main menu, highlight and select the SCREEN option. The
SCREEN menu is displayed.
2. Use the ▲ and ▼ buttons to select the mode you want to change.
3. When the desired mode is highlighted, press the button. The
selected mode screen will be displayed.
Use the arrow buttons to adjust the position of the picture.
NOTE: If you don’t push the an arrow button within 5 seconds, the
current setting is accepted and the previous screen reappears.
4. When you’ve adjusted to the desired setting, press the GO BACK
button on the remote to return to the SCREEN menu.
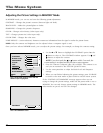
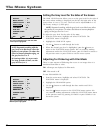
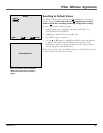
The V-HEIGHT and H-WIDTH options expand and contract the size of
the picture to fill the screen. For example, if the picture is slightly wider
than the screen, you can use the H-WIDTH option to shrink the picture
horizontally.
Note: These options are not available in STADIUM mode.
To adjust the screen size:
1. Select the desired option from the screen menu and press the
button. The selected mode window will be displayed.
2. Use the arrow buttons to adjust the size of the picture.
NOTE: If you don’t push an arrow button within 5 seconds, the
current setting is accepted and the previous screen reappears.
3. When you’ve adjusted to the desired setting, press OK to select and
return to the SCREEN menu.
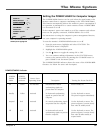
Auto Picture
The AUTO PICTURE function appears in the SCREEN menu only if you
have a computer connected to the monitor. When this feature is turned
on, it automatically adjusts flickering and striped patterns in a computer
image. If you want to adjust these manually:
1. Select the AUTO PICTURE option from the SCREEN menu. Press the
button to turn AUTO PICTURE off. When AUTO PICTURE is
turned off, the FINE PICTURE and PICTURE ADJ. options are
displayed beneath it.
2. Select an option and press the button. The screen for that option
will be displayed. Use the and buttons to adjust that option.
Press OK to return to the SCREEN menu.