17
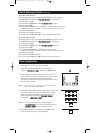
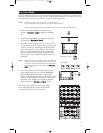
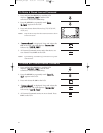
1. Press and hold the SETUP key until the LCD
displays “
CCooddee SSeettuupp……..MMooddee??
” Release the SETUP
key.
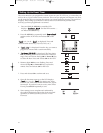
2. Press and release SETUP key repeatedly until the
LCD displays “
KKeeyy LLaabbeellss……..MMooddee??
”
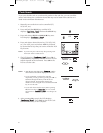
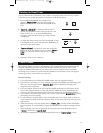
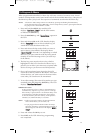
3. Press and release desired device key (TV, VCR, SAT,
etc.) to display the keys for that screen. If the current
device key label is to be changed, make the change
prior to pressing any other LCD key. You can now
press any of the remaining LCD keys within that
device to select the label desired for that key. Each
time you press a key a different label for that key is
displayed.
NOTE: To reset the device’s key labels back to their Default
settings, press and hold that device key for 3 seconds.
A reset to a Devices Default labels will automatically
be saved and operation returned to the “
KKeeyy LLaabbeellss……..
MMooddee??
” screen.
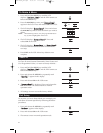
4. To save the label selections for that device screen,
press another device key or press the SETUP key.
Pressing SETUP exits out of the “change labels
routine.” Preprogrammed and Learned codes are not
affected by these changes. Macro’s and Timers still
include any key “hidden” by the above method.
display returns to “
KKeeyy LLaabbeellss…….. MMooddee??
” screen.
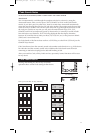
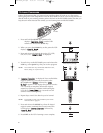
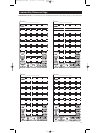
The screen to the right shows ALL the possible
labels, although only the options for the Device
you selected are shown at any one time.
Key Label Mode
OR
The RCU1000B remote allows you to customize the individual key pad labels as desired. This
function is recommended for when you have finished programming all your devices and you
have specific keys that you would like to re-label to meet your needs.
NOTE: The 9 device keys cannot be set with “key frames” only.
You can also hide the key completely (except TV and VCR keys).
Any required device key label change must be the first change made within the routine.
For Example:
Key Options
Master Key Label
RCU1000B_IB.qxd 10/9/01 11:09 AM Page 17


