25
NOTE
• If power is supplied to the Recorder before the cable is connected, EZ Set Up will not be able to preset the channels into
memory. If this occurs, press RESET inside the front door of the Recorder (see page 17). The EZ Set Up function will work
again.
• If the power is turned on during EZ Set Up, Auto Channel Setting will be interrupted and the tuner channels will not be
preset.
• Auto Clock Setting may take several minutes.
• If Auto Clock Setting is not completed within 30 minutes, there may be no channels with EDS signals. In this case, set the
clock manually. (See “Manual Clock Setting” on page 30.)
• If the antenna signal is weak, the Auto Clock Setting function may not operate.
• During initial channel setting, the channels are set into the AIR channel setting. To watch CATV channels, select “CATV” on
the “CHANNEL PRESET” screen. (See “Channel Setting” on page 31.)
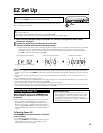
EZ Set Up
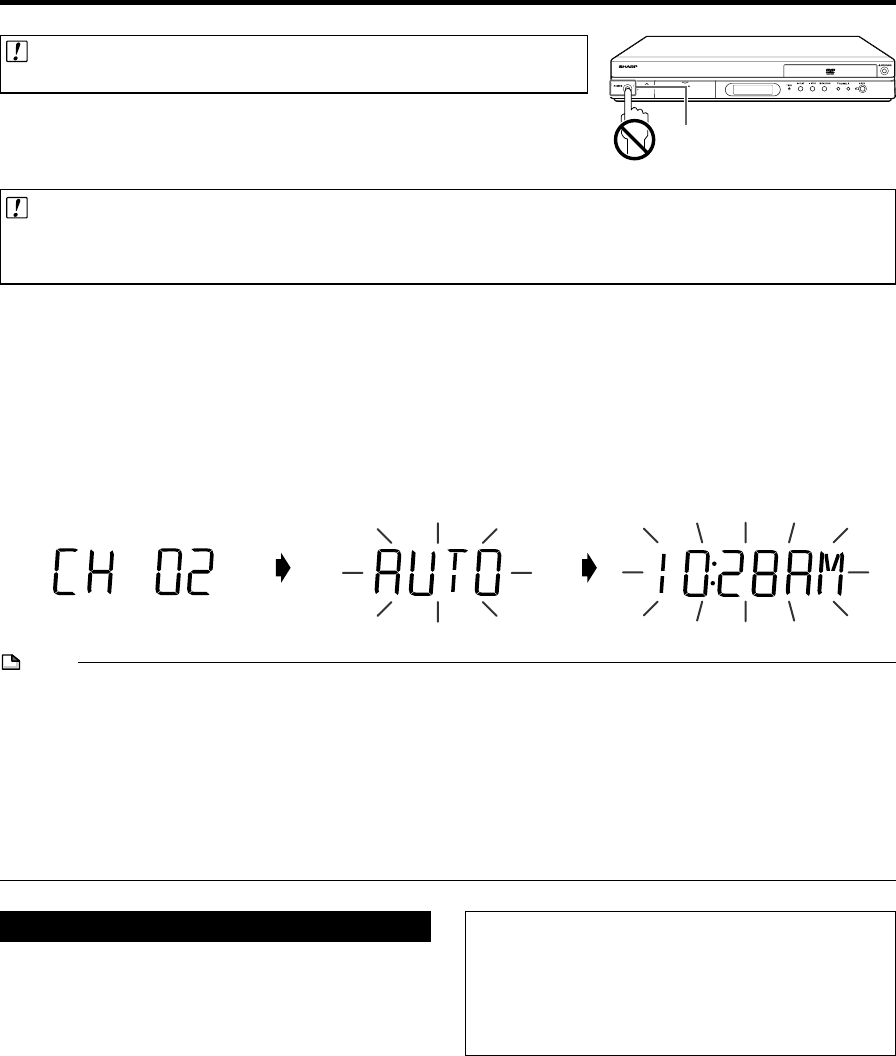
Important! (Caution during EZ Set Up):
• Do not press POWER on the Recorder or remote control.
The EZ Set Up function automatically sets the tuner channels and clock when the
antenna cable is connected to the rear of the Recorder and the power plug is
then connected to an AC outlet.
Important!
When using a cable box:
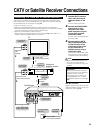
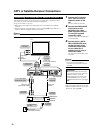
• See “CATV or Satellite Receiver Connections” on pages 23 and 24.
• Leave power on the cable box turned on and select a channel that carries EDS signals.
1
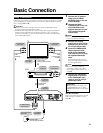
Make sure that the antenna cable is connected. For connection configuration, refer to “Basic
Connection” on page 21.
2
Connect the power plug of the Recorder to an AC outlet.
3
The tuner channels and clock will automatically be set.
• This Recorder can monitor and use time-signals (EDS signals), which are provided by some TV stations, to automati-
cally adjust the clock. This Recorder automatically searches EDS signals, but if you are in a hurry to use timer
recording or know the channel of the EDS signal carrier in your area, follow the procedure in “Auto Clock Setting”
(page 29) or “Manual Clock Setting” (page 30).
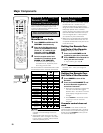
During Auto Channel Setting During Auto Clock Setting EZ Set Up complete
POWER
• Channel number is increasing.
Turning the Power On
After finishing EZ Set Up, press POWER on the
remote control or Recorder to turn on the power
of Recorder.
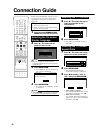
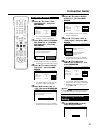
• When the Recorder power is turned on for the first time
after purchase, following EZ Set Up, the OSD LAN-
GUAGE Select screen is displayed and the Connection
Guide function will then operate. Follow the procedure
shown on pages 26 and 27. From the second time on, the
OSD LANGUAGE Select screen will not appear after EZ
Set Up.
To Turn the Power Off
Press POWER on the remote control or Recorder
to turn off power.
• The STANDBY indicator will light up.
• If you press POWER again immediately after turning off,
the Recorder may not turn on. If this happens, wait a
while and then turn on power again.
About the Power Supply
• Do not unplug the power cord immediately after you
plug it into the AC outlet (less than about 15 seconds
after plugging in). In very rare cases, this may cause
the memory to revert to its initial state, and all timer
programs will be erased. If this happens, EZ Setup will
be performed automatically.


