


39
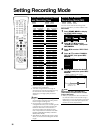
Timer Recording
Timer Recording with
VCR Plus+
®
System
VR MODE
DVD-RW
VIDEO MODE
DVD-RW
DVD-R
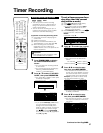
• The VCR Plus+
®
System allows you to
program your Recorder for timer recording
simply by inputting the PlusCode number.
• The PlusCode numbers are listed in most
newspapers, television guides, and local
CATV listings. Simply by inputting this
PlusCode number, you can program your
Recorder for timer recording, eliminating
the need to input program start time, stop
time, channel, date and other information
usually necessary for timer recording.
• Up to 8 timer programs can be stored.
(This includes Easy Recording Guide and
Timer Program.)
Preparation to Use VCR Plus+ System
1 Check that the clock is displaying the
correct time.
2 Preset the channels.
3 When you record SAP broadcast, set
“SAP SETTING” to “ON” (see page 76).
4 When recording from an external
equipment such as a CATV box or
satellite receiver, turn on the power of the
external equipment.
Important!
• When setting the timer recording, make
sure recordable disc is loaded.
1
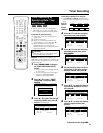
Press VCR PLUS+ (button) to
display the VCR Plus+ Setting
screen.
• If you press VCR PLUS+ (button)
when the clock has not been set, the
“CLOCK SETTING” screen will
appear.
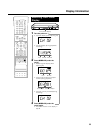
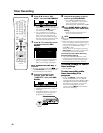
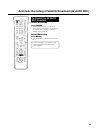
2
Press Number buttons to enter
the PlusCode number.
VCR Plus+ system
PRESS NUM KEYS TO ENTER PlusCode No.
1 2 3 4 5 – – – –
82:0AMSAT 152/21
SET
ERASE
• Press ERASE if you make a mistake
in the Plus Code number. Or Press
\\
\\
\ /
||
||
| to select “ERASE”, then press SET/
ENTER. Each time you press the
button, one digit will be erased.
• Press VCR PLUS+ (button) to cancel
the entire number.
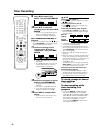
3
Press \ / | to select “SET”, then
press SET/ENTER.
• The timer recording details such as
date, start time, end time and channel
will be displayed.
4
Press \ / | to select “REC.
MODE”, then press SET/ENTER.
• When recording a program on a
channel for the first time, be sure to
enter the correct channel number in
this step, otherwise the PlusCode
number will not be successfully
decoded.
• Press
\\
\\
\/
||
||
| to select the item you
want to correct such as the start/stop
time, then press
''
''
'/
""
""
" to correct.
(For details refer to page 40.)
• If you complete timer recording
setting less than 3 minutes before it
starts, timer recording start time
column will stay as selected. Reset
the timer recording start time at least
3 minutes after the present time.
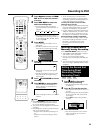
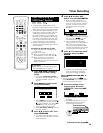
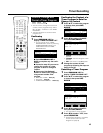
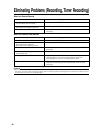
5
Press ' / " to select the record-
ing mode, then press SET/
ENTER.
• If there is not enough empty space
(time), a message is displayed.
Select the recording mode again.
When “MANUAL SETTING (MN)” is
selected:
• Select recording mode with
\\
\\
\ /
||
||
|, then
press SET/ENTER. (The recording mode
can be selected from 32 levels.)
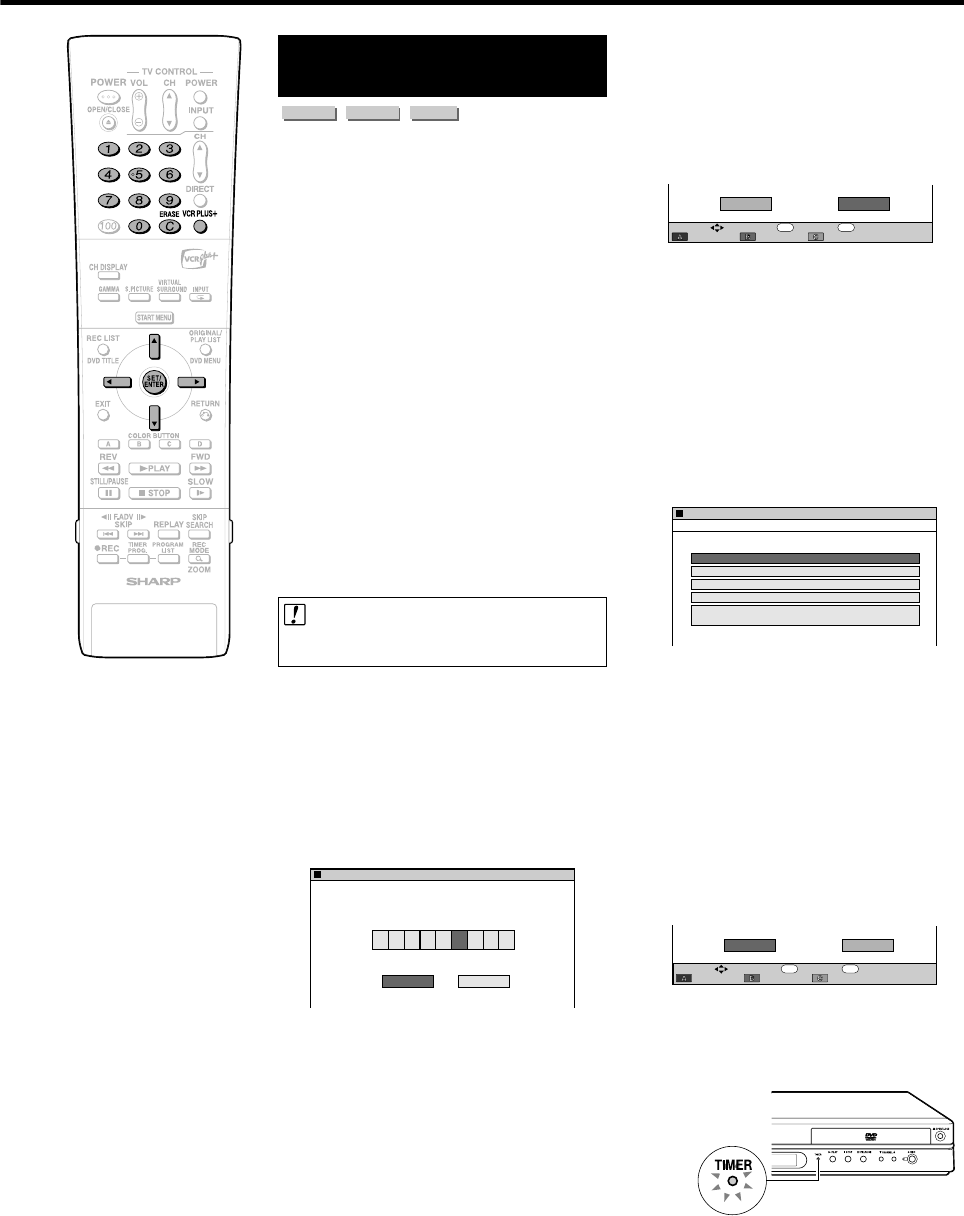
6
Confirm the setting of timer
program, press \ to select
“COMPLETE”, then press SET/
ENTER.
• “TIMER PROGRAM LIST” screen is
displayed.
• The TIMER indicator on the front of
the Recorder lights up and timer
programming is completed.
REC. MODECOMPLETE
ENTER
SELECT
DAILY
WEEKLY ONCE
ENTER RETURN
n
REC. MODECOMPLETE
ENTER
SELECT
DAILY
WEEKLY
ENTER RETURN
n
ONCE
Continued on Next Page
|||
SELECT THE RECORDING MODE
0h47mREMAIN TIME: FINE
TIMER PROGRAM
12/26 SUN 9:30 PM ~ 10:00 PM CH 1
( Mbps)
**
( Mbps)
**
( Mbps)
**
( Mbps)
**
FINE
SP
LP
EP
MANUAL SETTING (MN)
HIGH QUALITY
STANDARD
2X
3X
ABLE TO MANUALLY SELECT
1 OF 32 LEVELS.
82:0AMSAT 152/21