80
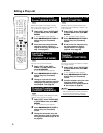
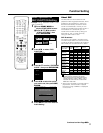
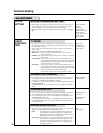
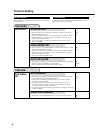
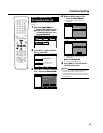
AUTO SETTING/MANUAL SETTING
• Before timer programming, check that the clock is set correctly, and
set it correctly if it is not. If the clock is not set correctly, you cannot
perform setting for features like VCR Plus+ programming.
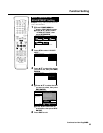
• Setting methods are slightly different from basic operation. See page
29.
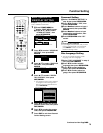
TV MODE
• If you switch your TV (i.e. because you have bought a new one) and
the screen size of the connected TV changes, you will have to change
the “TV MODE” setting.
• You can set the screen aspect ratio of the connected TV, and adjust
video output.
• Select “TV MODE” from “VIDEO/AUDIO SETTING”.
WIDE 16:9: Select this when connecting with a TV with a 16:9
screen aspect ratio.
NORMAL 4:3: Select this when connecting with a TV with a 4:3 screen
aspect ratio.
LETTER BOX: If you connect with a TV whose screen aspect ratio is
4:3 and play back a DVD with 16:9 video, the video will
be played back with black bands at the top and bottom,
while maintaining the 16:9 ratio.
PAN SCAN: If you connect with a TV whose screen aspect ratio is
4:3 and play back a DVD with 16:9 video, the video will
be played back with the left and right sides of the image
cut off to display in 4:3 screen aspect ratio.
(This function works if the disc is labeled for 4:3PS.)
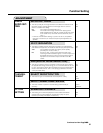
CONNECTING TERMINAL
• If you switch your TV (i.e. because you have bought a new one) and
you change the TV terminal to which you connect, you will have to
change the “CONNECTING TERMINAL” setting.
• For details on connection with a TV, and connecting terminals, please
see pages 21 to 24.
• “PROGRESSIVE OUT” can be set when you have selected “COMPO-
NENT”.
PROGRESSIVE OUT
• If you connect with the component terminal of a progressive compat-
ible TV, playback of DVD video will be cleaner, with less flicker.
• If you connect with a TV which is not progressive compatible, select
“PROGRESSIVE SCAN OFF”.
* If you connect with a TV which is not progressive compatible and set
to “PROGRESSIVE SCAN ON”, video playback from the DVD will not
be output to the TV.
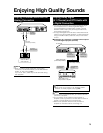
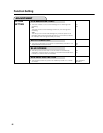
DIGITAL AUDIO OUTPUT
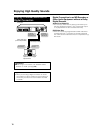
• You can set this to enjoy Dolby Digital Surround when connecting with
digital input compatible device using Digital cable.
PCM: This setting is for when you digitally connect with 2ch
audio device or an MD recorder. This changes Dolby
Digital audio to PCM (uncompressed) output which can
be played back with 2ch audio device.
Dolby Digital: This setting is for when you digitally connect with audio
device which is compatible with Dolby Digital (5.1ch).
You can also enjoy DTS audio if you connect with an
amplifier or other component which is compatible with
DTS digital surround.
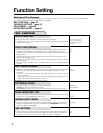
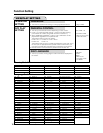
CLOCK
SETTING
AUTO SETTING
AUTO
MANUAL
TIME ZONE
MANUAL SETTING
TIME: XX:XX
DATE: Month/Day
YEAR: XXXX
DST: ON/OFF
WIDE 16:9
NORMAL 4:3
LETTER BOX
PAN SCAN
VIDEO/S-VIDEO
COMPONENT
ADJUSTMENT
PROGRESSIVE
SCAN ON
PROGRESSIVE
SCAN OFF
VIDEO/
AUDIO SET-
TING
PCM
Dolby Digital
Function Setting


