33
Advanced operations
Photo recording
You can record a still picture like a photograph for about seven seconds. This mode is
useful when you want to enjoy a picture such as a photograph or when you print a
picture using a video printer (not supplied).
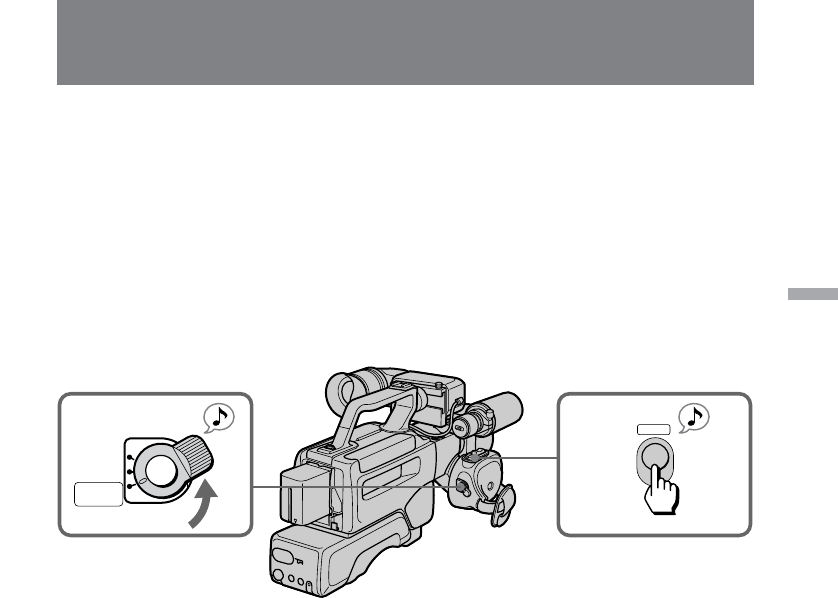
(1) Turn STANDBY up to PHOTO STANDBY.
PHOTO appears in the viewfinder.
(2) Keep pressing PHOTO lightly until a still picture appears in the viewfinder.
To change the still picture, release PHOTO, select a still picture again, and then
press and hold PHOTO lightly. PHOTO CHAPTER appears in the viewfinder.
(3) Press PHOTO deeper.
The still picture in the viewfinder is recorded for about seven seconds. The sound
during those seven seconds is also recorded. If you change the POWER switch or
STANDBY to other positions while recording, this operation is performed after
recording.
START/STOP
LOCK
STANDBY
PHOTO
STANDBY
1 2,
3
PHOTO
To use the remote commander to take a photo
If you press the PHOTO button on the Remote Commander when a still picture appears
in the viewfinder, the digital camcorder will record that still picture. However, you
cannot select other still pictures by using this button.
Note on automatic shutter speed adjustment
If AUTO LOCK is ON or AUTO/MANUAL is set to AUTO, the shutter speed is
automatically adjusted up to 1/1000 depending on the environment.
To use a flash
Attach the HVL-F7 video flash unit (not supplied) to the accessory shoe, and then
connect a LANC cable to the l LANC jack.
Note on using a flash
When using a flash, the shutter speed is automatically adjusted to 1/60 if using
automatic adjustment, and if using manual adjustment, we recommend using a shutter
speed of 1/60.


