Chapter 2 Recording and Playback
Chapter 2 Recording and Playback 19
Recording
This section describes the necessary settings and operations to perform
recording on this unit. The same settings and operations apply whether
you are using the unit as part of an editing system, for dubbing
1)
, or as a
stand-alone recorder. For the necessary connections for recording and the
settings not covered in this section, see Chapter 5 “Connections and
Settings”.
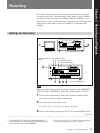
Settings for Recording
Note
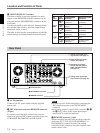
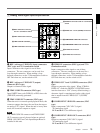
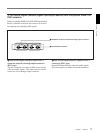
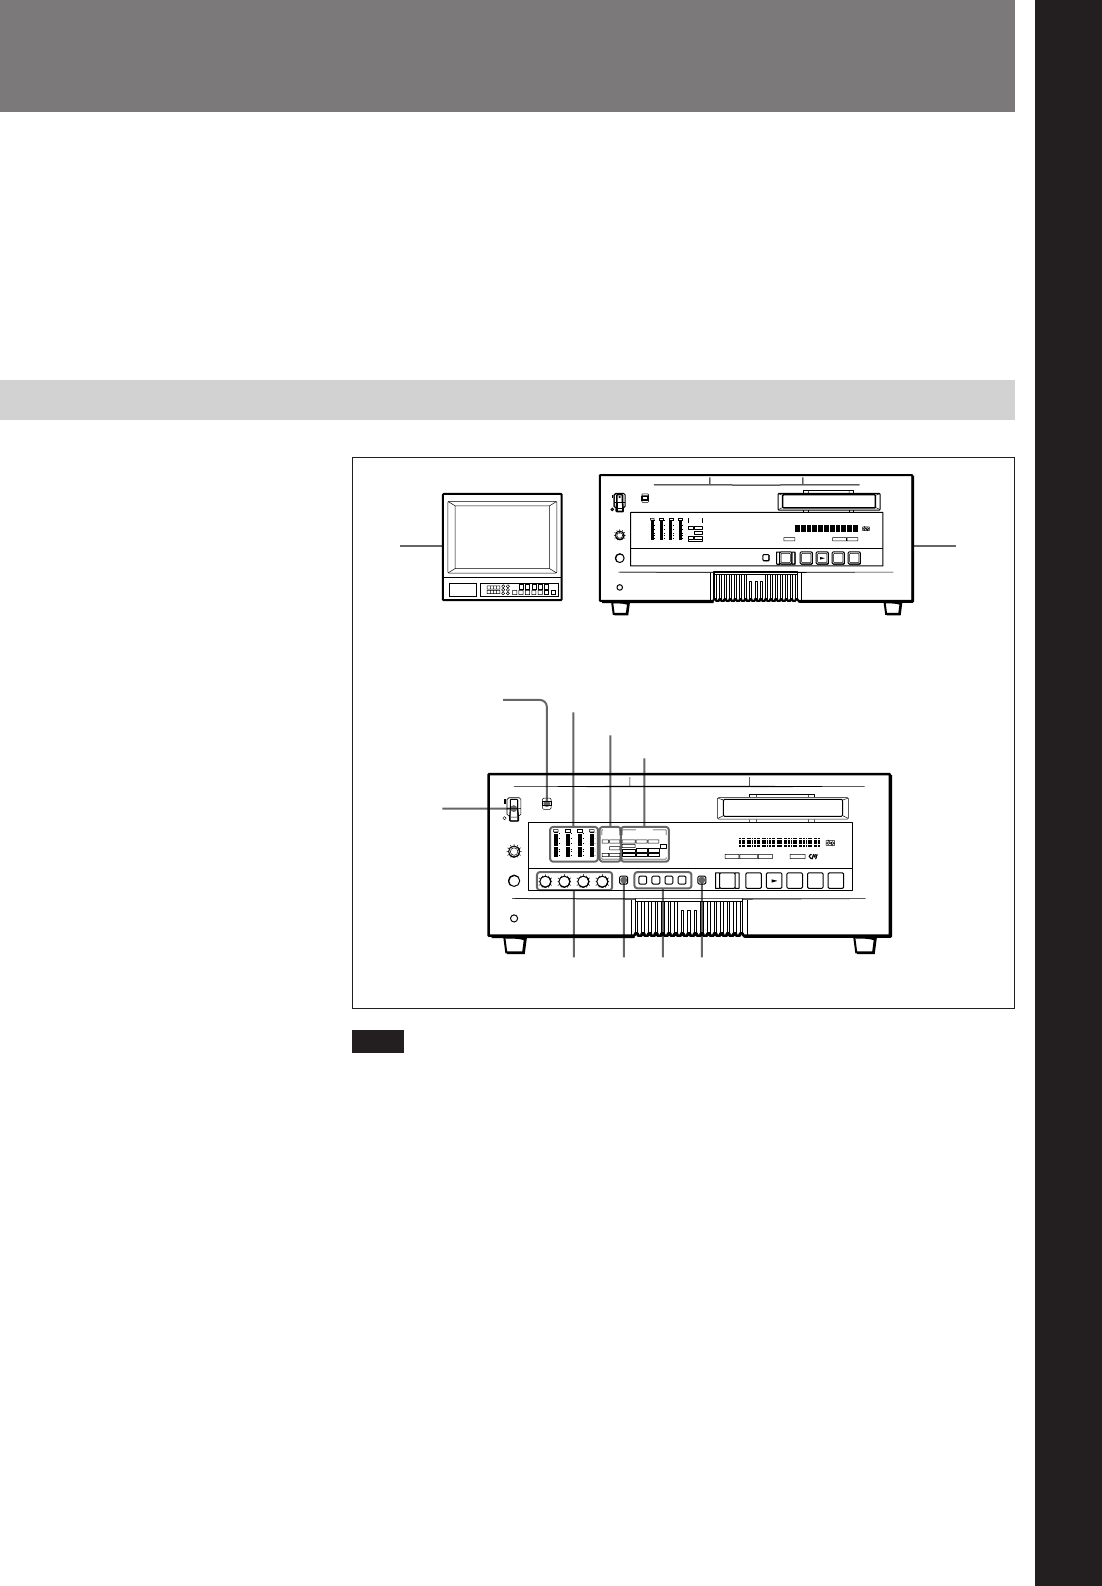
When controlling this unit from an editing controller, set the REMOTE/
LOCAL switch to “REMOTE”. When not, set the switch to “LOCAL”.
1 Power on the video monitor, then set the monitor’s input switches
according to the input signals from this unit.
2 Set up the player to play back a tape.
For details, refer to your player’s operating instructions.
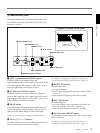
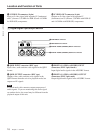
3 Power on this unit by pressing on the “1” side of the POWER switch.
Chapter 2 Recording and Playback
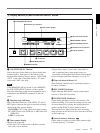
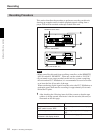
INPUT MODE display
AUDIO MODE display
Audio level meter
Video monitor
Player (DSR-60/60P, etc.)
Recorder (DSR-85/85P)
(Continued)
)
0
6
r
p
3
7 654
12
)
0
6
p
1) For dubbing of DVCAM format signals through the
QSDI interface, use the auto mode (AUTO FUNCTION)
execution menu item QSDI DUBBING.
..........................................................................................................................................................................................................
For details, see the section “Dubbing Signals in QSDI
Format QSDI Dubbing Function” on page 38.
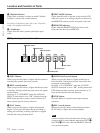
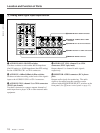
REMOTE/LOCAL
switch


