68
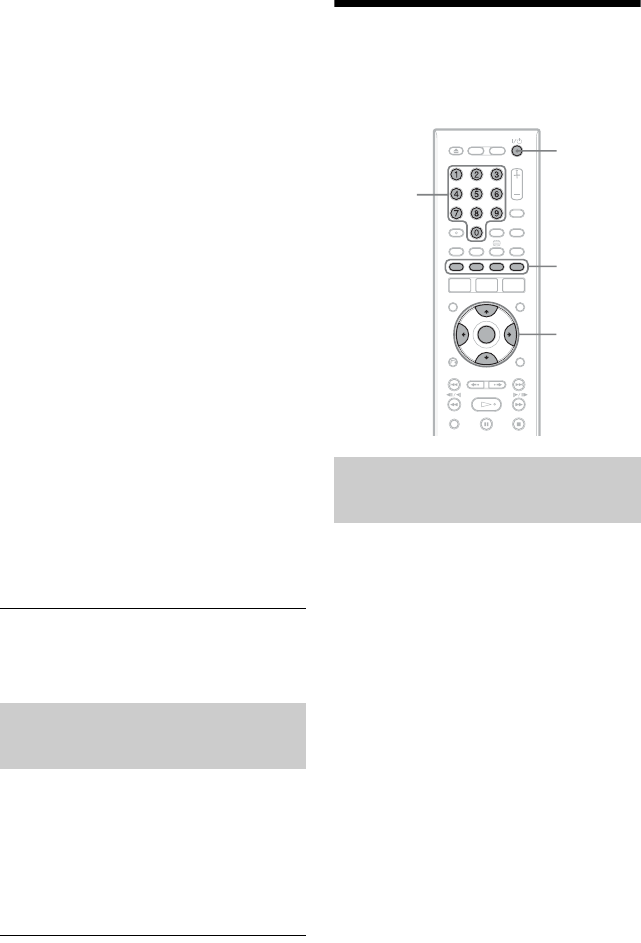
2 Select “Channels,” “Categories,” or
“Keywords,” and press the yellow
button (“Add”).
“Channels”: Select the programme
position using </M/m/,, and press
ENTER. To add more programme
positions, press the yellow button
(“Add”). You can register up to 16
programme positions.
To cancel the registration, select a
programme position, and press the red
button (“Delete”).
“Categories”: Select the category using
</M/m/,, and press ENTER. To add
more categories, press the yellow button
(“Add”). You can register up to 4
categories.
To cancel the registration, select a
category, and press the red button
(“Delete”).
“Keywords”: Enter a keyword. See “To
enter a new keyword” on page 67. To add
more keywords, press the yellow button
(“Add”). You can register up to 16
keywords.
To cancel the registration, select a
keyword, and press the red button
(“Delete”).
3 Press ENTER.
To change the profile settings
Repeat from step 1 above.
1 Select “My TV” in the Menu Bar, and
press ENTER.
The programmes that match the profile
conditions are displayed.
2 Select a programme using </M/m/
,, and press ENTER.
To set a programme for timer recording
See “One Button Recording (GUIDE Plus+
(in the UK only))” (page 73).
Making Changes to the
GUIDE Plus+ System
The default host channel setting is set to
“Automatic,” so you should not have to
change the host channel setting. However, if
the host channel has changed or moved,
update the host channel setting.
If the set top box receiver is connected to the
recorder using a SCART cord only (page 17),
see “Changing the GUIDE Plus+ host
channel manually” on page 69.
1 Select “Setup” in the Menu Bar.
The GUIDE Plus+ setup menu appears.
2 Select “Host Channel Setup” using M/
m, and press ENTER.
3 Press the yellow button (“Reset”).
4 Press [/1 to turn off the recorder.
Selecting and watching a
programme from My TV
Searching for the GUIDE Plus+
host channel
</M/m/,,
ENTER
Number
buttons
Colour
buttons
[/1


