


– 11 –
16
-EN
Operations
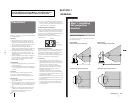
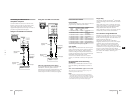
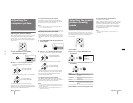
Adjusting the position (CENTER)
After projecting the picture from a computer, you may
need to adjust the position of the picture to fit the
monitor screen. You can also move the picture as you
like. The setting is only for the input signal displayed
on the screen.
1
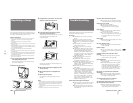
Press CENTER/SIZE until the CENTER
adjustment screen appears.
2
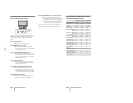
Press B, b, V or v to adjust the position.
For horizontal adjustment press B or b. (H
CENTER)
For vertical adjustment press V or v. (V CENTER)
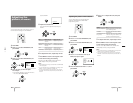
The CENTER adjustment screen automatically
disappears after about 10 seconds if you do not press
any button. You can also erase the CENTER adjustment
screen by pressing CENTER/SIZE again.
CENTER/
SIZE
ENTER
MENU
VIDEO RGB WIDE
Adjusting the
computer picture
CENTER/
SIZE
To reset to the factory preset setting
Press RESET on the monitor. At the same time, the
picture size and video/audio settings (pages 17 to 21)
are also reset to the factory preset levels.
Note
• You can adjust the position by using the CENTER/SIZE and
ı/◊/√/∫ buttons on the monitor.
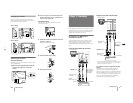
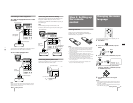
Adjusting the picture size (SIZE)
After projecting the picture from a computer, you may
need to adjust the picture size to fit the monitor screen.
The setting is only for the input signal displayed on the
screen.
1
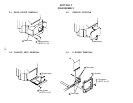
Press CENTER/SIZE until the SIZE adjustment
screen appears.
2
Press B, b, V or v to adjust the picture size.
For horizontal adjustment press B or b. (H SIZE)
For vertical adjustment press V or v. (V SIZE)
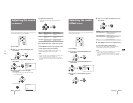
The SIZE adjustment screen automatically disappears
after about 10 seconds if you do not press any button.
You can also erase the SIZE adjustment screen by
pressing CENTER/SIZE again.
To reset to the factory preset setting
Press RESET on the monitor. At the same time, the
picture position and video/audio settings (pages 17 to
21) are also reset to the factory preset levels.
Notes
• For a picture with resolution of 640 × 350, 640 × 400 or 640 ×
480, the vertical size cannot be increased from the size that was
projected the first time.
• You can adjust the size using the CENTER/SIZE and ı/◊/√/
∫ buttons on the monitor.
CENTER/
SIZE
V: to move the picture up
v: to move the picture down
b: to increase horizontal size
B: to decrease horizontal size
V: to increase vertical size
v: to decrease vertical size
b: to move the picture right
B: to move the picture left
CENTER
H CENTER
V CENTER
SIZE
H SIZE
V SIZE
17
-EN
Operations
EN
VIDEO/AUDIO
N
PRESENTATION
STANDARD
MOVIE
AV MEMORY
VIDEO ADJUST
AUDIO ADJUST
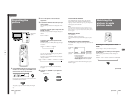
The video/audio mode feature allows you to choose
four different modes of picture/sound settings. Choose
the one that best suits the type of program that you
want to watch.
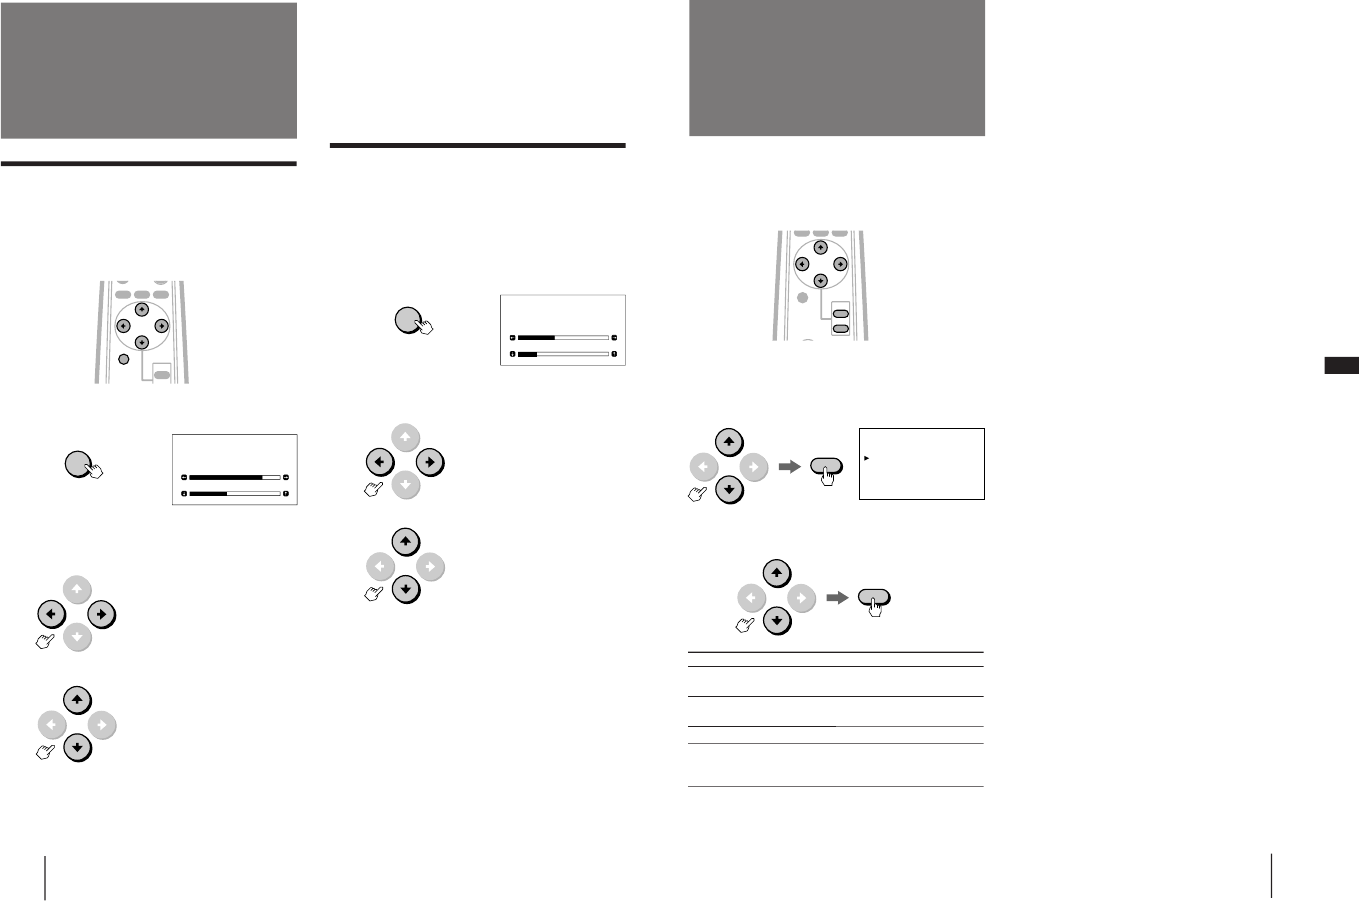
1
Press MENU.
2
Press V or v to select VIDEO/AUDIO, and
press ENTER.
3
Press V or v to select the desired item, and
press ENTER.
Selecting the preset
picture viewing
mode
ENTER
ENTER
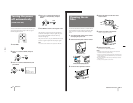
To reset to the factory preset setting
Press RESET on the monitor.
When watching a computer picture, the mode resets to
PRESENTATION. When watching a video picture, the
mode resets to STANDARD. At the same time, the
position and size of a computer picture (page 16) are
also reset to the factory preset levels. The settings in
AV MEMORY do not reset.
Note
• You cannot adjust the settings in modes other than AV
MEMORY.
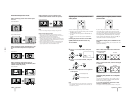
Choose To
PRESENTATION Watch the picture input from a
computer.
STANDARD Watch the picture input from video
equipment.
MOVIE Watch a movie.
AV MEMORY Adjust the quality of the picture/sound
to suit your taste. (For details, see pages
18–21.)
4
Press MENU to return to the original screen.
CENTER/
SIZE
VOL
ENTER
MENU