62
3
Follow the steps below to set the timer.
Move the joystick in the direction indicated in these steps.
z Tips
• Shortly before beginning a scheduled
timer event, an information box
appears on your screen. You can press
the EXIT button on your remote control
to cancel the timer event.
• If the Auto Title Insert feature is on (see
page 28), the Auto Title will appear 10
seconds before the scheduled program.
1
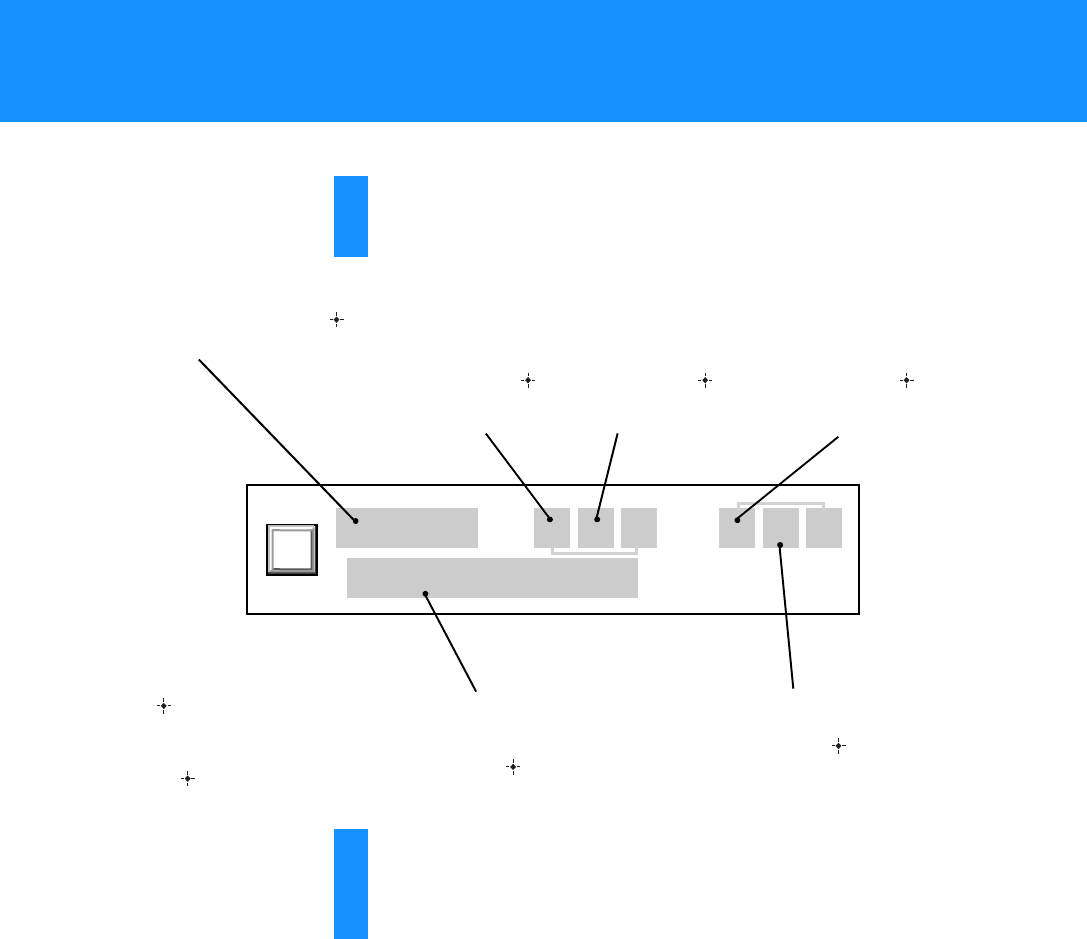
– – / – – / – – – – : – – – – – – – : – – – –
– – – – – – – – – – – – –
1 Press V/v to select from
the following.
• Any date up to 30 days
from the current date
• EVERY SUN
•EVERYMON
•EVERYTUE
• EVERY WED
•EVERYTHU
• EVERY FRI
• EVERY SAT
• MON–FRI
• DAILY
2 Press or b
to move to
the next
item.
3 Press V/v to
change the
starting hour.
Then, press or
b to move to the
next item.
4 Press V/v to
change the
starting minute.
Then, press or b
to move to the
next item.
5 Press V/v to
change the ending
hour.
Then, press or b
to move to the
next item.
6 Press V/v to change the
ending minute.
Then, press or b to
move to the next item.
7 Use the number buttons or
press V/v to select the
channel number.
Then, press or b to
move to the next item.
8 Press .
The Timer & Rec pop-up
appears.
Highlight Timer & Rec or Timer
and press .
4
Highlight and select “Return” to close the TIMER &
REC display.
The Main Menu appears.
Scheduling Programs (TIMER & REC) (continued)
