


Chapter 7: How Tos
72
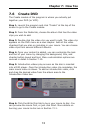
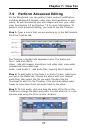
7.4 Add Content to Storyboard
The Storyboard is where you add content to piece together your
movie. The Storyboard consists of several squares.
The larger squares are for STILL IMAGES and VIDEOS. The
smaller squares are for TRANSITIONS. (Transitions are effects
that occur as one video or image changes to another.) When your
final movie is compiled, everything on the Storyboard is combined
into a single video file.
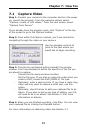
Step 1. Launch the program and click "Edit" at the top of the
screen to go to the Edit module.
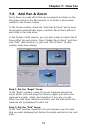
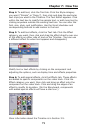
Step 2. From the Media tab, click a thumbnail to select it.
Then click the "Add" arrow to add the
video or image to the next available
space on the Storyboard. Alternatively,
double-click the thumbnail. Or select the
thumbnail and drag it to the Storyboard.
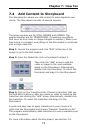
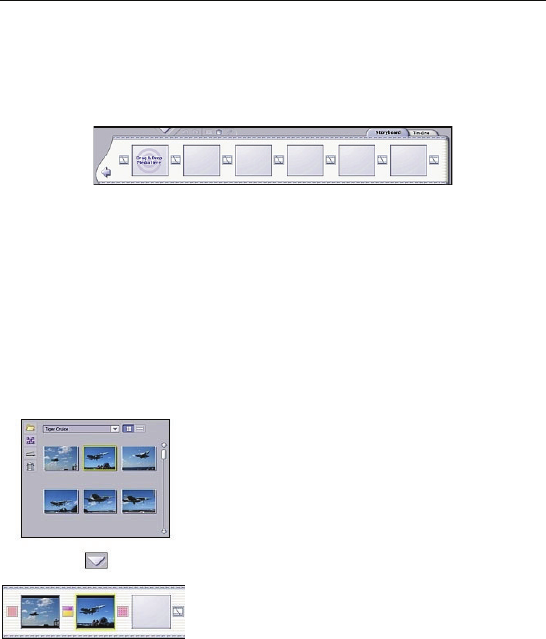
Step 3. Click on the Transitions tab. Choose a transition that you
like and add it before or after any photo or video by selecting the
transition and clicking the "Add" arrow. Alternatively, double-click
the transition. Or select the transition and drag it to the
Storyboard.
A quick and easy way to apply transitions to your movie is to
right-click the Storyboard and choose "Random Transition to All."
The program automatically adds transitions to every available spot
on the Storyboard.
For more information about the Storyboard, see Section 3.4.