


Stand-alone DVR Instruction Manual
138
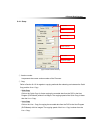
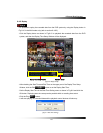
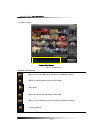
③ Network Image
▫ Size
Choose a Size (Resolution) among D1, Half D1 and CIF you wish to display on the DVR
Master by clicking the mouse. This setting does not affect the DVR.
▫ Quality
Choose one among LOW, NORMAL, HIGH and BEST you wish to display on the DVR
Master by clicking the mouse. This setting does not affect the DVR.
▫ Bandwidth
The default is set to unlimited. Select between 64KBPS to 10MBPS to optimize your
network performance.
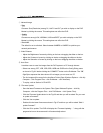
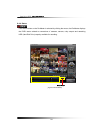
④ Video Enhance
- Adjust the Brightness of screen by clicking on the bar or dragging the slider on the bar.
- Adjust the Contrast of screen by clicking on the bar or dragging the slider on the bar.
- Adjust the Saturation of screen by clicking on the bar or dragging the slider on the bar.
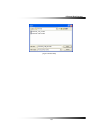
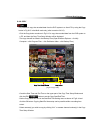
○5 Auto Save
It enables users to save live images from the DVR system to a PC through internet.
- Select one among OFF, 1GB, 2GB, 5GB, 10GB and 50GB on the Config Dialog menu
as shown in Fig.8-6 before clicking the “CONNECT” button on the DvrMaster. The “GB”,
Giga Bytes represent the data volume of live images you can save to a PC.
- The live images will be saved in the AutoSave Folder (Open Windows Explorer – click My
Computer – click Program Files – click DvrMaster – click AutoSave).
- To replay, refer to Section 8-5 PLAYER.
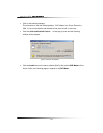
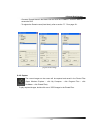
○6 Firmware Update
- Save the latest Firmware to the System Files (Open Windows Explorer – click My
Computer - click the Program Files – click DVR Master – click System Files).
- Click the Firmware Update button in the Fig.8-6 and then you will be asked “Do you want
to update a firmware?”
- Click the Yes to update.
- Double click the latest firmware as shown in Fig.8-7 and then you will be asked “Shall I
update firmware?”
- Click the OK to update. The DVR will display the “Firmware Updating…..” along with the
progressive bar on the screen and it will automatically reboot.