


User Manual for Commercial Series Net DVR
Page 61 Total 121
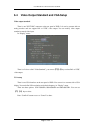
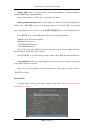
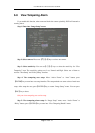
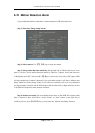
Step 4: Setup mask area: In the mask area setup interface, there is one small yellow pane on
the upper left side. For PAL camera, the whole screen is divided into 22*18 panes (22*15 for
NTSC), you can use【↑】【↓】【→】【←】keys to move the yellow pane to your desired position and
press【EDIT】key, the yellow pane will be turned into red, then you can use【↑】【↓】【→】【←】
keys to extend the red pane. This red area is the mask area.
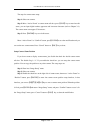
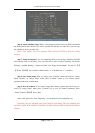
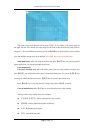
After you select the red mask area, press【EDIT】key to save the mask area. Press【ESC】
key to cancel the mask area. The maximum mask area size is 8*8 panes and the minimum size is
only one pane. You can setup 4 mask areas at most.
After you finish setup, press【ENTER】key to return to “Image Setup” menu. You can press
【A】key to clear all mask areas.
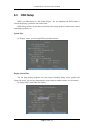
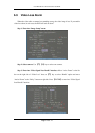
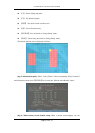
Step 5: Save mask area: You can repeat step2, step3 and step4 to setup mask area for other
cameras. In “Image Setup” menu, press “Confirm” button to save the mask area, press “Cancel”
button to abort.
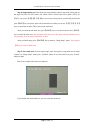
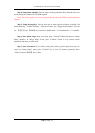
Here is an example of the mask area function.
If you disable the mask check box, you can cancel the mask area.