VCR functions Others
Español
Getting started
Recording Playing discs EditingBefore you start Connections Getting started
Changing the
Setup menu
STOP
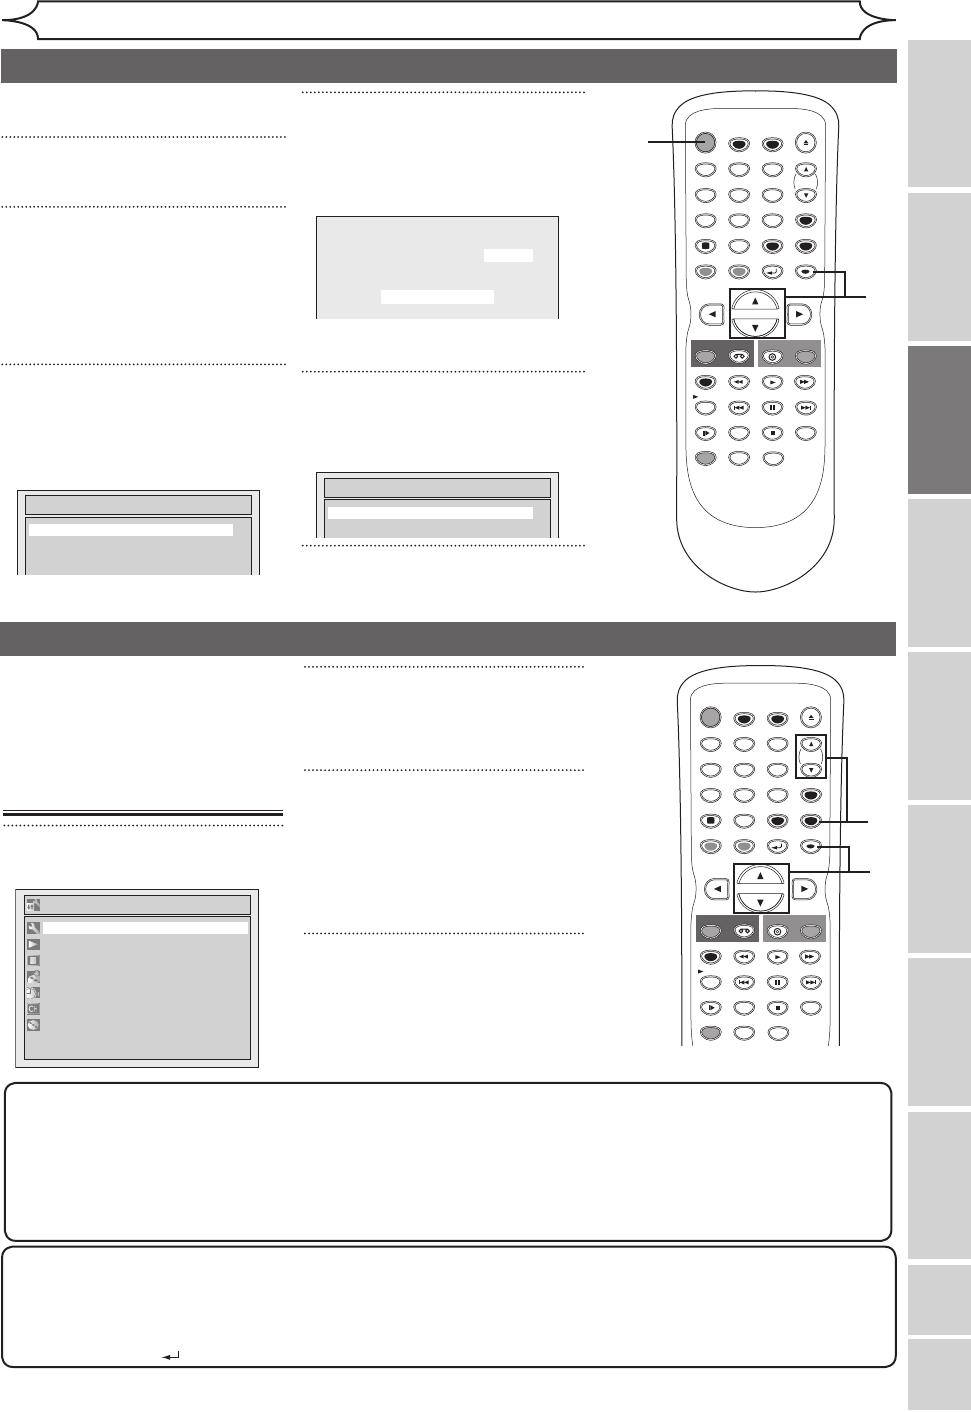
POWER
T-SET
TIMER PROG.
SKIP SKIP
OPEN/CLOSE
SPACE
1 2 3
4 5 6
7 8
0
9
CH
VIDEO/TV
SLOW
PAUSE
.@/:
ABC DEF
GHI JKL MNO
PQRS
REC/OTR
DISPLAY
TUV WXYZ
DVD
REC/OTR
REC SPEED
ZOOM
SEARCH
VCR
SETUP
CM SKIP
RETURN
MENU/LIST
TOP MENU
DUBBING
x1.3/0.8
CLEAR
ENTER
PLAY
AUDIO
1
2
3
4
STOP
POWER
T-SET
TIMER PROG.
SKIP SKIP
OPEN/CLOSE
SPACE
1 2 3
4 5 6
7 8
0
9
CH
VIDEO/TV
SLOW
PAUSE
.@/:
ABC DEF
GHI JKL MNO
PQRS
REC/OTR
DISPLAY
TUV WXYZ
DVD
REC/OTR
REC SPEED
ZOOM
SEARCH
VCR
SETUP
CM SKIP
RETURN
MENU/LIST
TOP MENU
DUBBING
x1.3/0.8
CLEAR
ENTER
PLAY
AUDIO
3
4
Note
• You cannot change the channel when one of the components of the unit (VCR or DVD) is in the recording,
OTR or Timer Recording mode.
• If the auto presetting is cancelled during presetting, some of the channels not yet preset may not be received.
• The selection will depend on how you receive the TV channels.
Press [RETURN ] or [SETUP] to cancel the auto presetting during scanning.
1
Initial setting
To select a channel
You can select a channel by directly entering channel using the Number buttons on the remote control.
Notes for using the Number buttons:
• When selecting cable channels which are higher than 99, enter channel numbers as a three-digit number.
(For example: 117, press [1], [1], [7])
• You must precede single-digit channel numbers with a zero (For example: 02, 03, 04 and so on).
• You can select the line input mode (“L1” or “L2”). To select “L1” by pressing
[0], [0], [1]. To select “L2” by
pressing [0], [0], [2]. Details are on pages 34-35.
5
Turn on this unit for the first time,
you need to follow these steps.
1
Press [POWER].
2
Turn the TV on. Select the input
to which the unit is connected.
Refer to the table on page 15.
“Initial Setting” will automatically
appear.
3
Using [K / L], select your
desired language for the OSD.
Then press [ENTER] to go to
next step.
4
Press [ENTER] to start Channel
Preset.
The unit will start getting channels
available in your area.
Wait for several minutes to finish
channel scanning.
5
After channel setting is finished,
“Clock Setting” will appear.
Then press [ENTER].
6
Follow to step 3 on page 23 to
“Manual Clock Setting”.
Channel setting
2
Using [K / L], select “Channel”.
Press [ENTER].
Channel menu will appear.
3
Using [K / L], select “Auto
Preset”. Press [ENTER].
The unit will start getting channels
available in your area.
Wait for several minutes to finish
channel scanning.
4
Press [SETUP] to exit.
• You can select only the
channels memorized in this unit
by using [CHANNEL L / K] or
[CH K / L].
If you have changed antenna
connection, we recommend you
to program available channels
in your area with the following
procedures.
Getting channels
automatically
1
Press [SETUP].
Initial Setting
Français
Español
English
Initial Setting
Clock Setting
Setup
Playback
Display
Recording
Clock
Channel
Disc
Required Setting
E9A10UD_DVR90VG.indd 19 2005/12/26 18:55:09


