Grounding
312759R 17
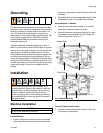
Grounding
This product must be grounded. In the event of an elec-
trical short circuit, grounding reduces the risk of electric
shock by providing an escape wire for the electric cur-
rent. This product is equipped with a cord having a
grounding wire with an appropriate grounding plug. The
plug must be plugged into an outlet that is properly
installed and grounded in accordance with all local
codes and ordinances.
Improper installation of the grounding plug is able to
result in a risk of electric shock. When repair or replace-
ment of the cord or plug is required, do not connect the
grounding wire to either flat blade terminal. The wire
with insulation having an outer surface that is green with
or without yellow stripes is the grounding wire. Do not
modify the plug provided; if it does not fit the outlet, have
the proper outlet installed by a qualified electrician. Only
connect the product to an outlet having the same config-
uration as the plug. Do not use an adapter with this
product.
Installation
Machine Installation
Locate Machine
1. Locate a bench top or open floor area to mechani-
cally mount the machine. Ensure the location has
access to compressed air and AC power and is well
ventilated.
2. Place the machine on the designated location. Allow
the machine to rest on the rubber feet provided.
Mount Machine, if Needed
3. Remove the shield locking screws (110) on both
sides then remove the protective shield.
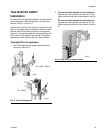
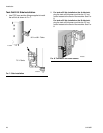
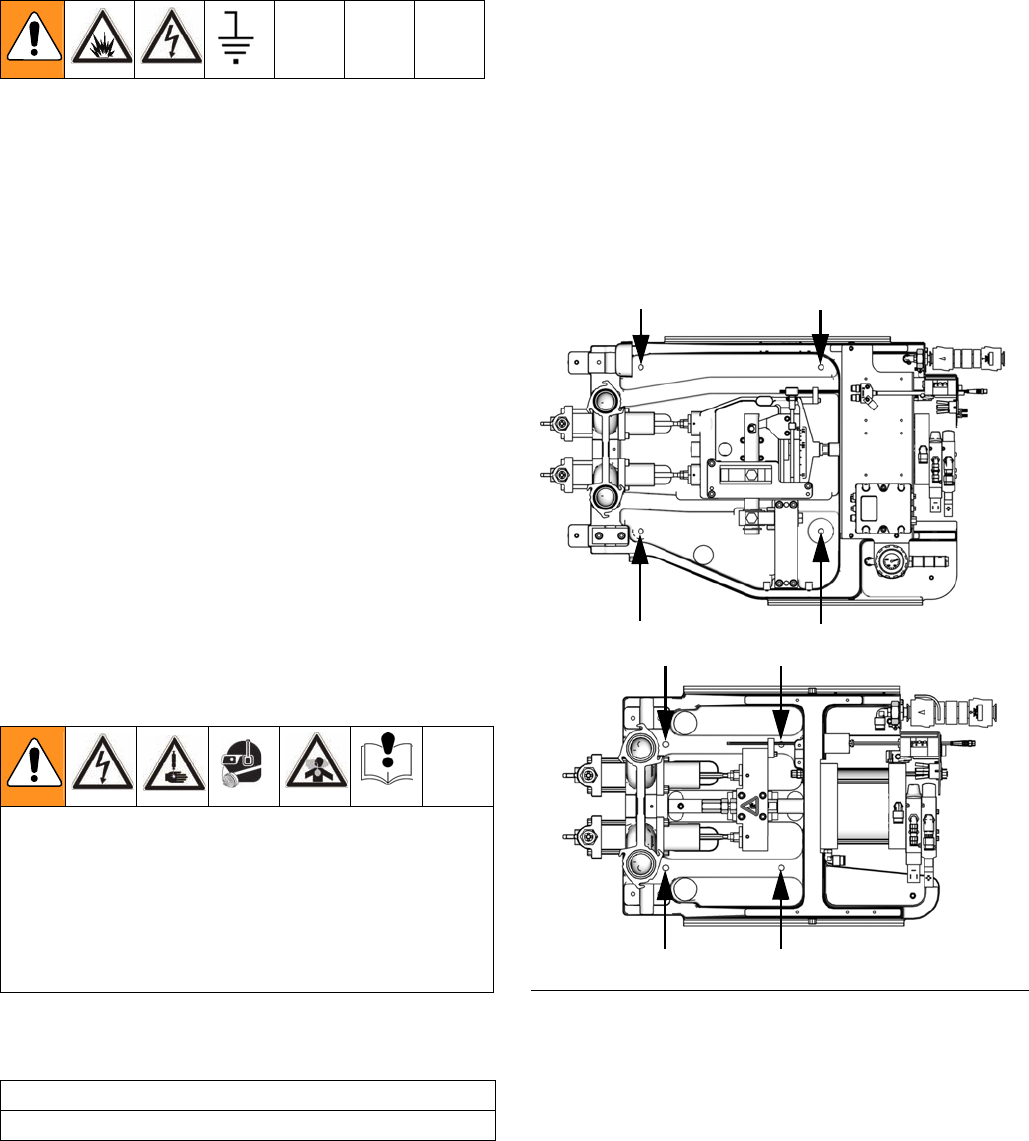
4. Attach the frame to the selected location by install-
ing fasteners (not provided with unit) through the
four mounting holes. See F
IG. 4.
Connect Pressurized Air Input
5. Connect a compressed airline to the air inlet (109)
in the back of the machine.
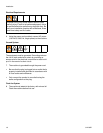
Avoid contact with electrical inter-connects when
connecting electric power to the machine. Avoid con-
tact with Krytox on the pump shaft, PE tank lid, and
PE tank lid gasket. Contact with Krytox causes
flu-like symptoms. Read all manufacturer’s warning
and material MSDS to know the specific hazards of
the material used.
CAUTION
Do not lift the machine by the tanks.
FIG. 4: Mounting Holes
Variable Ratio
Fixed Ratio
ti12713a
ti12712a


