10
BConnecting the DVD Recorder
Preparing the remote control for
operation
The remote control and its batteries are packed separately in the original DVD Recorder
packaging. You must install the batteries in the remote control - as described in the paragraph
below - before use.
1
Take the remote control and the enclosed batteries (2 AA).
2
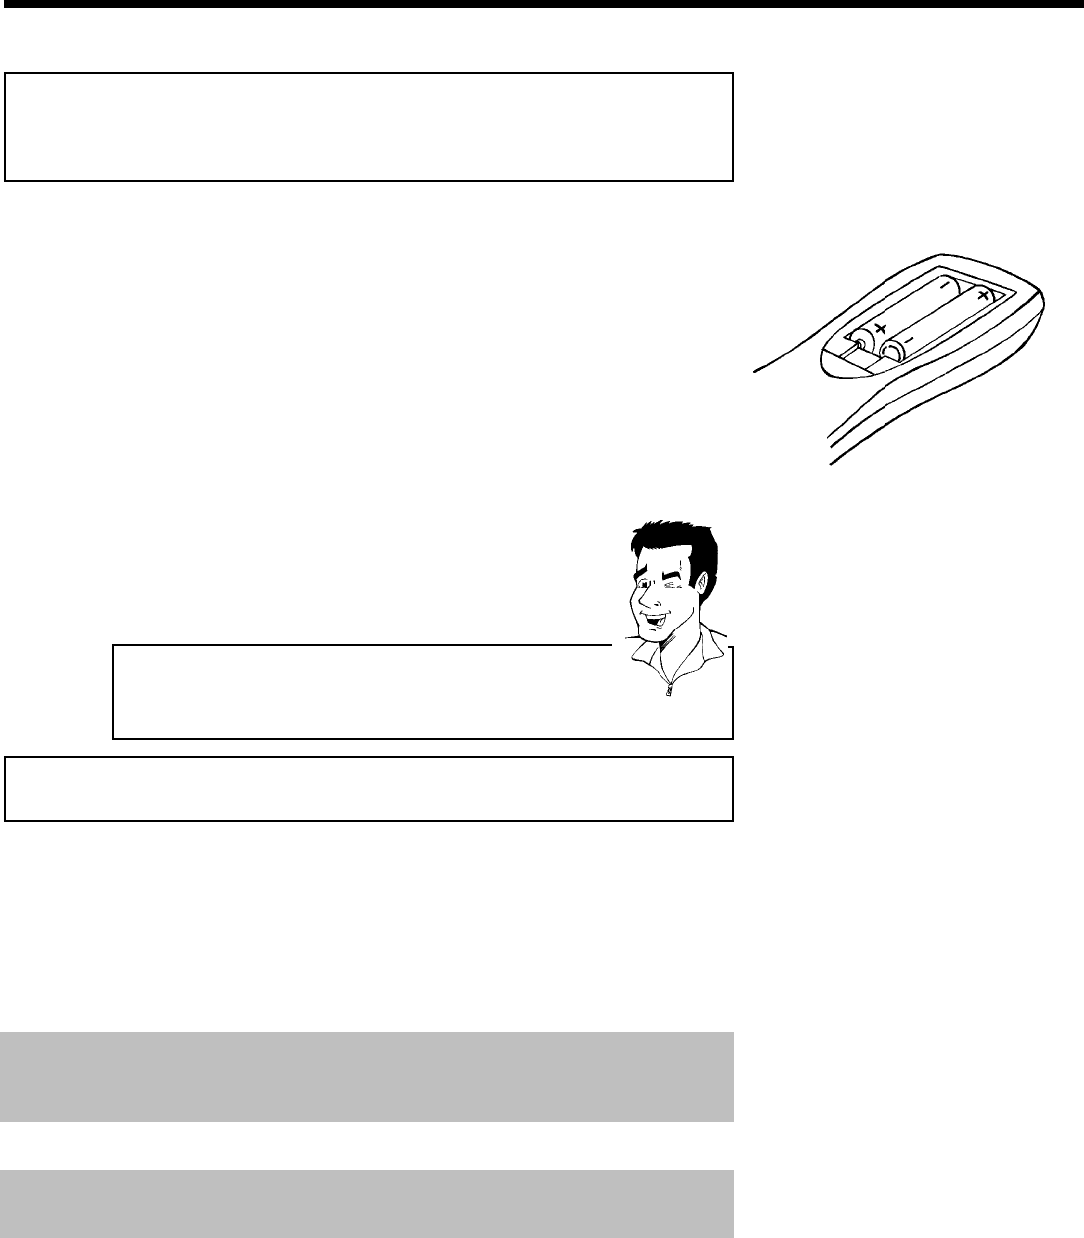
Remove the battery compartment lid, insert the batteries as
shown, then replace the battery compartment lid. Always install
the +/- ends of the batteries as indicated inside the battery
compartment.
The remote control is now ready to use.
Use it within approximately 16-32 feet (5 to 10 meters) of the Recorder.
'Correct aiming' of the remote control
In the following sections, you require the remote control for the first
time. When using the remote control, always aim the front part of it at
the DVD recorder, not the TV.
Tip
Connecting your DVD Recorder to the TV
The necessary cable connections must be made before you can record or playback TV programs
using your DVD recorder.
Connect the DVD Recorder directly to the TV. Connecting a video cassette recorder between
the DVD Recorder and the TV could result in poor picture quality.
When you install your DVD Recorder for the first time, select one of the following options:
Connecting with Component Video (Y PB PR, YUV) / Progressive Scan (Y PB PR)
If your TV is equipped with Component Video (Y PB PR, YUV) / Progressive Scan (Y PB PR)
inputs
Connecting with SVideo (Y/C)
If your TV is equipped with a S-Video (SVHS) jack.
Connecting with a Video (CVBS) cable
If your TV is equipped with a Video (CVBS) jack.
Connecting only with the RF coaxial cable
If your TV has only an Antenna-In jack (no other audio and video in jacks) or you do not wish to
use any other cable; the TV's Antenna In jack may be labeled ANT IN, RF IN, 75 ohm, etc. Check
your TV instructions for details.
Connecting the DVD Recorder


