12
Please note the color order
The colors of the jacks on the DVD Recorder must match those on the
TV (red-red/blue-blue/green-green). If they are not matched properly,
this could cause the color of the picture to be reversed or there could
be no picture at all.
Tip
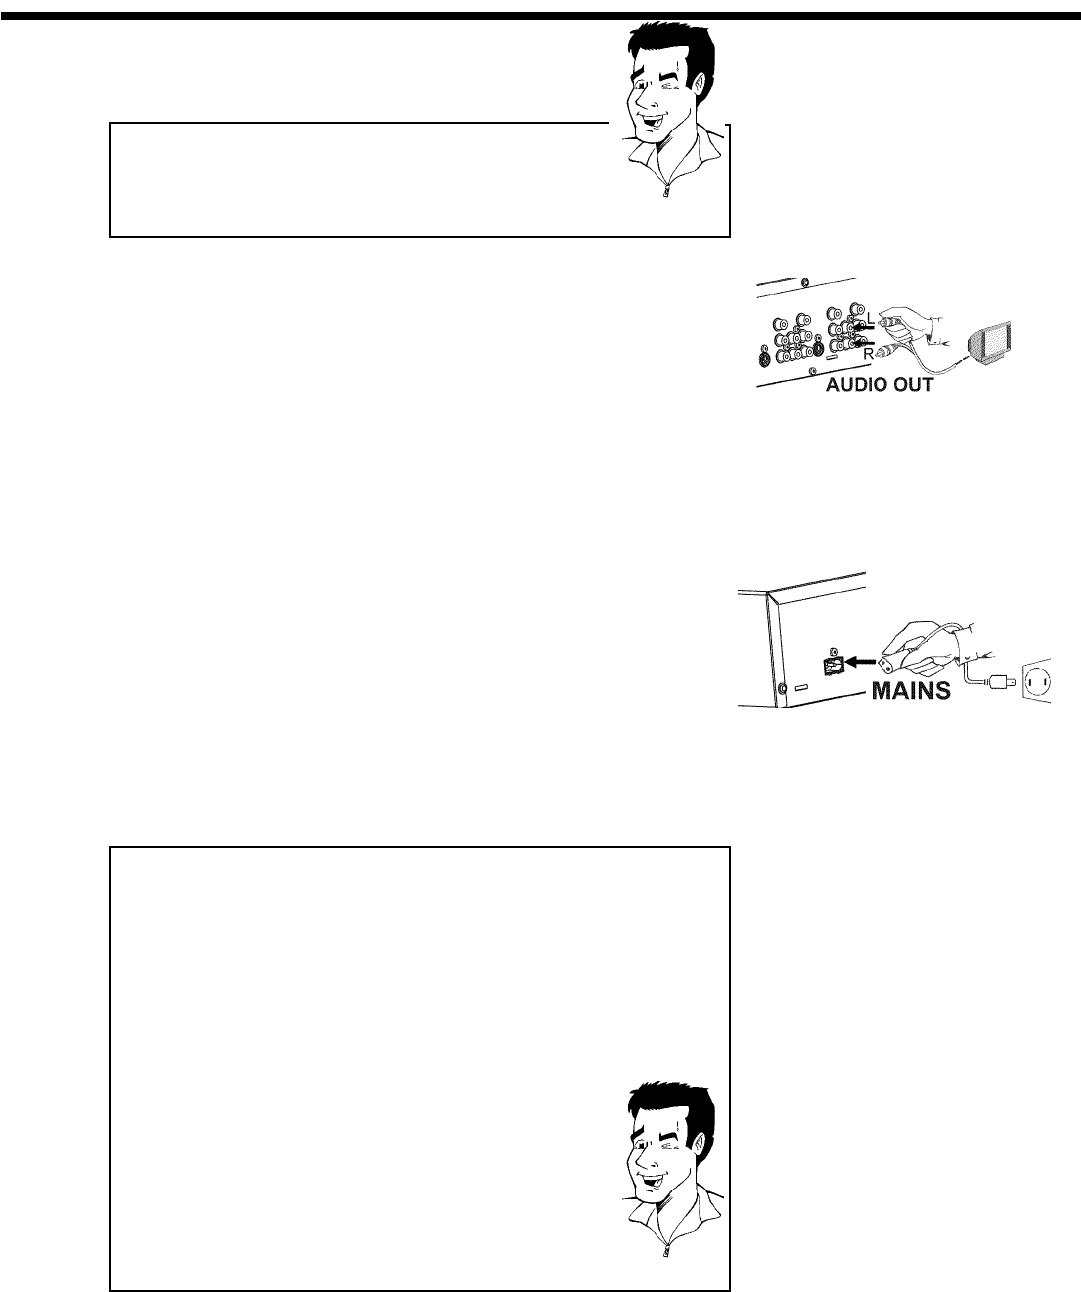
5
Connect audio cables to the AUDIO OUT jacks at the back of
the DVD Recorder (next to COMPONENT VIDEO Y PB PR
OUT ) and to the red/white Audio In jacks of the TV (usually
called Audio in', 'AV in', please see your TV's instruction manual).
6
Switch on the TV.
If necessary, set the TV to the Component Video channel.
If necessary, see the operating instructions for your TV. Or, go
to channel zero on your TV, then keep changing channels down
until you see the DVD Recorder screens (when the Recorder is
on). This is not channel 3 or 4 as it would be if you used only
the RF coaxial cable connection.
7
Connect the supplied power cable to the mains jack
4MAINS at the back of the DVD Recorder and to a power
supply.
The most important features of the DVD Recorder will appear
on the display.
After the initial installation is completed, this function will be
switched off. To switch on this function again, read in the section
'Standby' in the chapter 'User preferences'.
8
Press STANDBY-ON m on the recorder. 'IS TV ON?' will
appear on the display.
Then, read 'Initial installation' in the chapter 'Installing your DVD
recorder'.
Switching TV and DVD Recorder to 'Progressive scan'
The factory settings of the DVD Recorder are set to 'Interlaced'. If you
selected the 'Progressive scan' connection during installation, you must
switch the 'Component Video output' of the DVD Recorder and, if
necessary, the 'Component Video input' of the TV to 'Progressive scan.'
Switching the TV
Please select 'Progressive scan' for the Component Video input on the
TV. If necessary, see your TV instruction manual.
If your TV is equipped with separate input jacks for Interlaced and
Progressive, connect the DVD Recorder to the jack that supports
'Progressive scan.'
Switching the DVD Recorder
1 Disconnect the recorder's power cord.
2 Hold down N on the front of the DVD Recorder while
reconnecting the power cord. 'PRO' (progressive scan) will appear
on the display.
3 If you want to switch back, repeat steps 1 and 2 . 'PRO'
(progressive scan) will disappear from the display. The DVD
Recorder is switched to 'Interlaced.'
Tip
Connecting the DVD Recorder


