


27
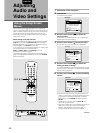
ADJUSTING AUDIO AND VIDEO SETTINGS
ENGLISH
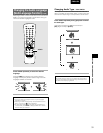
Setting the DNR (Digital Noise
Reduction) level with Digital
Progressive-scan Component Video
DNR reduces progressive scan 'video noise'. Select from 2
level of noise reduction depending on how much effect you
want. There is also an [Off] setting.
This setting only applies to progressive-scan component
video output.
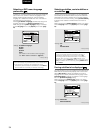
Make changes to the [Progressive DNR] setting in the Setup
screen Video menu.
Settings: High
This setting is for a progressive scan TV. Strong
DNR is applied to the picture.
Low
This setting is for a progressive scan TV. Normal
DNR is applied to the picture.
Off*
This setting is for a progressive scan TV. No DNR
is applied to the picture.
*
Factory setting
525 line Digital Progressive
Scan Compatible Video Output
– DVD
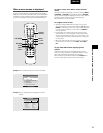
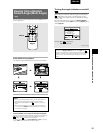
Connecting to a progressive scan-
compatible TV
Compared to a standard interlaced TV picture, a progressive
scan TV is capable of stable, flicker-free images.
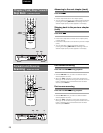
Set only if you connected the COMPONENT VIDEO OUT
jacks to a progressive scan-compatible TV or monitor.
When making component video connections, make sure to
set the VIDEO OUT SELECT switch on the rear panel of the
player to the right to assign component video output (page
14).
When a progressive-scan video signal is output, the
“PROGRESSIVE” indicator lights in the display.
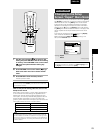
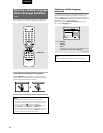
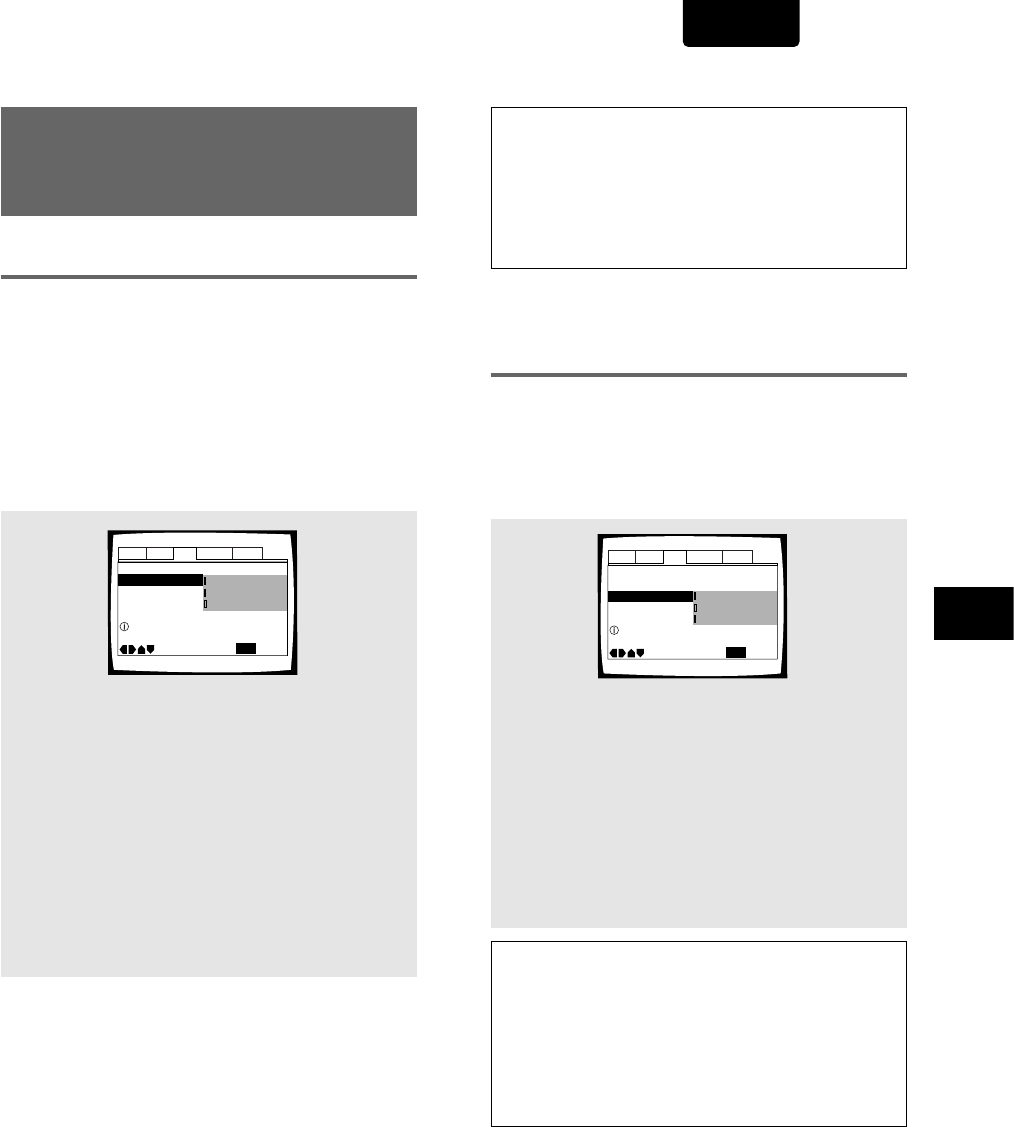
Make changes to the [Component Video] setting in the
Setup screen Video menu.
Settings: Interlace*
Use this setting with regular TVs that are not
compatible with progressive scan. Check the TV’s
instruction manual if you are not sure about this.
Progressive
Use this setting with TVs and monitors that have
progressive scan component video inputs. Check
the TV’s instruction manual if you are not sure
about this.
Auto Progressive
Switches to progressive scan when 16:9 DVD
discs are played,4:3 DVD discs uses interlace
setting. Your TV/monitor must be compatible with
progressive scan to use this setting.
*
Factory setting
Tip:
If this player is set to output progressive-scan video, it’s possible
that the picture will appear stretched when playing discs recorded in
4:3 format. This happens when the TV’s aspect ratio is set at 16:9.
To see the picture in its correct aspect ratio, change the TV setting
to 4:3.
If your TV can be switched between 4:3 and 16:9, set this player to
[Interlace] or [Auto progressive]. In Auto progressive mode, 4:3
discs will be played in Interlace mode, while discs that are recorded
in both 4:3 and 16:9 will play in interlace mode during the 4:3
sections, and in progressive mode during the 16:9 parts. Switch your
TV’s aspect ratio to the most suitable setting (for more details, see
the manual that came with your TV). When set to [Auto
progressive], you may see picture disturbance when this player
(and the TV) switches between progressive and interlace modes.
This is not a malfunction of either this player or the TV. Picture
disturbance should only occur when switching from a menu screen
to the main feature, for example.
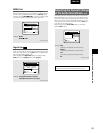
Audio1 Audio2 GeneralLanguageVideo
TV Screen — 16:9(Wide)
Progressive DNR -
Picture Quality -
Move
Exit
Low
Off
Progressive
High
SETUP
Progressive Compatible TV only
Progressive DNR On/Off
Component Video —
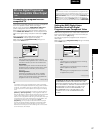
Audio1 Audio2 GeneralLanguageVideo
TV Screen — 16:9(Wide)
Progressive DNR -
Picture Quality -
Move
Exit
Auto Progressive
Interlace
Progressive
SETUP
Select Interlace or Progressive
output Component Video
Component Video -
Compatibility of this unit with progressive-scan TVs.
‘CONSUMERS SHOULD NOTE THAT NOT ALL HIGH
DEFINITION TELEVISION SETS ARE FULLY COMPATIBLE
WITH THIS PRODUCT AND MAY CAUSE ARTIFACTS TO
BE DISPLAYED IN THE PICTURE. IN CASE OF 525
PROGRESSIVE SCAN PICTURE PROBLEMS, IT IS
RECOMMENDED THAT THE USER SWITCH THE
CONNECTION TO THE “STANDARD DEFINITION”
OUTPUT.
Note
If you connect a TV that is not compatible with a progressive scan
signal and choose one of the progressive scan settings, you will not
be able to see any picture at all. If you accidently do this, set the
VIDEO OUT SELECT switch on the rear panel to COMPOSITE & S-
VIDEO. With your TV connected using either the composite or S-
Video terminals, choose the [Interlace] setting in the [Component
Video] menu, then set the rear panel switch back to COMPONENT.