23
SETUP, con’t
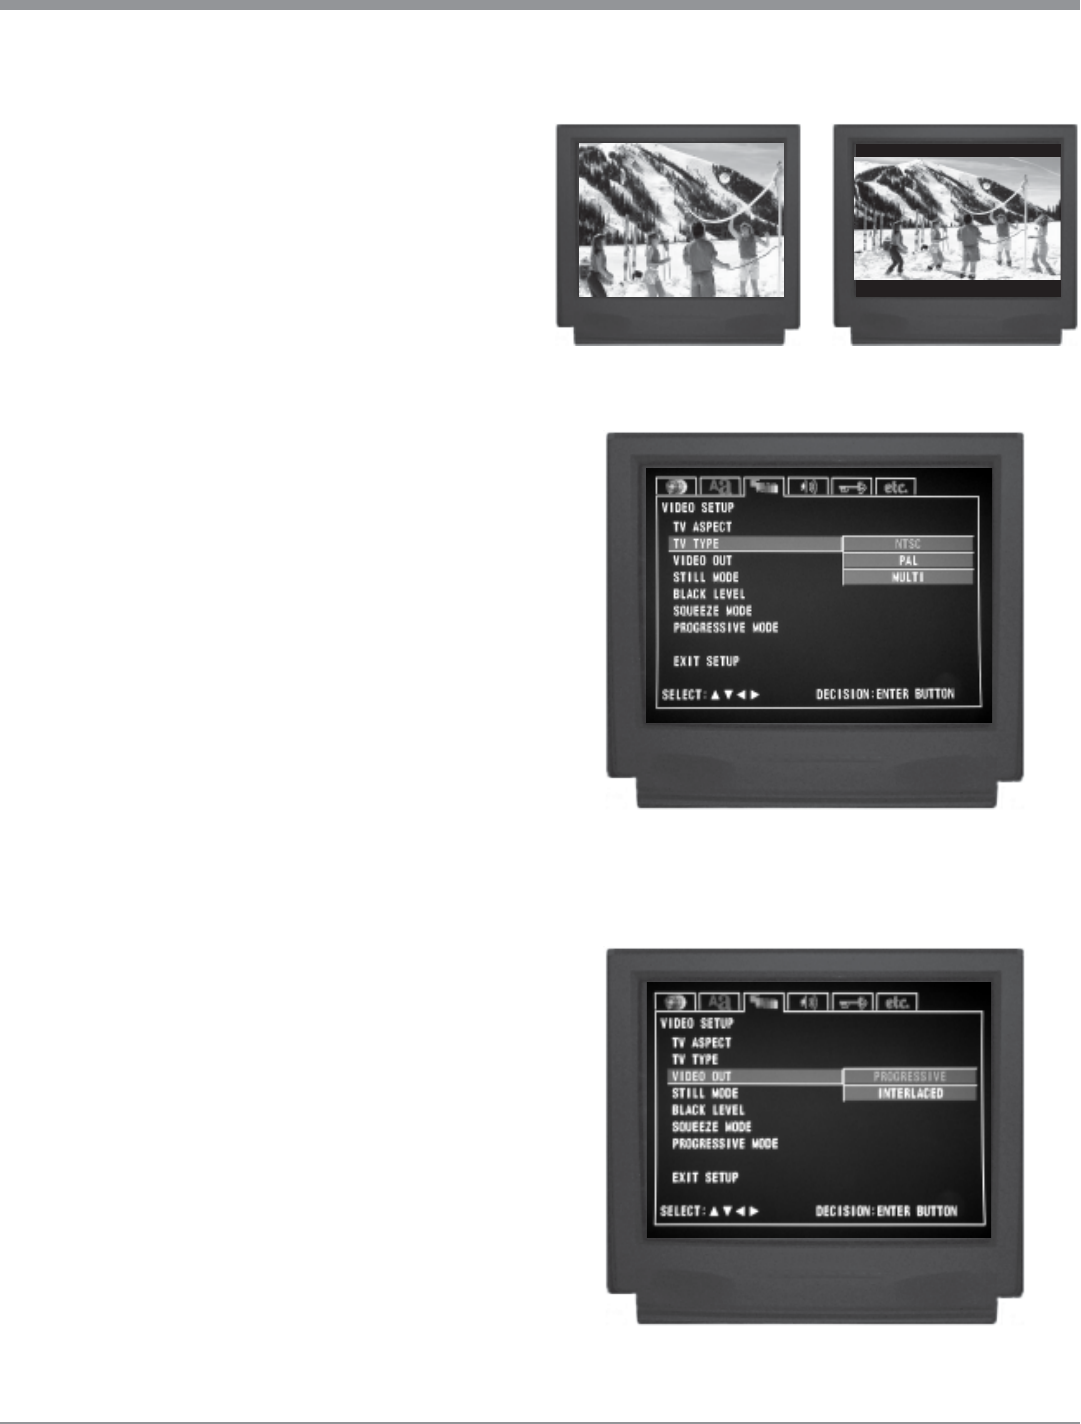
Figure 15 Figure 16
Figure 17
Note: If there is a Disc playing in the MVP861 press the
STOP Push-button twice before pressing the
SETUP Push-button.
2. Use the Down directional Push-button followed by
the SELECT Push-button on the Remote Control to se-
lect the TV TYPE Menu. Refer to figure 17.
3. To change from the default setting use the Up or
Down directional Push-buttons followed by the SE-
LECT Push-button.
Note: The title of the icon button-bar will change color
from yellow (the cursor color) to green indicating
the selected item.
4. Return to the Video Setup Menu by pressing the Up
directional Push-button.
5. Next continue to the VIDEO OUT Settings. If no other
changes are to be made in Setup Mode at this time, exit
by pressing the Down directional Push-button to se-
lect the EXIT SETUP menu choice followed by the
SELECT Push-button and the MVP861 will return to
normal operation.
Video Out
This selects the video signal format available at the Com-
ponent Video Jacks to match the capabilities of the con-
nected TV/Monitor. To change from the default setting of
interlaced perform the following steps:
Notes: The Progressive Scan Circuitry in the MVP861 offers
the highest possible picture quality available when the
Component Video Outputs of the MVP861 are
connected to a TV/Monitor capable of Progressive Scan.
Unlike a conventional TV with Odd and Even Scanning
Lines that are interlaced together to form a picture, the
Progressive Scanning Mode scans all the lines of
picture information both Odd and Even at one time,
non-interlaced.
1. Press the SETUP Push-button on the Remote Control
to access the On-Screen Disc Setup Menu. Then press
the Right directional Push-button to select the Video
Setup Menu Icon Tab. Refer to figure 12.
Note: If there is a Disc playing in the MVP861 press the
STOP Push-button twice before pressing the
SETUP Push-button.
2. Use the Down directional Push-button followed by
the SELECT Push-button on the Remote Control to se-
lect the VIDEO OUT Menu. Refer to figure 18.
CAUTION: DO NOT ACTIVATE the MVP681 DVD
Player’s Progressive Video Display Mode
unless you are certain that the TV/Monitor
connected to the MVP861 is capable of
displaying a Progressive Scan Signal. Failure
to do so could result in possible damage to the
Figure 18
