26
How to Set the Video, con’t
Progressive Mode
In order to produce the best possible picture quality during
video playback of very dark scenes, the MVP861 has an
alternate Progessive Scan Video 2 Mode. To change from
the default Progressive Scan Mode 1 setting perform the
following steps:
Note: The MVP861 needs to be in the Progressive Scan Mode
and the Monitor/TV connected to the Component Video
Outputs Jacks.
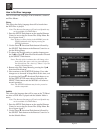
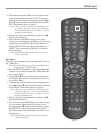
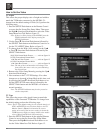
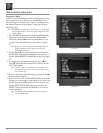
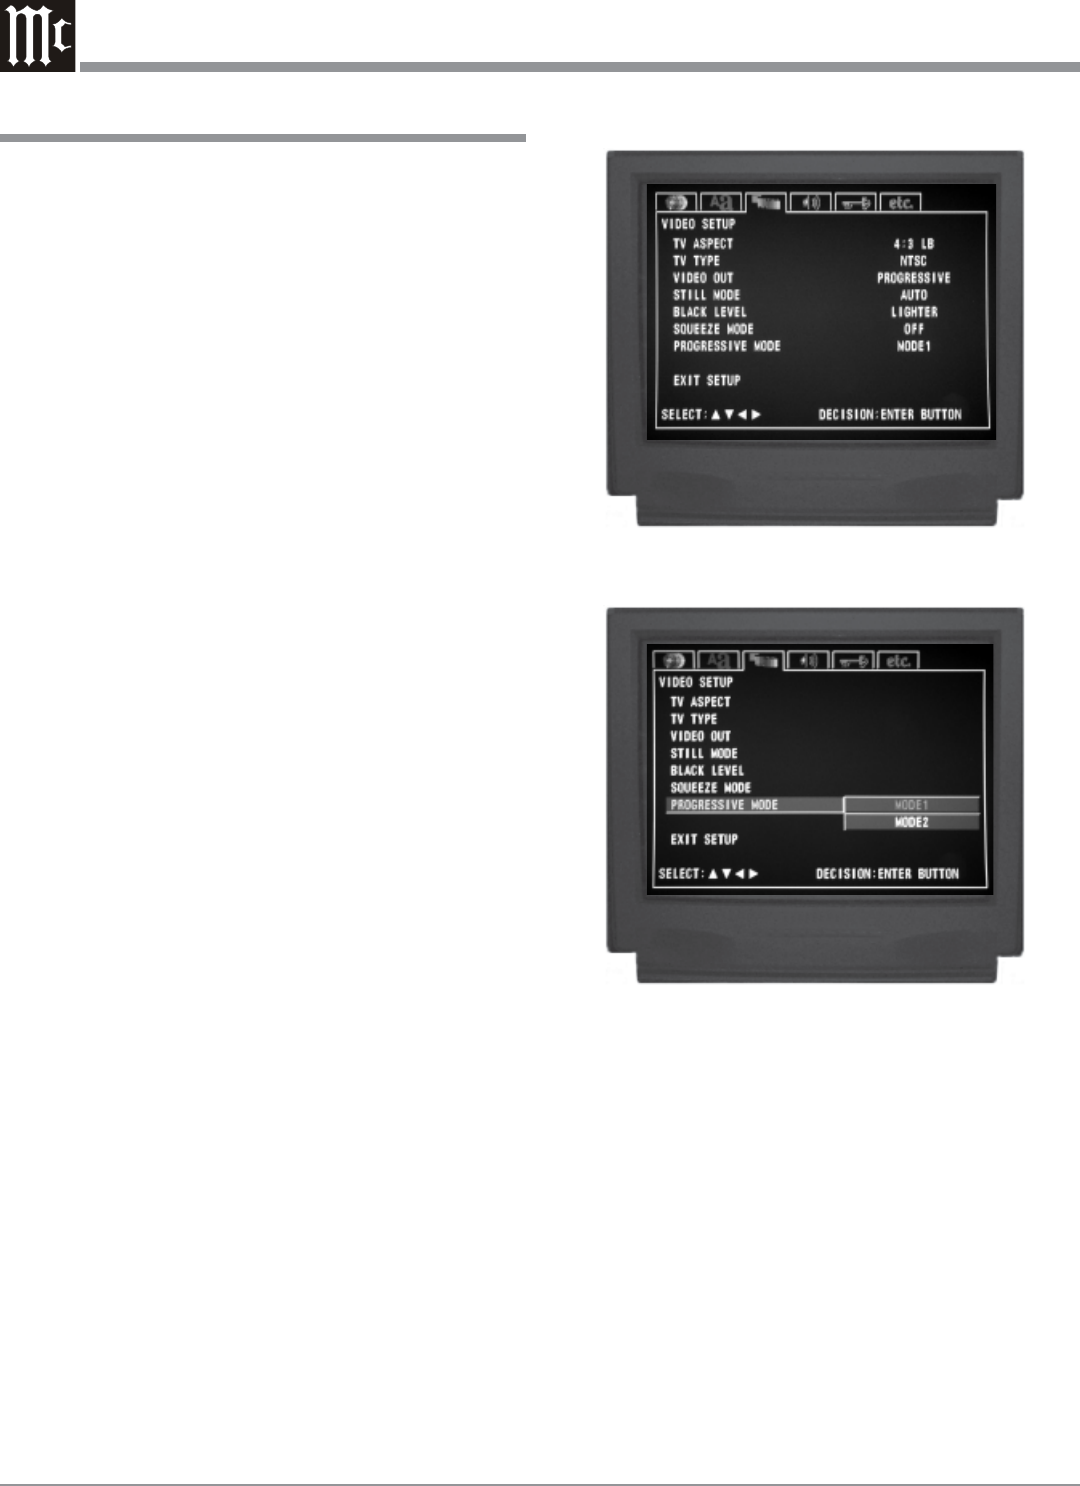
1. Press the SETUP Push-button on the supplied Remote
Control to access the On-Screen Disc Setup Menu.
Then press the Right directional Push-button to se-
lect the Video Setup Menu Icon Tab. Refer to figure
12.
Note: If there is a Disc playing in the MVP861 press the
STOP Push-button twice before pressing the
SETUP Push-button.
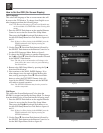
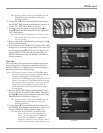
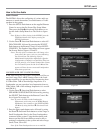
2. Use the Down directional Push-button followed by
the SELECT Push-button on the Remote Control to se-
lect the PROGRESSIVE MODE Menu. Refer to figure
22.
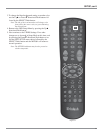
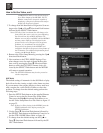
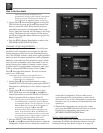
3. To change from the default setting use the Up or
Down directional Push-buttons followed by the SE-
LECT Push-button.
Note: The title of the icon button-bar will change color
from yellow (the cursor color) to green indicating
the selected item.
4. Return to the Video Setup Menu by pressing the Up
directional Push-button.
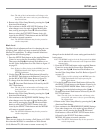
5. Next continue to the AUDIO SETUP Menu. If no other
changes are to be made in Setup Mode at this time, exit
by pressing the Down directional Push-button to se-
lect the EXIT SETUP menu choice followed by the
SELECT Push-button and the MVP861 will return to
normal operation.
Note: The SETUP Push-button may be also pressed to
exit the setup mode.
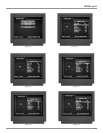
Figure 12
Figure 22


