40
How to Set the Other Setup
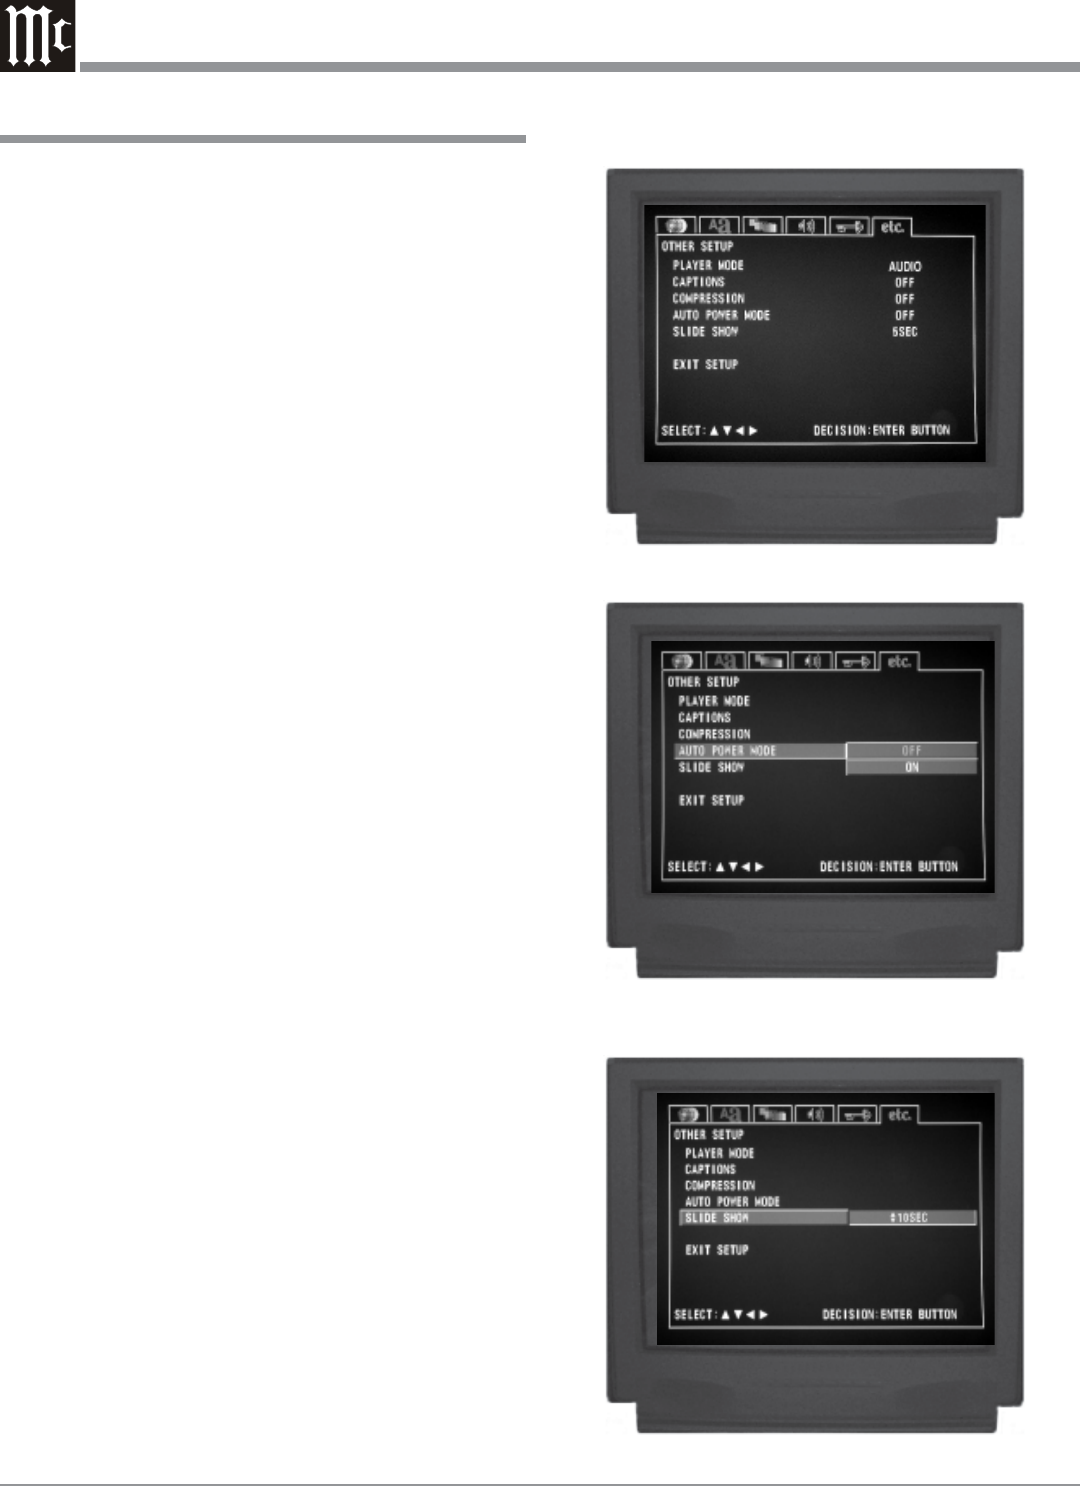
Auto Power Mode
The MVP861 has a feature to switch itself Off 30 minutes
after a disc has stopped playing (the stop mode). To acti-
vate the Auto Power Mode feature perform the following
steps:
1. Press the SETUP Push-button on the supplied Remote
Control to access the On-Screen Disc Setup Menu.
Then press the Right directional Push-button to se-
lect the “etc. Setup Menu Icon Tab”. Refer to figure 55.
Note: If there is a Disc playing in the MVP861 press the
STOP Push-button twice before pressing the
SETUP Push-button.
2. Use the Down directional Push-button followed by
the SELECT Push-button on the Remote Control to se-
lect the AUTO POWER MODE Menu. Refer to figure
59.
3. To change from the default setting of OFF use the
Up or Down directional Push-buttons to select ON
followed by the SELECT Push-button.
Note: The title of the icon button-bar will change color
from yellow (the cursor color) to green indicating
the selected item.
4. Return to the Other Setup Menu by pressing the Up
directional Push-button.
5. Next continue to the SLIDE SHOW Settings. If no
other changes are to be made in Setup Mode at this
time, exit by pressing the Down directional Push-
button to select the EXIT SETUP menu choice fol-
lowed by the SELECT Push-button and the MVP861
will return to normal operation.
Note: The SETUP Push-button may be also pressed to
exit the setup mode.
Slide Show
The MVP861 has a feature to view photos from a disc and
the interval time between photos is adjustable from 5 to 15
seconds. To change the interval time perform the following
steps:
1. Press the SETUP Push-button on the supplied Remote
Control to access the On-Screen Disc Setup Menu.
Then press the Right directional Push-button to se-
lect the “etc. Setup Menu Icon Tab”. Refer to figure 55.
Note: If there is a Disc playing in the MVP861 press the
STOP Push-button twice before pressing the
SETUP Push-button.
2. Use the Down directional Push-button followed by
the SELECT Push-button on the Remote Control to se-
lect the SLIDE SHOW Menu. Refer to figure 60.
Figure 55
Figure 60
Figure 59
