


15
Chapter 1. Television Overview
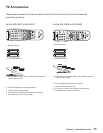
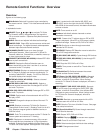
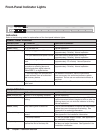
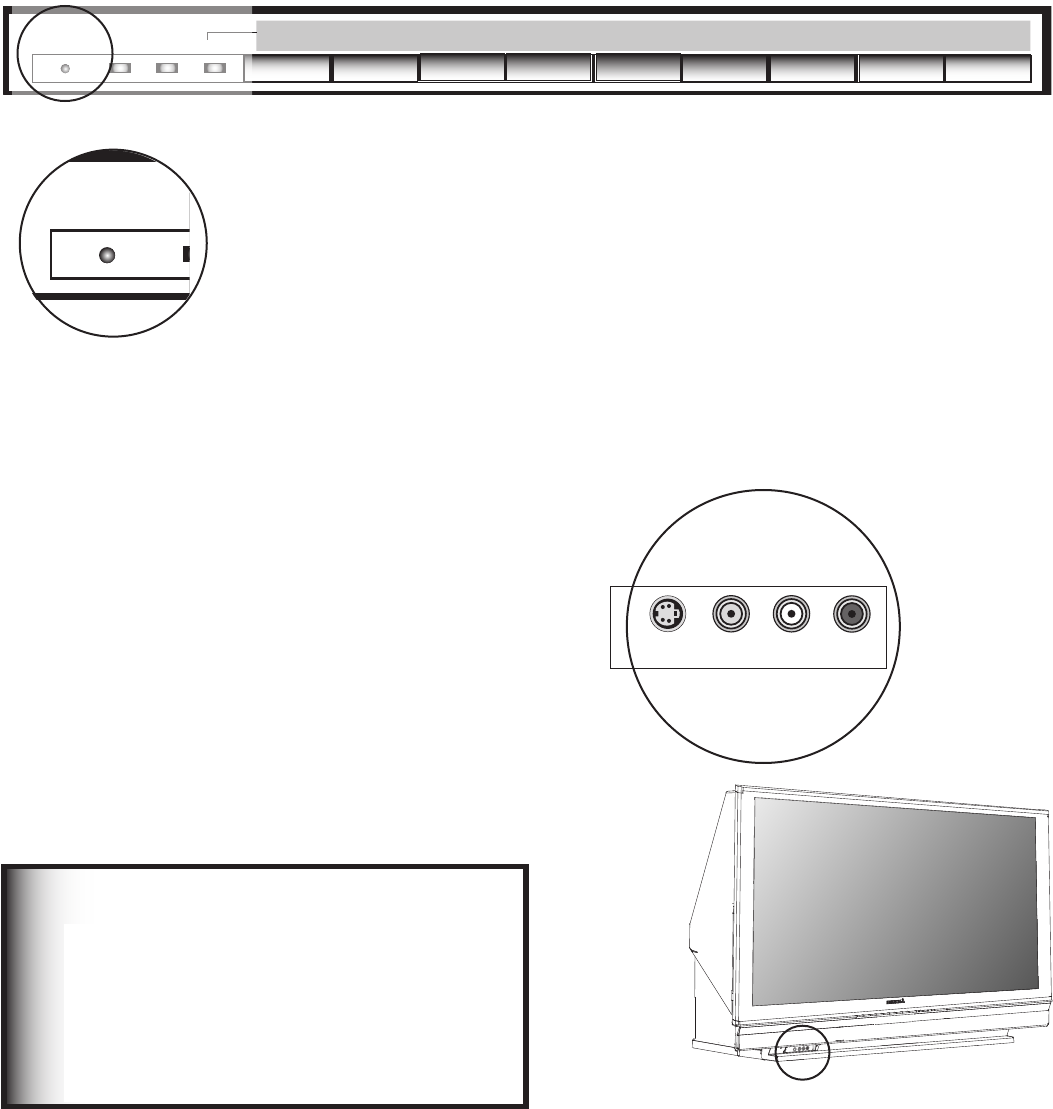
The buttons on the Front Control Panel highlighted are duplicated on the remote control. The top row of labels shows
the control functions when there are no TV menus displayed on the screen. The bottom row of labels shows the control
functions when the TV menus are displayed on the screen or when a special function has been activated. See “Remote
Control Overview” for further details on the functions of these buttons.
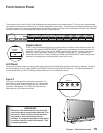
Front Control Panel
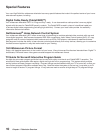
Portions of the advanced circuitry of this TV
must continue to operate even when the TV is
turned off. Some of these circuits therefore
may need to be cooled at times during
standby. A low power standby fan may switch
on and be heard in a quiet environment. This
is normal operation.
IMPORTANT
Input 3
This input can be used for convenient connection of a
camcorder or other video device to the TV. Please note
that if you connect to the S-VIDEO terminal, the VIDEO
terminal is deactivated. The VIDEO terminal is active
when there is no S-Video connection.
*/165
47*%&07*%&0-"6%*03
<
DEVICEGUIDE
CANCEL
MENU
ENTER
MENUFORMAT
– CH –
<
>
ADJUST
– VOL –
<
>
>
< >
POWER
SYSTEM
RESET
LAMP STATUS TIMER
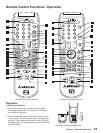
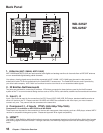
System Reset
If the TV will not respond to either the remote control or the front panel controls and/or will
not power Off, press the SYSTEM RESET button with a pointed item like the end point of a
paperclip. The TV will turn Off and the TIMER light will flash quickly for about one minute.
When the TIMER light stops flashing, you may again turn on the TV. The changes you
made the last time the TV was on before you used the SYSTEM RESET button may be lost,
however, the changes that were previously saved are not lost.
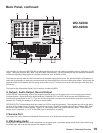
<
DEVICEGUIDE
CANCEL
MENU
ENTER
MENUFORMAT
– CH –
<
>
ADJUST
– VOL –
<
>
>
< >
POWER
SYSTEM
RESET
LAMP STATUS TIMER
A/V Reset
There may be times when you wish to reset the A/V (Audio and Video) settings back to the factory defaults. To return
all of the settings at once, press GUIDE and FORMAT on the front panel at the same time. To reset the defaults for
individual devices, use the A/V Memory Reset selection on the Audio/Video menu.