


57
Configuring the DV-SP506
—Continued
Change the Security Code
To change the Security Code, confirm your existing code
then enter a new one.
Note:
• If you forget your security code, enter “8888” instead.
“8888” is a security code that can always be used.
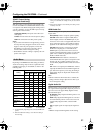
DVD Priority Contents
This setting determines what is played when a
DVD-Audio disc also contains DVD-Video material.
DVD-AUDIO (default):
The DVD-Audio material is
played.
DVD-VIDEO:
The DVD-Video material is played.
SACD Priority Contents
SACDs have two separate areas for storing audio
tracks—one for multichannel audio, the other for 2-
channel stereo audio. In addition, hybrid SACDs have
an extra layer for playback in standard CD players.
With this setting you can determine how SACDs are
played by the DV-SP506.
Multi ch Area (default):
The multichannel audio
tracks
are played.
2 ch Area:
The 2-channel stereo audio
tracks
are
played.
CD Area:
The CD layer of hybrid SACDs is played.
Note:
• This setting determines which area of the disc is
played initially. If Multi ch Area is selected, and an
SACD that contains no multichannel area is loaded,
the 2-channel area will be played.
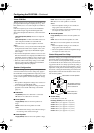
HDMI Control
With this setting, you can turn RIHD control over HDMI
on or off.
On (default):
RIHD control on.
Off:
RIHD control off.
Notes:
• RIHD (Remote Interactive over HDMI) is Onkyo’s
implementation of CEC (Consumer Electronics Con-
trol), which allows integrated system control over
HDMI and is part of the HDMI standard. In addition
to Onkyo AV components, it allows interoperability
with CEC-compatible AV components and TVs made
by other manufacturers. However, operation with
components other than RIHD-compatible components
or recommended components cannot be guaranteed.
• Select Off if a connected component is incompatible
or you’re not sure about its compatibility.
• If operation is unreliable when set to On, select Off
instead.
• When you set the RIHD function, set the HDMI Out-
put setting (see page 49) to “On.”
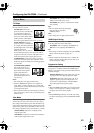
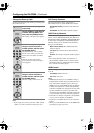
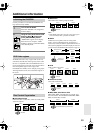
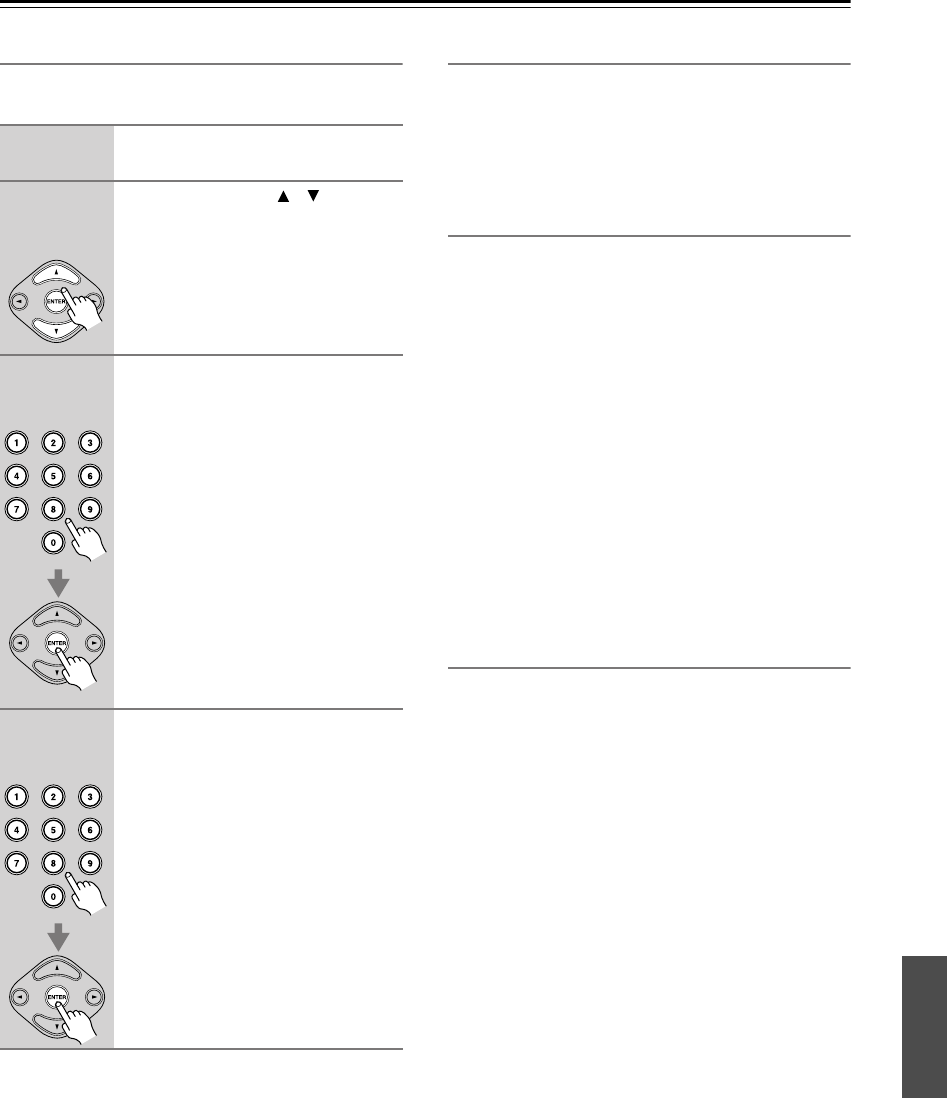
1
Select “Operation Setting” menu
in the setup.
2
Use the Up/Down [ ]/[ ] buttons
to select “Security Code,” and
then press the [ENTER] button.
The security code input screen appears.
3
Enter the existing security code
using the remote controller’s
number buttons, and then press
the [ENTER] button.
The default security code is “8888.”
Even if a new security code has been
entered, the code “8888” can still be
used.
Once the security code has been
entered, the new security code input
screen appears.
4
Enter the new security code
using the remote controller’s
number buttons, and then press
the [ENTER] button.
The new security code has been set.
Remote
controller
Remote
controller
Remote
controller