


14
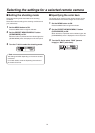
Selecting the settings for a selected remote camera
Setting the shooting mode
Select the shooting mode that matches the shooting
conditions.
Select the mode according to the shooting conditions and
your preferences.
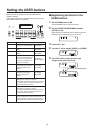
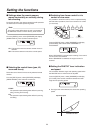
1 Set the MENU button to ON.
Press the MENU button to light its indicator.
2 Set the PRESET MEMORY/MENU 7 button
(SCENE/MODE) to ON.
When the button is pressed and its indicator lights, the
[SCENE/MODE] menu is displayed on the LCD panel.
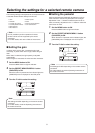
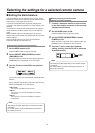
3 Turn the F1 dial to select the shooting mode.
SCENE : MANU1
MODE : CAM
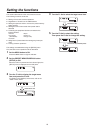
The settings will differ depending on the remote camera
connected.
For further details, check the Operating Instructions of
the model concerned.
Note
Specifying the color bars
The images to be output from the remote camera can be
switched between the “camera images” and “color bars”.
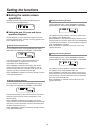
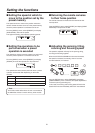
1 Set the MENU button to ON.
Press the MENU button to light its indicator.
2 Set the PRESET MEMORY/MENU 7 button
(SCENE/MODE) to ON.
When the button is pressed and its indicator lights, the
[SCENE/MODE] menu is displayed on the LCD panel.
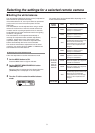
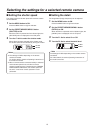
3 Turn the F2 dial to select “CAM” (camera
image) or “BAR” (color bars).
SCENE : MANU1
MODE : BAR