


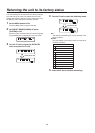
33
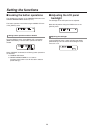
Setting the functions when the unit is linked with the switcher
Setting for the information to
be displayed on the OSD
This setting displays the remote camera information on the
OSD of the monitor which is connected to the switcher to be
linked to the unit.
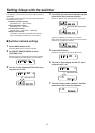
The setting is established using the [SETUP] menu.
Before taking the steps here, the steps for “Switcher network
settings” and “Setting the image output and image input”
described earlier must be taken.
First, the basic menu operations will be described.
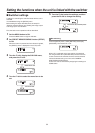
1 Set the MENU button to ON.
Press the MENU button to light its indicator.
2 Set PRESET MEMORY/MENU 9 button (SETUP)
to ON.
When the button is pressed and its indicator is lighted,
the [SETUP] menu is displayed on the LCD panel.
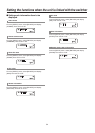
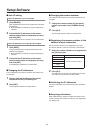
[1]USER ▼
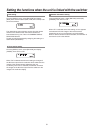
3 Turn the F1 dial to display the SW DISP menu,
and press the F1 dial.
[3]SW DISP
1.CAMINF ▼
Off
Press the F1 dial.
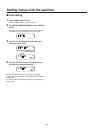
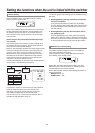
4 Turn the F1 dial to and select the menu item to
be set.
1.CAMINF ▼
Off
2.FORMAT
Off
Turn the F1 dial.
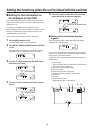
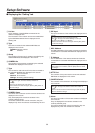
5 Turn the F2 dial to select On or Off, and then
press the F2 dial to enter the selection.
2.FORMAT
Off
2.FORMAT
On
Turn the F2 dial, and then press
it.
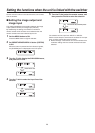
Setting all the information displays
together
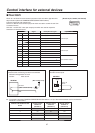
From the [SETUP] menu, select [SW DISP] and display
[CAMINF]. Then set On or Off.
1.CAMINF ▼
Off
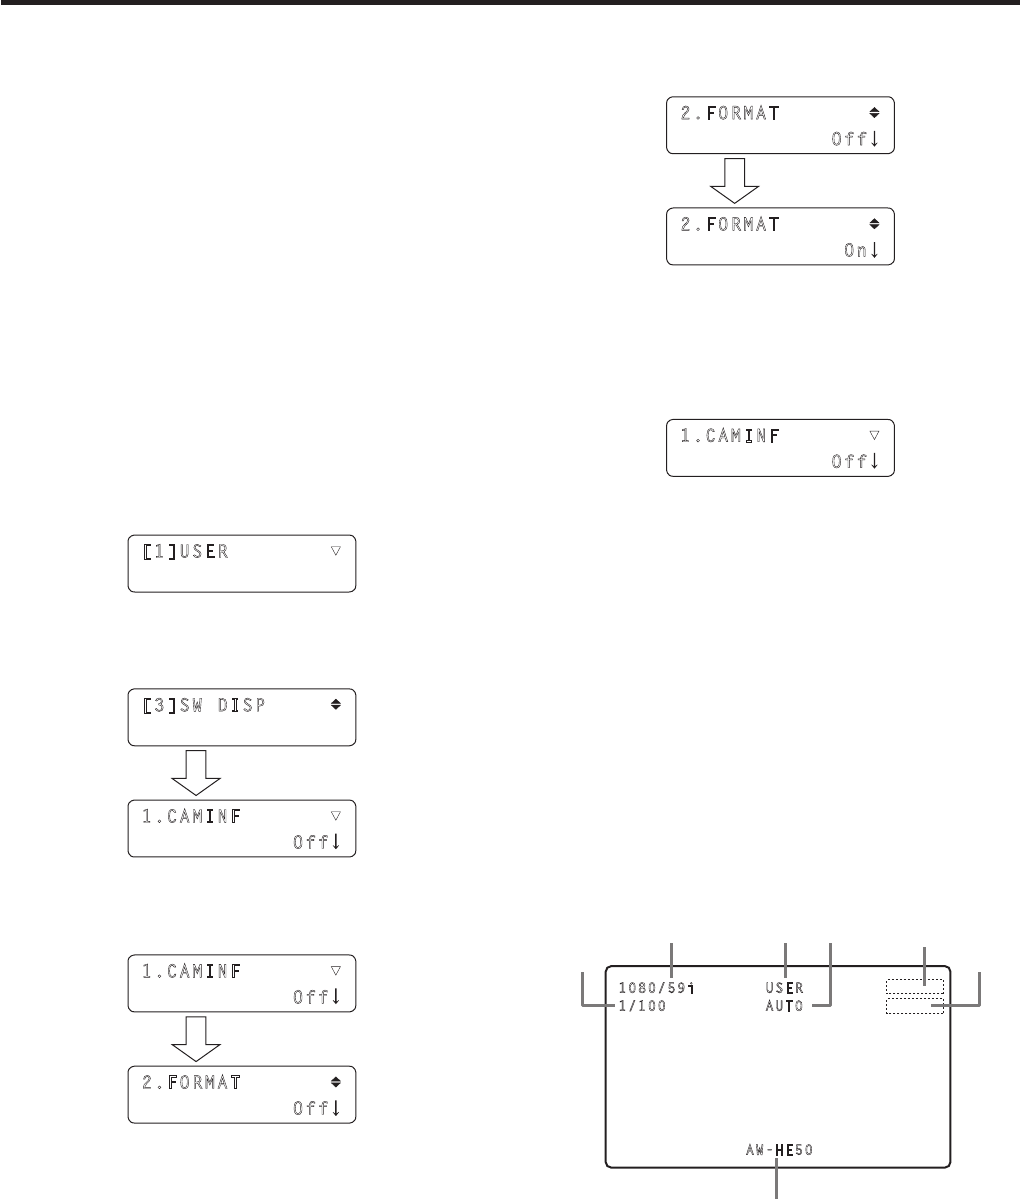
When “On” is selected as the item setting, the information
of the remote cameras set in “Setting the image output and
image input” is sent to the switcher.
Control can also be exercised by assigning this setting to a
USER button.
Video format
(This is left blank when the video format of the remote
camera cannot be recognized.)
Scene file name (shooting mode)
Filter information
Remote camera alarm information
Shutter information (ON/OFF, shutter value)
Gain value
Iris value
Remote camera name
(displayed with up to 10 characters)
1080/59i USER
1/100 AUTO
AW-HE50
,