


User Manual
19
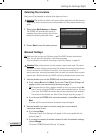
Getting the Settings Right
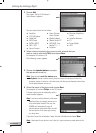
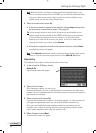
The name of the room is filled out automatically. If desired, you can rename the room.
Tip If you have a room that is not in the list, select a room that most closely matches
your room and rename it.
4 Choose OK.
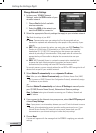
The screen ‘Set Up Rooms’ appears again. The newly added room is displayed in
the list. If you wish, you can add additional rooms.
You can also edit or delete rooms that are already in the list by selecting them and
choosing Edit or Delete.
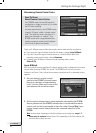
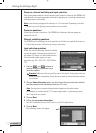
Attention! You should add all the rooms that contain audio-video devices you want
to control with your R9800i. Please make sure to add all these rooms first before
proceeding with the remainder of the setup process, as you will not be able to add
rooms later on in the first-time setup process.
If you have forgotten to add a room or if you want to add a room later on, you can
add it afterwards as explained in ‘Add/Edit Rooms’ on page 44.
5 After adding all your rooms, choose Next.
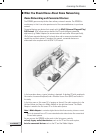
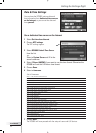
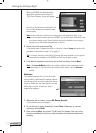
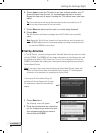
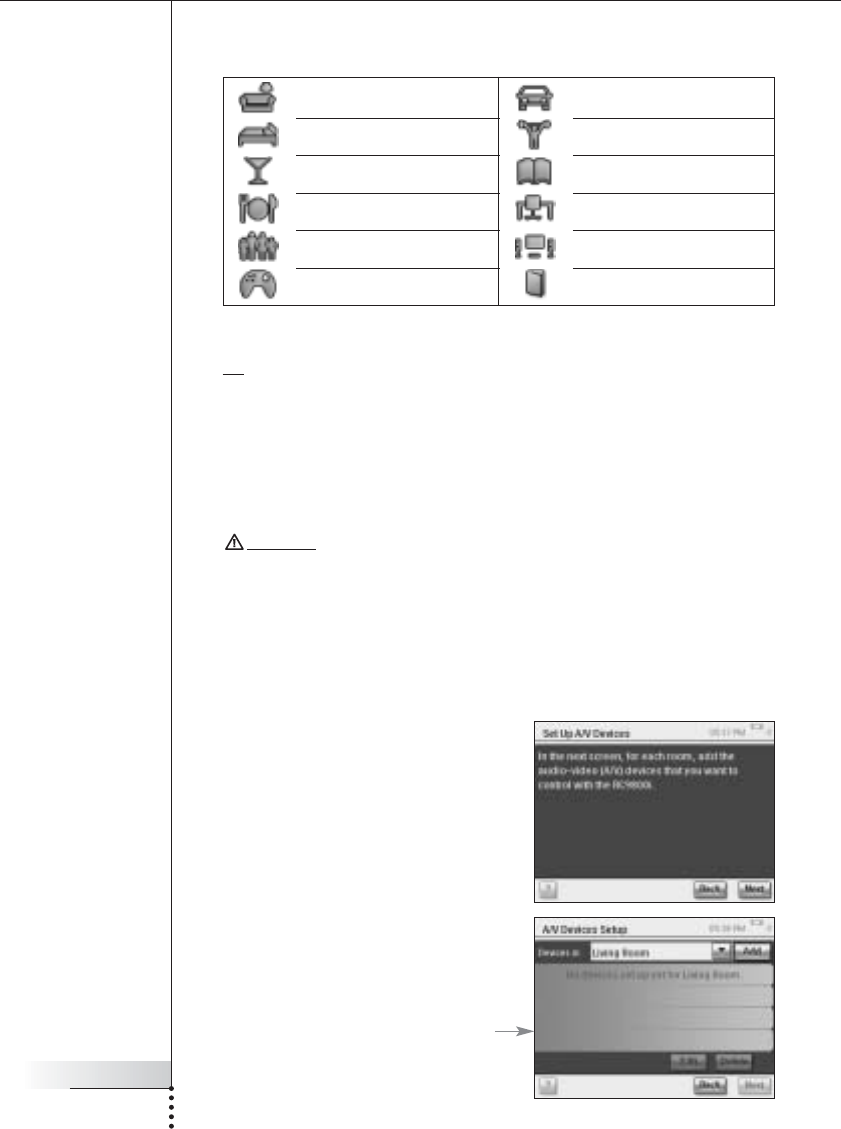
Set Up Devices
For each room you have added, you can now
add the A/V devices you want to control with
your RC9800i.
1 Choose Next.
2 Select a room of your choice.
For this example, let’s select the
Living Room.
Since you haven’t configured any devices
yet, an empty device list appears.
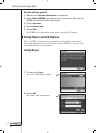
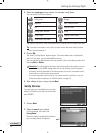
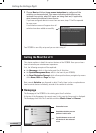
Living room
Bedroom
Bar
Dining room, Kitchen
Family room
Game room, Kids room
Garage
Gym, Exercise room
Library, Study
Office
Theater, Movie room
Other
3 Select the room type of your choice, for example Living Room.
You can choose from the list below: