


79
En
Advanced Operations
DVD.
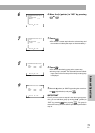
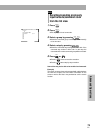
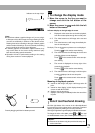
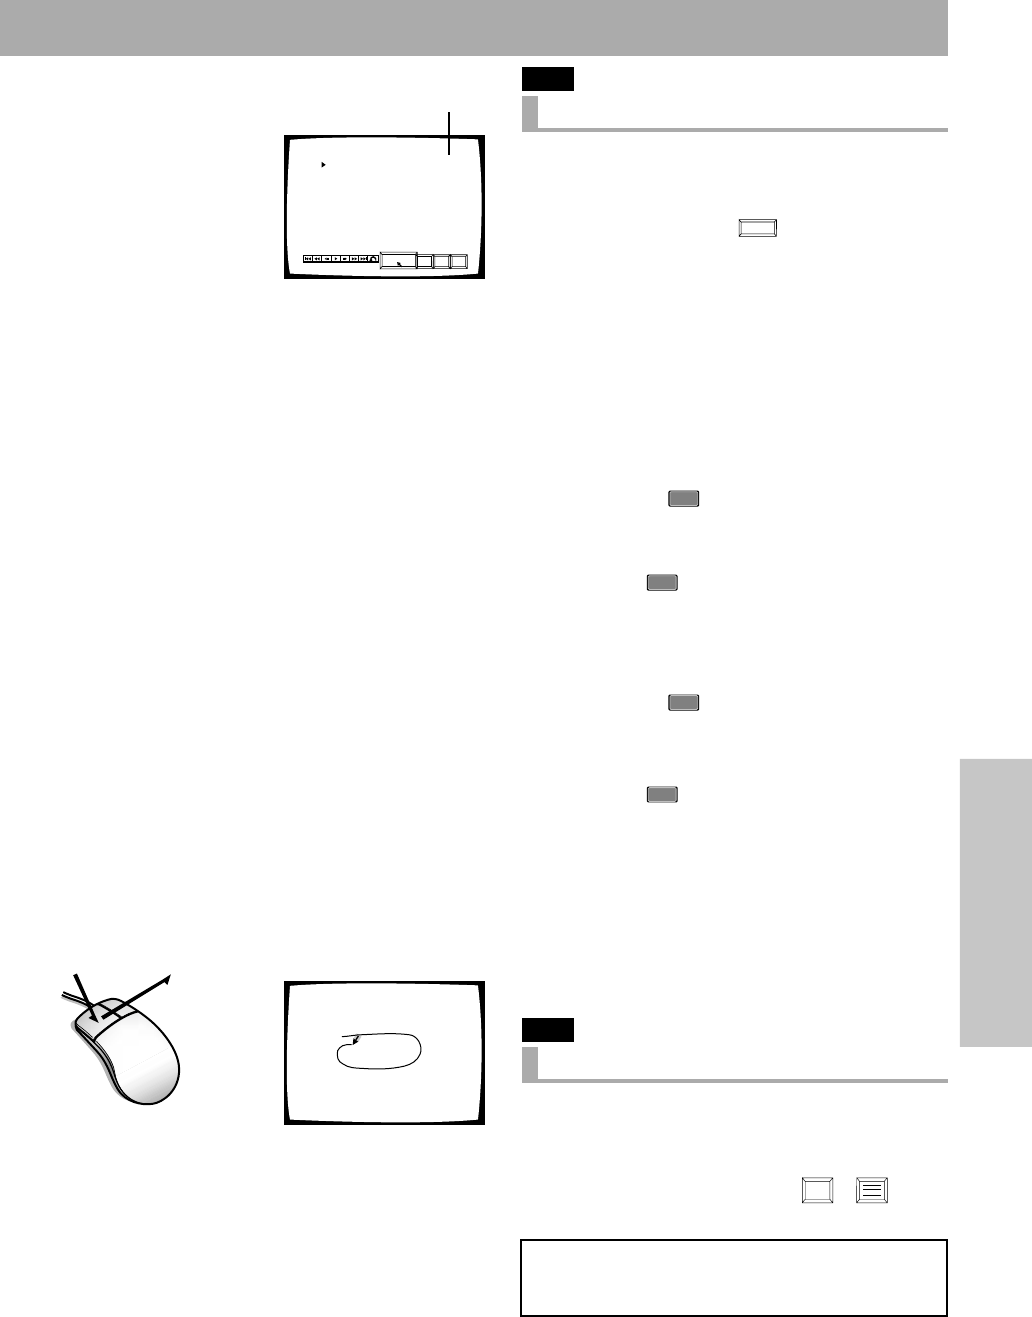
To change the display mode
1. Move the cursor to the line you want to
change and click the left button of the
mouse.
2. Move the cursor to
AUTO DISP
and click the left
button of the mouse.
Indicator display on the right edge of screen
A :Displayed at the same time as the disc playback,
from the set start point through the set end point.
A S :The video becomes a still image at the set start
point.
– A S :The video becomes a still image immediately be-
fore the set start point.
No display :The set characters or pictures are not displayed.
Pressing
ENTER
in this section starts drawing.
S :The video becomes the still image at the set start
point but objects are not displayed.
Press
ENTER
on the remote control unit to start pic-
ture drawing.
✽ :The ✽ mark is displayed on the top right of the
screen during playback.
Pressing
ENTER
in this section starts drawing.
✽ S :The video becomes a still image, in which only the
✽ mark is displayed, at the set start point.
Press
ENTER
on the remote control unit to start pic-
ture drawing.
Meaning of displayed symbols
“S” stands for “Still image” and plays a still image at the IN
point.
“A” stands for “Auto display”, which displays drawing in the
screen set with AUTO DISP.
“✽” displays only the ✽ marking.
“–” displays a still image immediately before the start of the
IN point.
DVD.
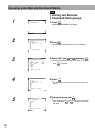
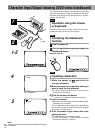
Pencil tool/freehand drawing
Click the right button of the mouse in the video blackboard
input screen to turn the pointer into the pencil tool. Freehand
drawing is possible by holding the mouse’s left button.
Clicking the right button again displays the Blackboard screen.
To change the color or line width, select
COLR
or the tool
on the Blackboard screen. (See “Drawing Tools” on page 77.)
NOTE:
÷
Pictures can be drawn using the pencil tool but they can-
not be saved later.
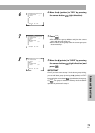
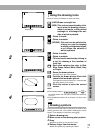
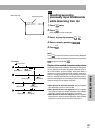
GROUP 001
001 R–3,RED 02-015.29~015.36 A
AUTO DISP
DEL EXIT
SAVE
Indicator on the top of right
Notes
÷
It takes time to draw a graphical image, so if you are using it
to hide part of the video image, the image-drawing IN point
must be set sufficiently in advance of the desired scene.
Drawing time varies according to the type of drawn graphic
and the number of drawings. As a rule of thumb, the drawing
time is usually in the range of 10 to 30 frames.
÷
If different graphics are recorded in adjacent frames, they
may not be drawn on the screen during continuous play-
back due to drawing speed constraints.
÷
Operation will not be performed according to the setting
during frame reverse or reverse playback.
Draw by dragging with the left button pressed.