Connections & Setup
14 Chapter 1
Graphics contained within this publication are for representation only.
Connections & Setup
Chapter 1 15
Graphics contained within this publication are for representation only.
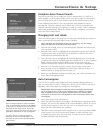
Complete Auto Channel Search
The next screen asks you to make sure you've connected the TV/DVD to a
cable, satellite, or off-air signal. When you're sure that a signal is connected to
your TV/DVD, press OK on your remote to go to the Channel setup screen.
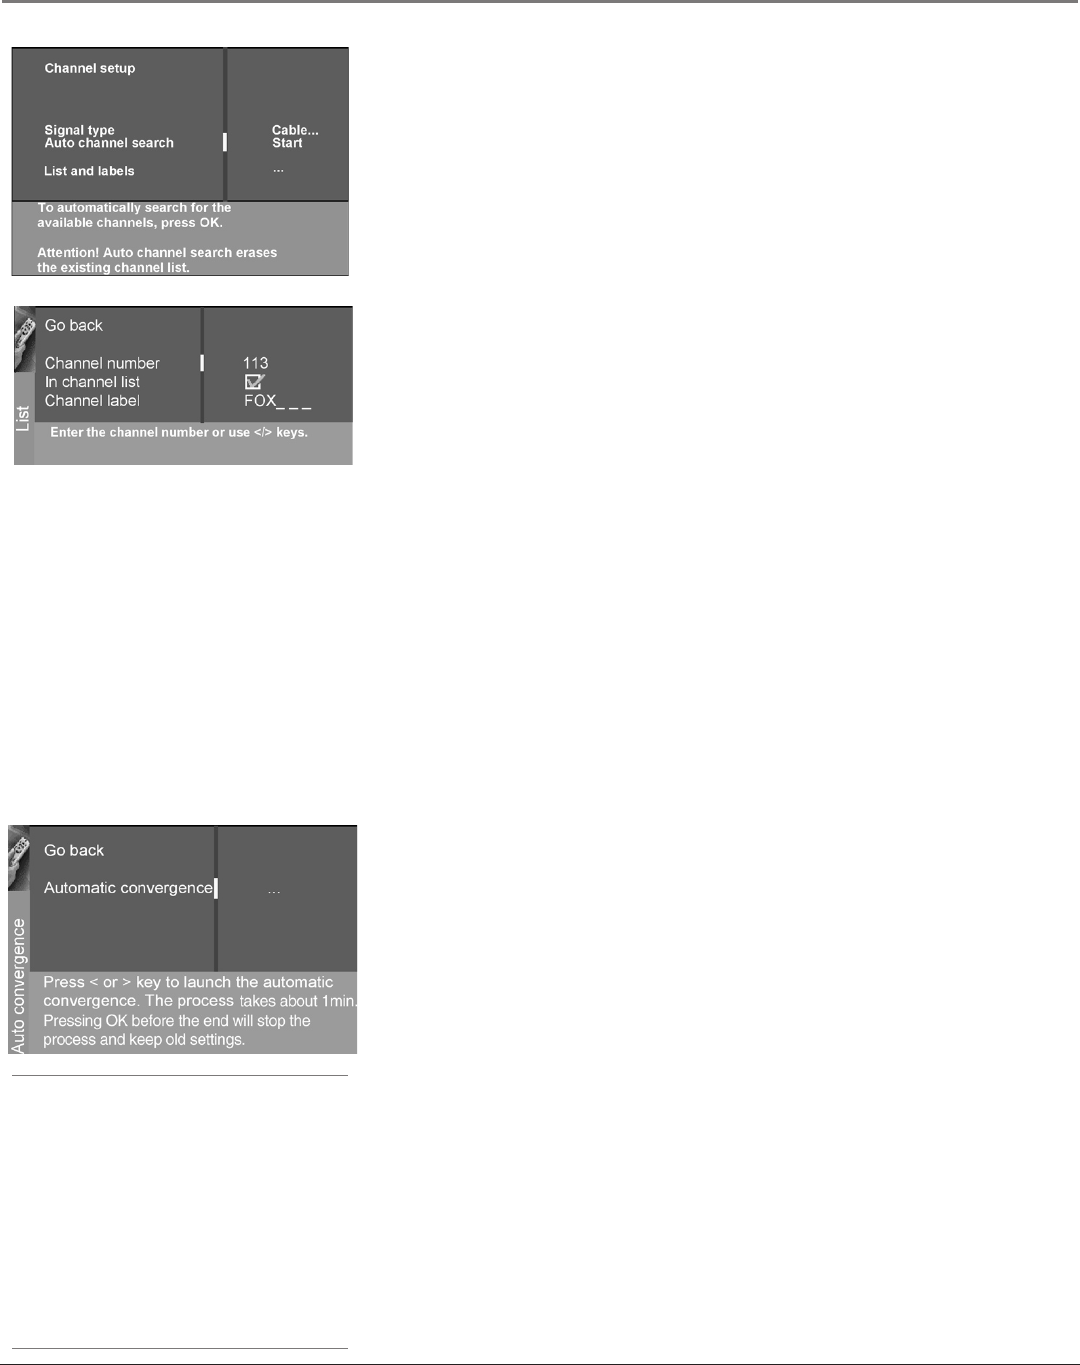
In the Channel setup screen, you can launch the Auto channel search by
pressing OK. The Auto channel search allows the TV/DVD to search for all
channels viewable through your antenna or cable TV system. This is sometimes
called auto programming. When the channel search is complete, press OK to
access the List & Labels screen.
Changing Lists and Labels
The List & Labels part of the setup lets you edit your channel list and choose or
create a personal six-character label for each channel.
Note: Changing List and Labels can be time consuming. You can change
these at a later time by accessing the Setup menu.
1. Press the left or right arrow to scroll through the channels and choose the
one you want to edit.
2. Press the down arrow to highlight the In channel list option. Press the left
or right arrow button to add (the box is checked) or remove (the box is
unchecked) the channel from the list.
3. Press the down arrow to highlight the Channel label option. Press the left
or right arrow button to scroll through the available list of 25 most common
labels. The last option in the list allows you to create your own six-
character label for the channel (the rst letter of the label is highlighted).
4. Press the 1 or 2 number button to change the rst letter of the label.
5. Press the right arrow to highlight the second letter, then press the 1 or 2
number button to change the second letter, etc.
6. When you are nished creating your label, press OK. Select Go back to go
to the Auto Convergence menu.
Auto Convergence
Your TV/DVD’s picture tubes might have been disturbed during delivery or
after you moved the TV/DVD, causing the color in your TV/DVD to be out of
alignment. The colors adjust by starting auto convergence.
IMPORTANT: Auto convergence works best once the TV/DVD has warmed
up for at least an hour. If you've just unpacked your TV/DVD, it's a good
idea to repeat the Auto convergence function when the TV/DVD's been
running for at least an hour. See page 48 for more information about Auto
convergence.
1. Press OK to begin auto convergence.
2. When the auto convergence is complete, the Red center convergence menu
appears. The cross in the middle of the screen should be yellow. If it is not,
use the arrow buttons to move the red cross to overlap the green cross.
Press OK when adjustments are complete.
3. The Blue center convergence menu appears with a cyan cross in the middle
of the screen. If it is not, use the arrow buttons to move the blue cross
to overlap the green cross. Press OK (the TV tunes to the last selected/
available channel in the channel list).
Note:
If you're using an HD source (such as an HDTV
tuner or HDTV satellite receiver) on the CMPNT
or DVI input, you should run Auto convergence
separately for that input as well. Tune to the
input you’re using for the HD source, then go to
page 48 for information on Auto convergence.
You don't need to run Auto convergence
separately for the internal DVD player – the
procedure for the TV covers the internal DVD
player as well.


