


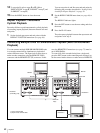
37
Playback
Recording Continuously by
Overwriting Old Content
(Continuous Recording)
Continuous recording allows you to continue recording for
extended periods by overwriting older recorded content.
To perform continuous recording, you need to set the REC
MODE menu item (see page 65) to CONT. REC. The
CONTINUOUS REC indicator lights when this unit is in
continuous recording mode.
Notes
• Existing clips on the disk are not overwritten in
continuous recording. If you wish to use the entire disk
for continuous recording, delete all clips on the disk
before starting to record.
• In simultaneous recording and playback during
continuous recording, only clips which have been saved
to disk before the start of continuous recording can be
played back. (The clip currently being recorded cannot
be played back.)
Recording at Set Intervals (Interval
Recording)
Interval recording allows you to record at set intervals
separated by standby intervals of a specified length. To
perform continuous recording, you need to set the REC
MODE menu item (see page 71) to INTERVAL REC. You
also need to set the recording and standby intervals with
the INTERVAL REC menu items. Standby intervals can
be set to 30 seconds, 1 minute, 5 minutes, or 10 minutes.
Recording intervals can be set to 0.5 seconds, 1 second, 1.5
seconds, and 2 seconds.
Starting Recording at an Alarm Input
(Pre-Alarm Recording)
You can start recording at a position 30 seconds before an
alarm (trigger signal) is detected. (Data for the recording is
saved in advance.) Recording continues until disk space is
exhausted, and then the unit automatically enters stop
mode. To perform continuous recording, you need to set
the REC MODE menu item (see page 71) to PRE ALARM
REC. The trigger signal is input to the CONTROL
connector.
For trigger signal specifications, contact a Sony service
representative.
Playback
This section describes the settings and operations
necessary to perform playback on this unit. The same
settings and operations apply whether you are using the
unit as part of an editing system, for dubbing, or as a stand-
alone player VCR.
For the necessary connections for playback and the
settings not covered in this section, see Chapter 7
“Connections and Settings” (page 81).
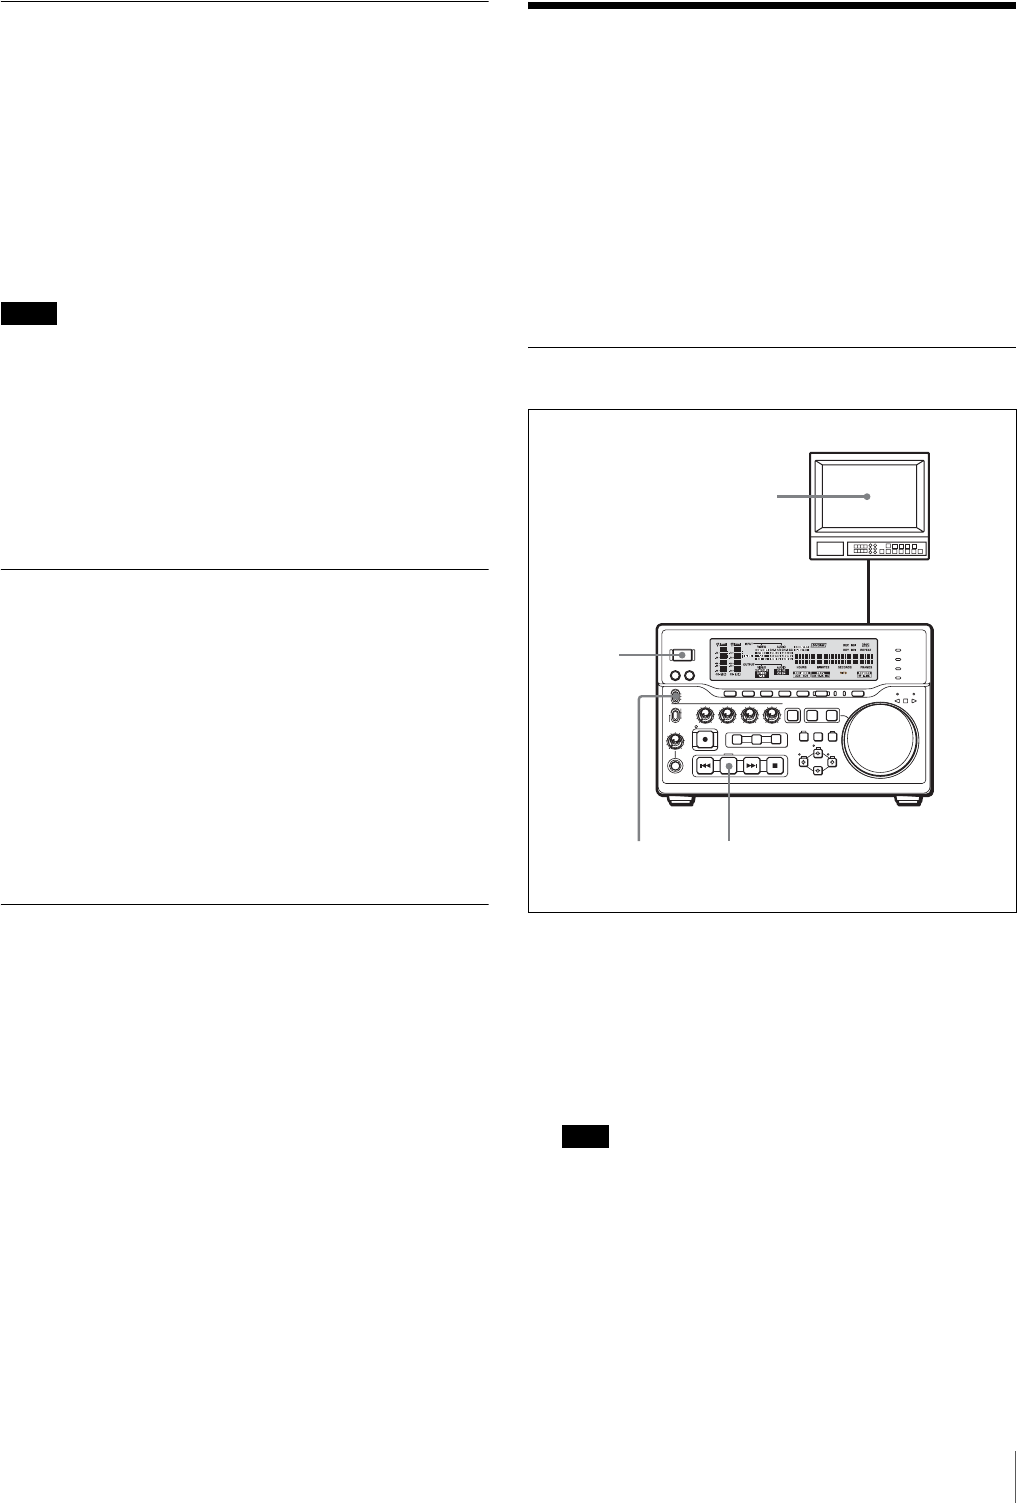
Playback Procedure
1
Power on this unit by pressing the 1 switch on front
panel.
The STOP button lights. A few seconds later, if the
STOP menu item under the AUTO EE SELECT
menu item (see page 64) is set to PB, a still image will
appear on the monitor screen.
Note
When controlling this unit from an editing control
unit connected to the REMOTE IN (R) connector of
this unit, set the control mode selector of this unit to
REMOTE IN (R), turning the REMOTE indicator on.
When not, set the switch to LOCAL, turning the
indicator off.
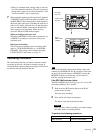
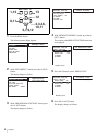
2
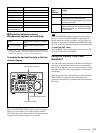
Power on the video monitor and set its switches as
shown below.
2
1
3
Video monitor
Player (this unit)
Control mode
selector