Chapter 2 Playback and Recording 23
Chapter 2 Playback and Recording
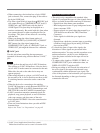
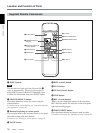
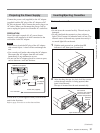
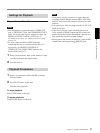
Installing the Unit Vertically
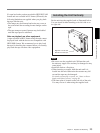
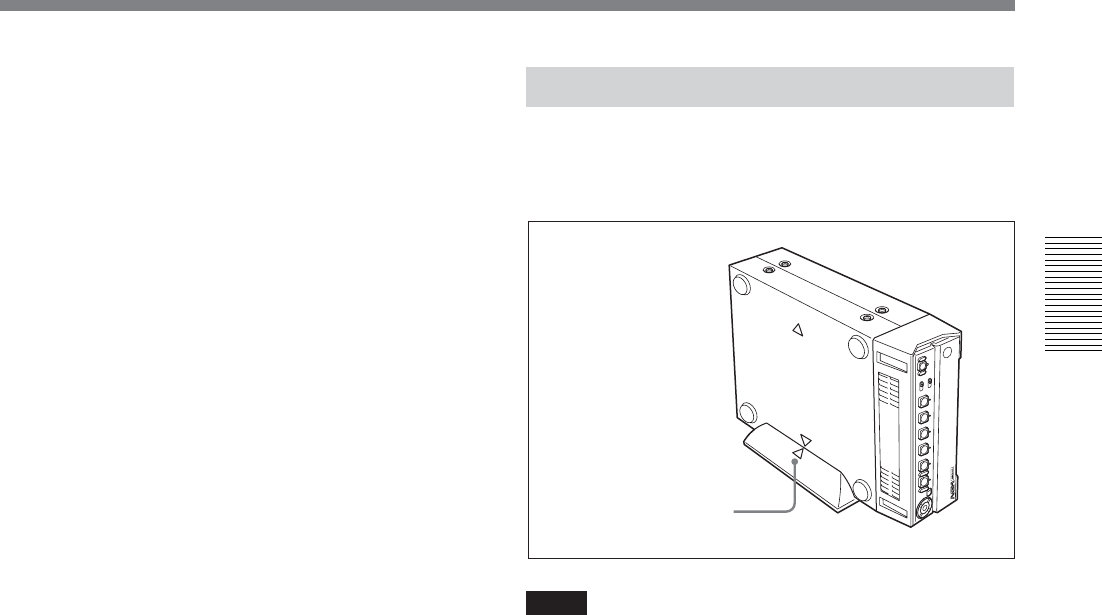
Put the unit into the supplied rack as illustrated below.
You can install it either standing on its left side or on
its right side.
Notes
•Be sure to use the supplied rack. Without the rack,
the unit may topple over and may be damaged or may
cause injury.
• Install the unit on a flat place.
•When inserting a cassette, hold the unit until it is
loaded into the unit. Otherwise the cassette may fall
out and the tape may be damaged.
For details on inserting a cassette, see “Notes on Power
Supply and Video Cassettes” on page 20.
• The name plate is located on the left side of the unit.
You may not see it when using the supplied rack.
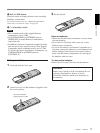
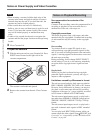
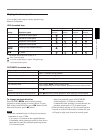
Align the F on the unit
with the f on the rack.
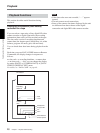
If a tape has both a portion recorded in HDV/DVCAM
format and one recorded in DV format (SP mode), the
following limitations are applied when you play back
the tape with the unit:
• The image may be distorted and noise may occur at
the point where the recording format changes on the
tape.
• The tape transport control buttons may be disabled
until the tape speed is stabilized.
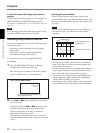
Note on playback on other equipment
A tape recorded in HDV format using the unit cannot
be played back with the devices not compatible with
HDV1080i format. We recommend you to play back
the tape for checking the contents before you actually
play back the tape on other video equipment.


